ACC-SVN28A-EN 7
Installation
6. Replace cover. Place the zone
sensor on the sub base by
hooking the top two tabs on the
Zone Sensor Module to the
slotted tabs on top of the sub
base. Swing the ZSM straight
down onto the sub base until
you hear the plastic locking
mechanism snap securely into
place.
Note: If the wire bundle is large, it
may cause the terminal strip
to become disconnected.
Secure the wires to the sub
base using a small wire tie.
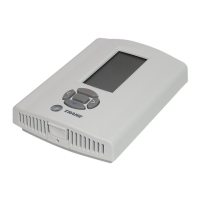
Initial Power-Up
Before applying power to the unit,
verify that all wiring is correct.
When the power to the unit has been
turned “On”, the ZSM will be in the
Normal Run State and will begin
operating using the factory default
settings. The correct day and time
settings will need to be verified or
set. Refer to the Normal Run State
screen below.
To set the time, simply press the
(“+”) or (“-“) side of the KEY marked
TIME. Press the positive (“+”) side to
advance the time in one minute
intervals. Press the negative (“-“)
side to decrease the time in one
minute intervals. Press and hold
either side of the KEY to make rapid
changes.
When the correct time is reached,
release the TIME KEY and the time
will be set. To set the day, simply
press the DAY KEY until the correct
day is displayed.
The programmable zone sensor is
equipped with a battery backup
which will retain the time for up to
two hours. See page 14 for battery
replacement.
Note: Programming schedule is
retained in EPROM and will
not be affected by battery
loss.
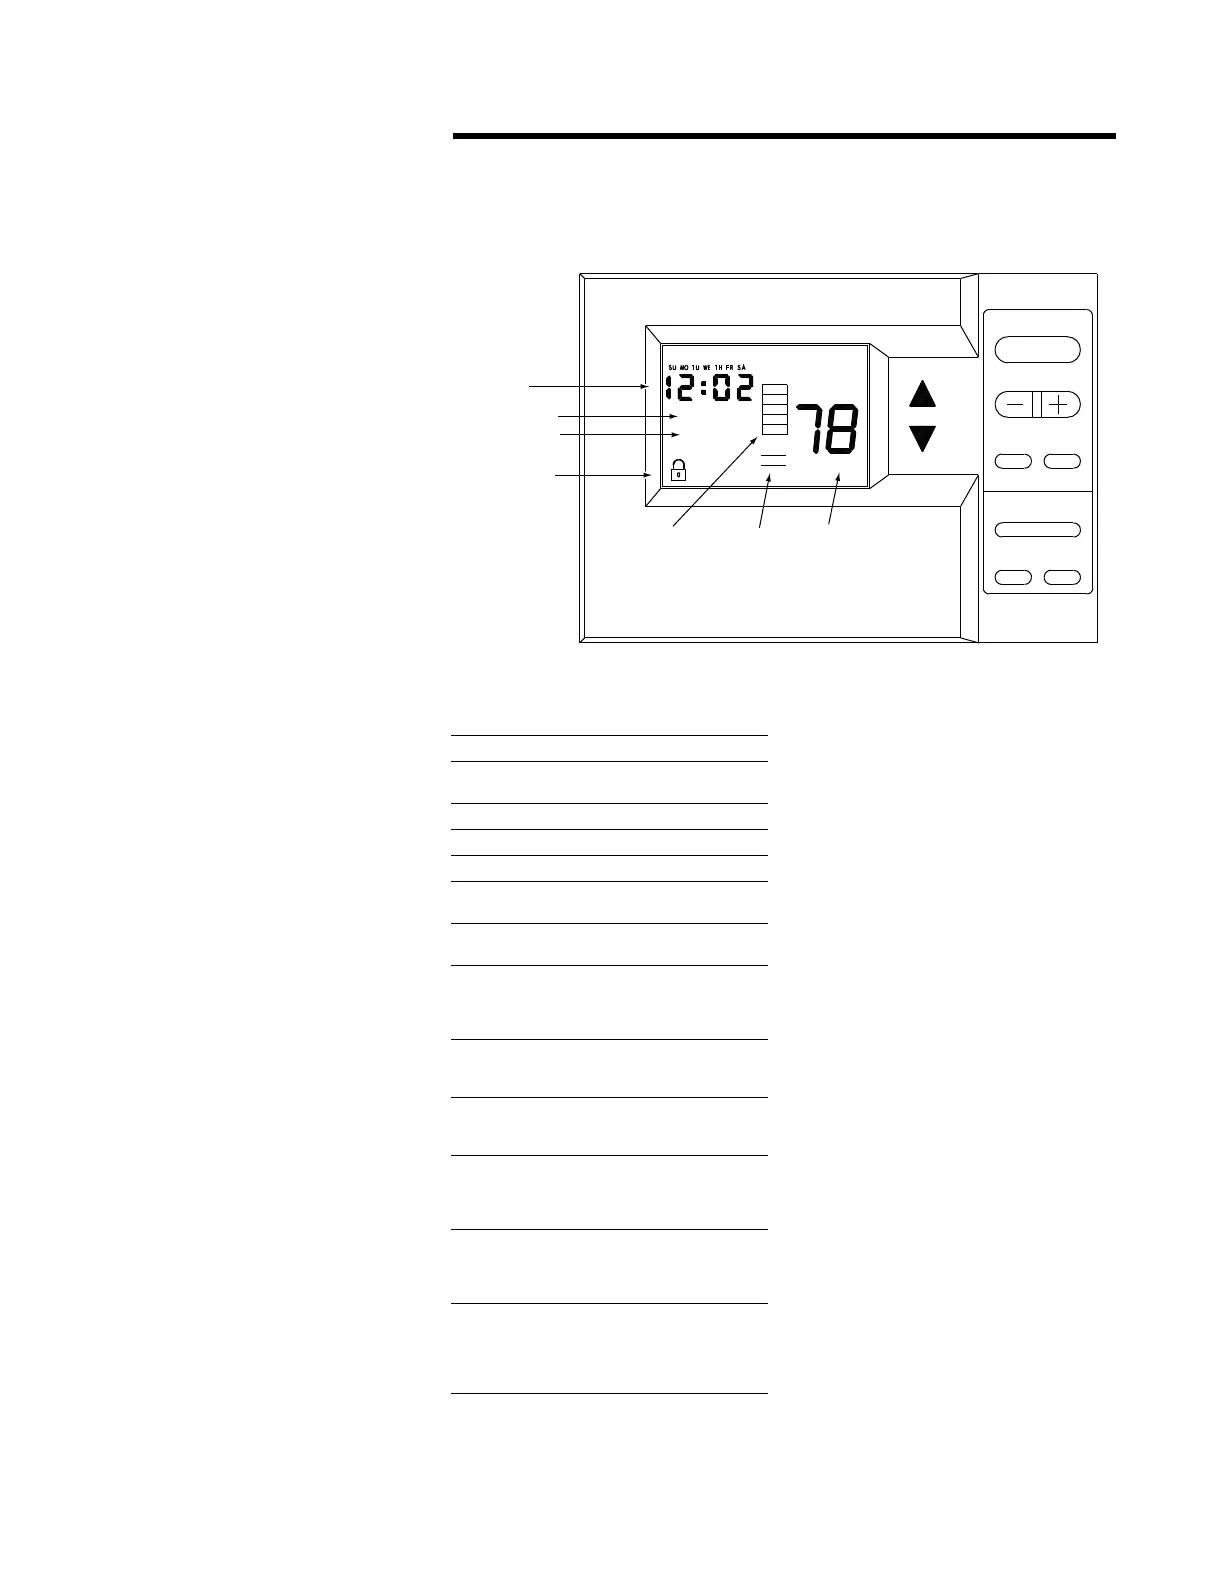
Figure 5. Initial power-up
Table 2. Programming settings
Key Press Action
PROGRAM Enter Program Screen
Time + Scrolls Clock Forward
Time - Scrolls Clock Backwards
Day Advances Current Day
Hold Temp Enter Temporary Override
Menu
Mode Advances one position for
Mode selection
Fan (CV/HP
only)
Toggles Fan Operation
Setting or Enters Temporary
Override Menu if Option 10 is
set to 1
UP Arrow Switches to Temporary
Override and Increases
Temp Set Point
DOWN Arrow Switches to Temporary
Override and Decreases
Temp Set Point
Erase Turns off Check Filter Icon,
Turns off BEEP until the next
day when a HEAT FAIL or
COOL FAIL Icon is displayed
Time + and -
simultaneou
sly for 4
seconds
Toggles Keypad Lockout if
Option 14 is set to 1
PROGRAM
and MODE
simultaneou
sly for 4
seconds
Enter Option Menu Screen
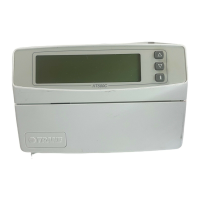
TIME
PROGRAM
DAY
ERASE
HOLD TEMP
MODE
FAN
ROOM TEMP
AUTO
FA N
HEAT
COOL
MODE
COOL
OCCUPIED
Normal Run State Screen
Time of Day
Hour/Minute
AM
Indicates morning
or afternoon
Indicates Operating
Period
Indicates Keypad
Lockout Status
Indicates System
Operating Status
Indicates Fan
Status
Indicates
Room Temperature
Option Menu
The Option Menu is used to set all
programmable options built into the
ZSM. All options are retained in
permanent memory.
To display the Option Menu Screen,
simultaneously press and hold the
MODE KEY and the PROGRAM KEY
for 4 seconds.
When the Option Menu Screen is
displayed, only the UP and DOWN
arrows and the TIME (“+”) and (“-“)
KEY are active. Pressing the UP or
DOWN arrow advances to the next
available option in the menu.
Pressing the TIME (“+”) and (“-“) KEY
changes the option value associated
with each option number.
Refer to the Option Menu Screen
illustration and the ZSM options and
option values table with a description
of each option. Refer to this table
while viewing or programming the
sensor.
Note: Changing option 9 or 10 will
erase the current program
setting.
Once the option values have been
reviewed or reset, simultaneously
press and hold the MODE KEY and
the PROGRAM KEY for 4 seconds to
return to the Normal Run State. If no
KEY is pressed, the ZSM will return to
the Normal Run State after 1 minute
has elapsed.
 Loading...