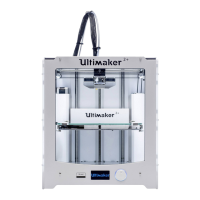
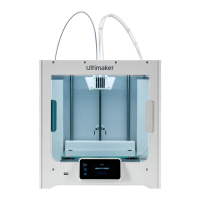
Ultimaker S3 and Ultimaker S5 user manual 12
Place and connect the NFC spool holder
1. Insert the spool holder into the back panel and push until it snaps into place
2. Secure the cable from the spool holder behind the cable clips in the back panel
3. Connect the cable to the NFC socket at the back of the printer
Place the glass build plate
1. Open the glass door(s)
2. Open the two build plate clamps at the front of the build plate
3. Gently slide the glass plate onto the build plate and ensure that it snaps into the build plate clamps at the back
4. Close the two build plate clamps at the front to secure the glass build plate and close the glass door(s)
Connect the power cable
1. Connect the power cable to the power socket at the back of the Ultimaker S3 / S5
2. Plug the other end of the cable into a wall outlet
3.4 Welcome setup
To perform the setup steps, turn on the printer with the power switch at the back. You will rst be asked to select
your preferred language. After this, the welcome setup will appear on the touchscreen. Follow the steps on the
touchscreen and described on the next pages of this user manual.
The language on the printer can always be changed by navigating to Preferences → Settings → Language.
Conrm that the glass build plate is installed
For the rst use, it is recommended to print with the materials delivered with the printer: Tough PLA and PVA. In
this step of the welcome setup, you must conrm that you have installed the glass build plate.
A thin layer of glue should be applied to the glass build plate to ensure reliable adhesion.
Print core installation
Print cores
The Ultimaker S3 / S5 uses two print cores in the print head, which are interchangeable. There are three
types of print cores:
• Type AA: for printing build materials and Ultimaker Breakaway material
• Type BB: for printing water-soluble support material
• Type CC: for printing composite materials
Each Ultimaker S3 / S5 comes with two print cores AA 0.4 (one is already installed in print head slot 1) and one print
core BB 0.4. This means that it is possible to print with two build materials or with a build and support material.
The print cores contain information on a small chip, so that the printer always knows which print cores are installed
and which materials can be used with this print core.
Install the second print core
During the welcome setup, the second print core must be installed. To do this, go to Print core 2 and select Start.
Follow the steps on the Ultimaker S3 / S5:
1. Carefully open the glass door(s) and the print head fan bracket and press Conrm
2. Install the second print core (BB 0.4) in print head slot 2 by squeezing the levers of the print core and sliding it
into the print head until you hear a click
 Loading...