1. Shut down the controller.
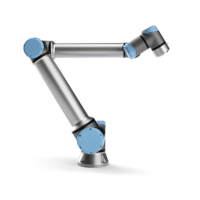
2. Remove blue lid on Base joint.
3. Connect ESD wristband
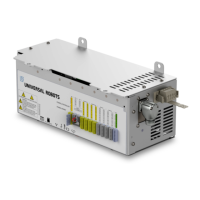
4. Disconnect wires between base plate and Base joint.
1 x red wire = 48V DC
1 x black wire = GND
Black connector = bus cable (note connector orientation)
5. Remove alignment screw
6. Gently remove black flexible flat ring between Base and Shoulder with a tiny screwdriver or
similar tool and twist it around the joint housing.
7. Slide the grey Teflon ring back. 10 screws become visible, 5 on each side of joint. Loosen
the screws with a 7 mm. open-ended spanner about two full turns, approximately 3 mm. for
each screw.
8. Pull the Base joint and Shoulder joint apart and gently twist the two parts in opposite
directions around 10 mm. until a mechanical stop is met (holes are keyhole-type).
9. Pull away the Base joint from Shoulder joint.
Assemble
For details and photos please see: General Guidance to Separate Joint from Counterpart
1. Gently insert Base joint with screws and washers into the Shoulder joint.
2. Make sure the washers are fully inserted and flush against the head of the bolt (this is
important) before gently twisting the parts in opposite directions until a mechanical stop is
met.
3. Tighten the 10 screws lightly, and then tighten in cross order with 2.6Nm.
4. Slide the grey Teflon ring in place and gently put back the flat ring on top of the Teflon ring.
5. Mount the alignment screw and tighten with 0.4Nm.
6. Connect ESD wristband
UR5 26 Service Manual
5.Service and Replacement of parts
Copyright © 2009–2021 by UniversalRobotsA/S. All rights reserved.

 Loading...


