9. Mount blue lid on Wrist 1 joint and tighten with 0.4Nm.
10. Proceed to chapter Dual Robot Calibration for calibrating the robot.
5.2.12. Wrist 2 joint – Wrist 1 joint
Disassemble
For details and photos please see: General Guidance to Separate Joint from Counterpart
1. Shut down the controller.
2. Remove blue lid on Wrist 1 joint.
3. Connect ESD wristband
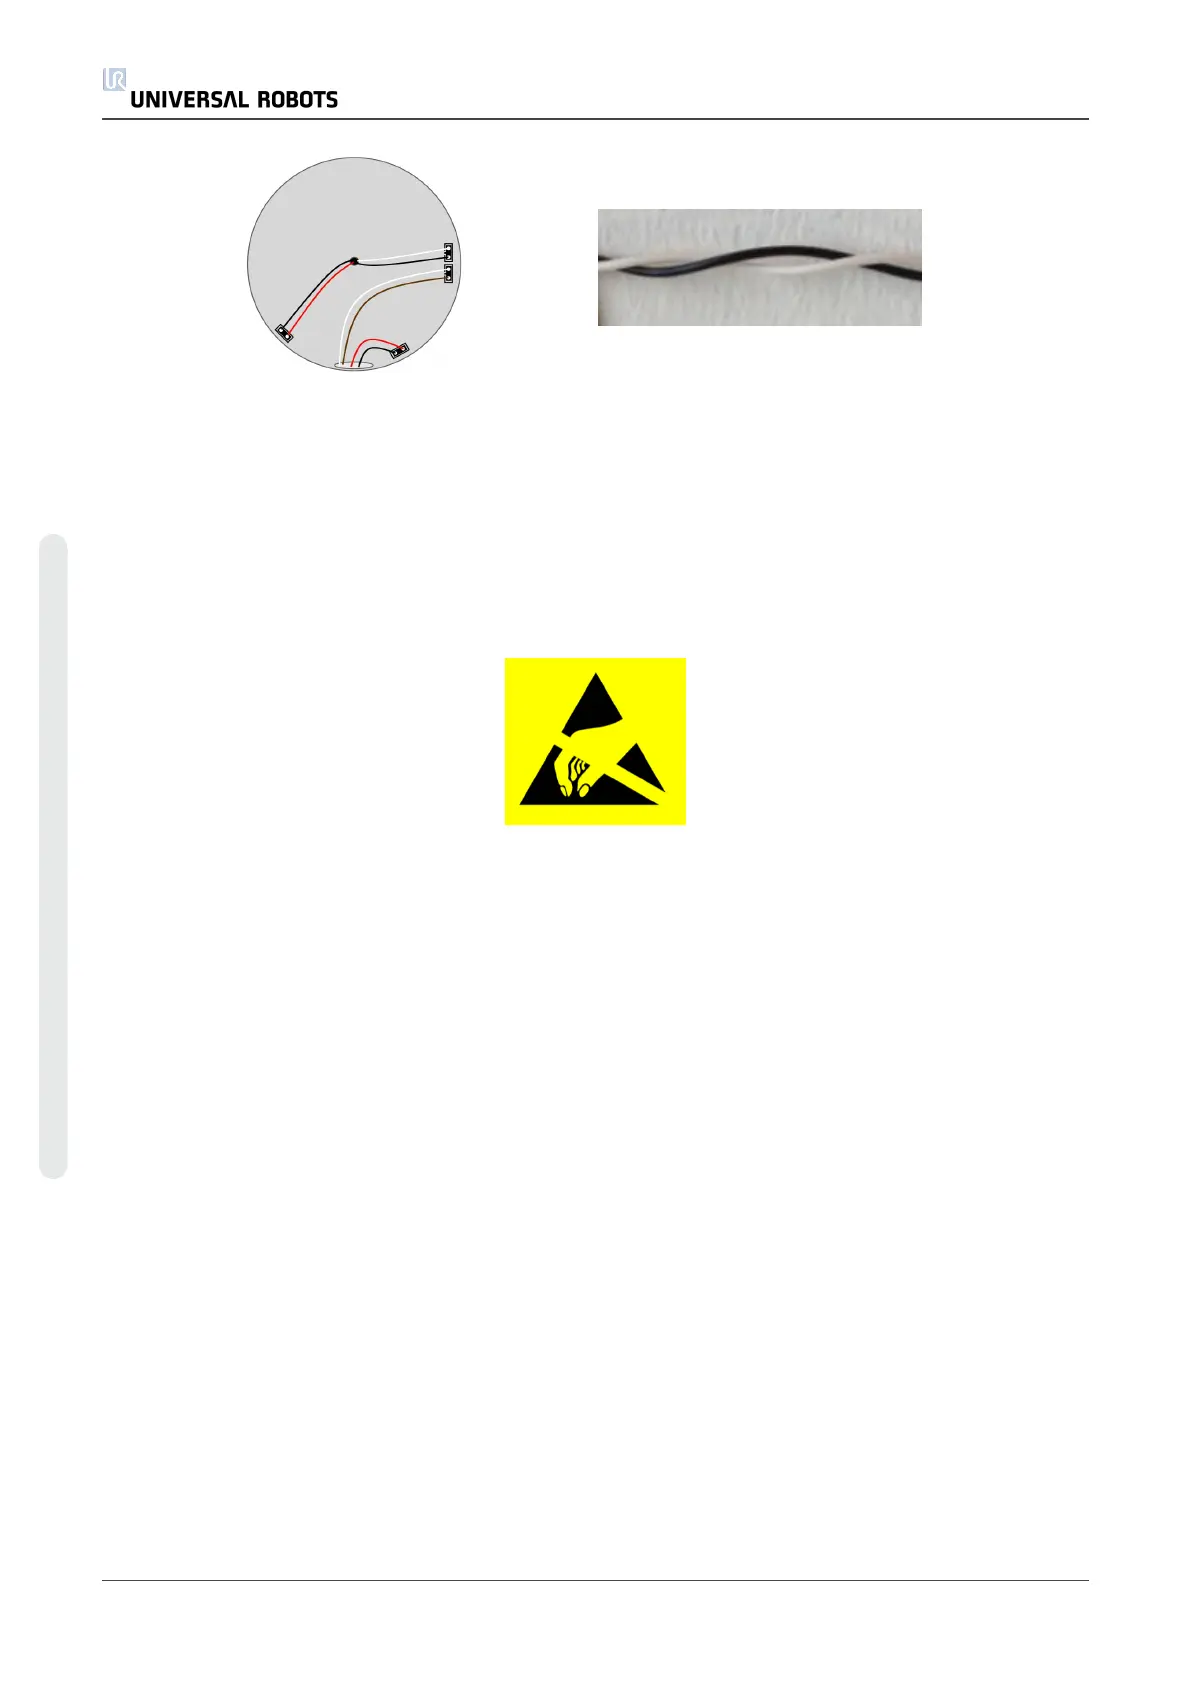
4. Disconnect wires between Wrist 1 joint and Wrist 2 joint
1 x red wire = 48V DC
1 x black wire = GND
Black connector = bus cable (note connector orientation)
5. Remove alignment screw
6. Gently remove black flexible flat ring between Wrist 1 and Wrist 2 with a tiny screwdriver or
similar tool and twist it around the joint housing.
7. Slide the grey Teflon ring back. 8 screws become visible, 4 on each side of joint. Loosen
the screws with a 5.5 mm. open-ended spanner about two full turns, approximately 3 mm.
for each screw.
8. Pull Wrist 1 joint and Wrist 2 joint apart and gently twist the two parts in opposite
directions around 8 mm. until a mechanical stop is met (holes are keyhole-type).
9. Pull away Wrist 1 joint from Wrist 2 joint.
Assemble
For details and photos please see: General Guidance to Separate Joint from Counterpart
UR5 32 Service Manual
5.Service and Replacement of parts
Copyright © 2009–2021 by UniversalRobotsA/S. All rights reserved.

 Loading...


