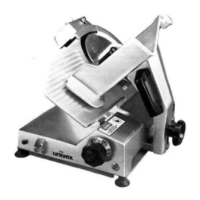
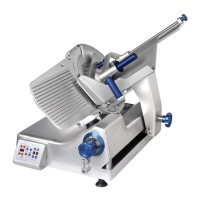
KNIFE DRIVE ASSEMBLY
1. Remove the knife per the knife removal instructions on page 15.
2. Remove the slicer base assembly per the slicer base removal instructions on page 16.
3. Loosen the belt tension by loosening the thumb screw (Figure 14 [7]) and bolt (Figure 14 [3]).
4. Remove the set screw (Figure 15 [8]) and remove the knife guard knob (Figure 10 [35]).
5. Remove the anchor bushing (Figure 10 [33]) with 12mm square drive device.
6. Disconnect the wires from the microswitch (Figure 10 [36]), loosen the jam nut and remove the
switch.
7. Push the blade drive assembly from the bottom and remove it. Attention: There may be shim
washes on the shaft (Figure 15 [7]).
8. Remove and replace the belt if necessary. Hold the shaft and remove the bushing (Figure 15 [1]).
9. Remove the seal per the instructions on page 15. Remove the retaining ring (Figure 15 [3]).
10. Invert the drive assembly on a bench and drive the shaft (Figure 15 [7]), bearings (Figure 15 [4])
and spacer (Figure 15 [5]) through the top side of the pulley (Figure 15 [6]).
11. Replace the bearings if necessary and reassemble in the reverse of the above procedures.
BELT REPLACEMENT
1. Follow the knife drive assembly steps 1 through 6 above.
MOTOR REPLACEMENT
1. Remove the slicer base assembly per the slicer base removal instructions on page 16.
2. Disconnect the motor wires from the capacitors, circuit breaker and circuit board.
3. Loosen the belt tension by loosening the thumb screw (Figure 14 [7]) and bolt (Figure 14 [3]).
4. Remove the two cap screws (Figure 14 [9]).
5. Pull the motor (Figure 14 [8]) from the housing.
6. Connect all the wires to the new motor following the wiring diagram on page 27.
7. Reassemble in the reverse of the above procedures to complete the motor installation.
Page 18
 Loading...