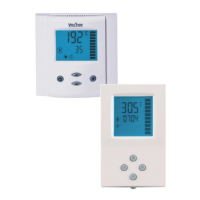
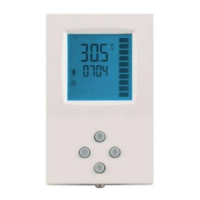
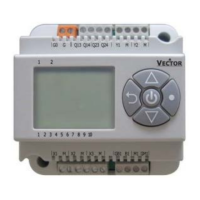
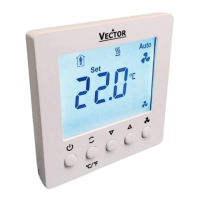
X2-OPERATIONS MANUAL BUTTON DISPLAY
Doc: 70-00-0950A, Serie X2, 20211220 © Vector Controls GmbH, Schweiz Page 12-16
Subjects to alteration www.vectorcontrols.com
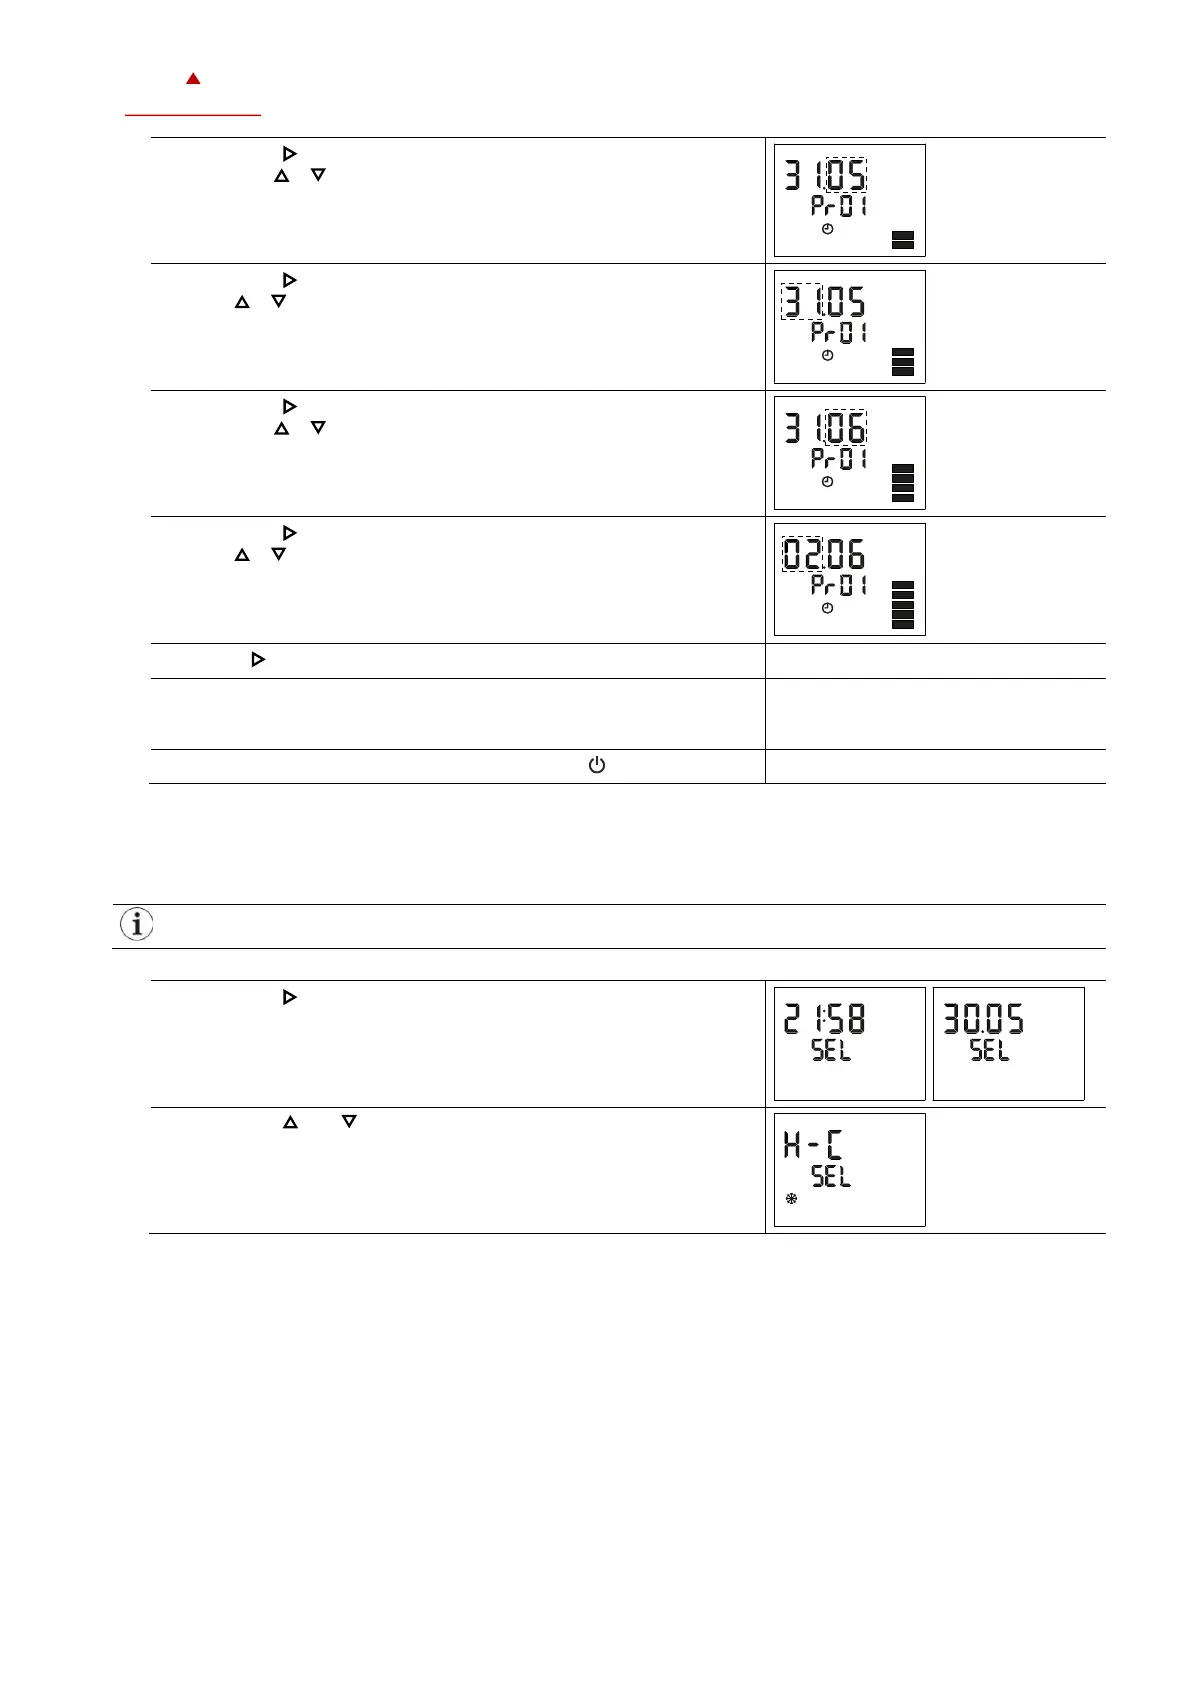
6. Press the ( / ) button and adjust the month the holiday starts
with the ( ) ( ) button.
➔ 2 bars indicate setting step 2 is executed.
7. Press the ( / ) button and adjust the day the holiday starts with
the ( ) ( ) button.
➔ 3 bars indicate setting step 3 is executed.
8. Press the ( / ) button and adjust the month the holiday ends
with the ( ) ( ) button.
➔ 4 bars indicate setting step 4 is executed.
9. Press the ( / ) button and adjust the day the holiday ends with
the ( ) ( ) button.
➔ 5 bars indicate setting step 5 is executed.
10. Press ( / ) to finish the holiday setup.
11. Now you are back in menu "program selection" (instruction No. 4).
Start creating the next holiday schedules for program 2 to 12 as
required.
To go back to the previous submenu, press the ( ) button (1x).
5.4 Heat – Cool – Fan only – Auto selection
Overview
This section describes how to set the controlling mode of the X2 device.
Depending on the configured application, this submenu can have up to 5 different setting options or is
deactivated entirely.
1. Press the ( / ) button longer than 2 seconds.
➔ SEL and the actual Date and Time are displayed alternatingly.
2. Press the ( ) or ( ) button until the heat/cool submenu H-C and
SEL or Auto is displayed.
 Loading...