45
Repair Instructions
Cylinder head, reconditioning
Cylinder head, dismantling/
reassembly
Special tools: 885 128
Dismantling
The cylinder head plugs should not be removed un-
less they are damaged. Valves and valve springs
must be reinstalled in the original positions if they are
to be reused. Use a marked stand or compartmented
box so that the correct positioning can be ensured.
1
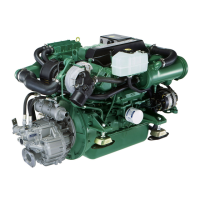
Remove the valve springs and valves using a valve
spring tensioner. Remove valve cotters, washers,
valve stem seals and valves.
Valve stem seal should always be discarded and re-
placed with new ones.
2
Clean all components, be especially careful with the
oil and coolant ducts.
Remove the remaining carbon and pollutants from the
cylinder head mating surface.
Reassembling
3
Install the plugs if they have been removed. Clean
the plug seats.
Apply Permatex® No. 3 or Volvo Penta 1161099-5
sealing compound.
Insert plugs using a drift or socket.
4
Lubricate the valve stems and install the valve in its
guide.
NOTE! Follow the markings so that the valves are re-
turned to the original positions.
5
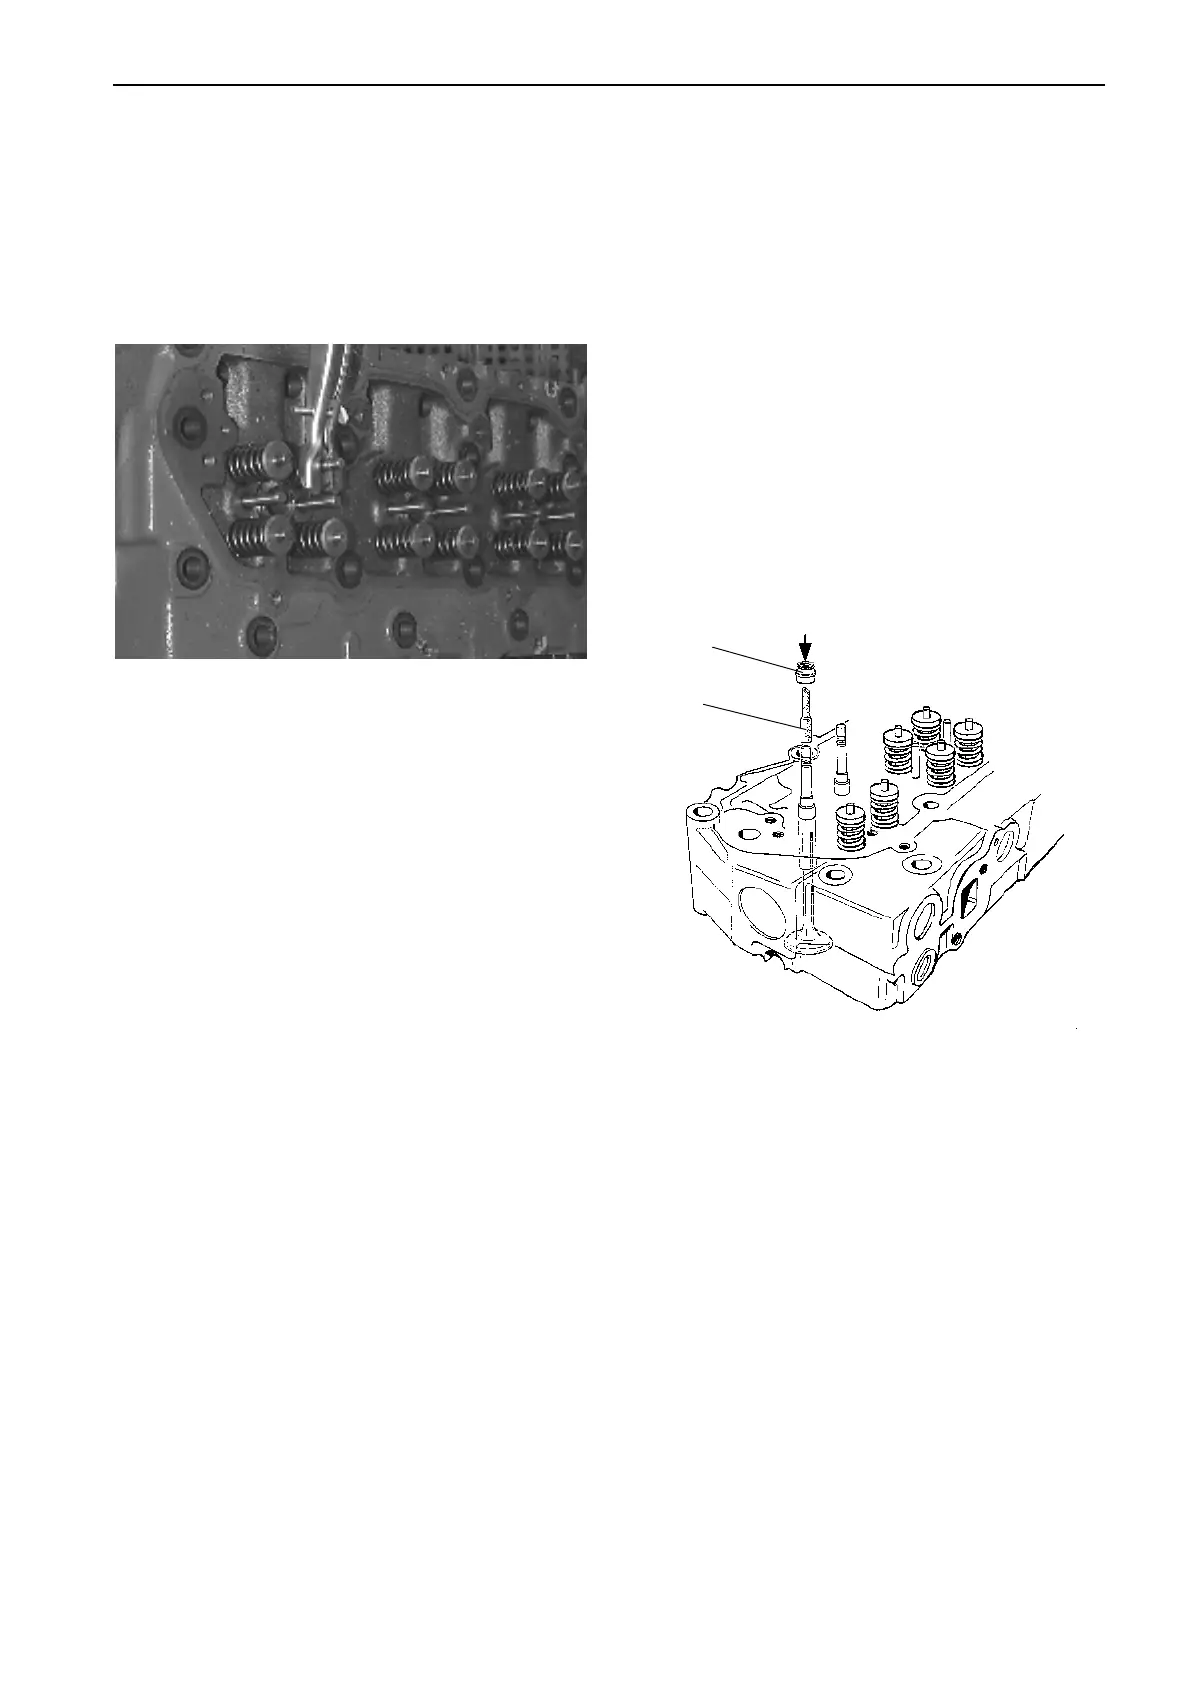
Applies to 44/300 series:
Install protective sleeve (1) on the valve stem (inclu-
ded in the repair kit). This must be done to avoid da-
mage to the valve stem seals.
Carefully thread the valve stem seals (2) over the pro-
tective sleeve and tap them into place with a suitable
tubular drift.
Other engines:
Carefully thread the valve stem seal over the sleeve
protector and tap into place using an appropriate tube
socket.
6
Install the valve spring/s, valve washer and press the
spring/s together with the valve spring tensioner. In-
stall valve cotter/s.
2
1
 Loading...