Intelligent Fast-Charging System
GSE O&M for DVS300 / 330 / 330 IP55 / 400 and MVS330/400
31504-03-0101 Webasto Charging Systems, Inc.20
4.4 – Charging
NOTE
The numbers shown as part of the window display in this section of the manual
are only for illustration purposes. The actual numerical combination of voltage,
current and temperature will vary with the type of battery pack being charged.
1. Connect the battery to the charger (power station).
Simply connect the battery to either charge port of the charger (power station) to start charging. The
charger (power station) establishes communication with the BMID, calculates the current SOC, identies
the correct charging prole, and starts charging. The charger (power station), at each step, displays the
corresponding status window (Figure 7).
<Charger ready
Connect vehicle
<Vehicle connected
Getting cong info
<Starting fast charge
Please wait xx sec
<Charging 53%
50.1V 500A 40 °C
Figure 7 – Connecting status Windows
The DVS during the Preparing to Charge step counts down while preparing to charge. Charging preparation
includes measuring the open circuit voltage (OCV) of the battery pack and calculating the SOC to determine
what the initial current should be to charge the pack properly. The current is ramped up from zero to the
target initial current once the charge starts and the Charging window is displayed, while the charger (power
station) monitors the pack voltage.
NOTE The window examples (in Figure 7) have a left-facing arrow at the left of line 1.
This arrow indicates that the display applies to charge port A. A right-facing
arrow at the right of line 1 indicates that the display applies to charge port B.
The display window periodically will update the charging data as the charge
progresses. The front panel (Figure 3), in addition, has several status LEDs
that indicate the current status of the vehicle under charge and whether it is
scheduled for an equalization (Table 1).
Vehicle connected
Communication established
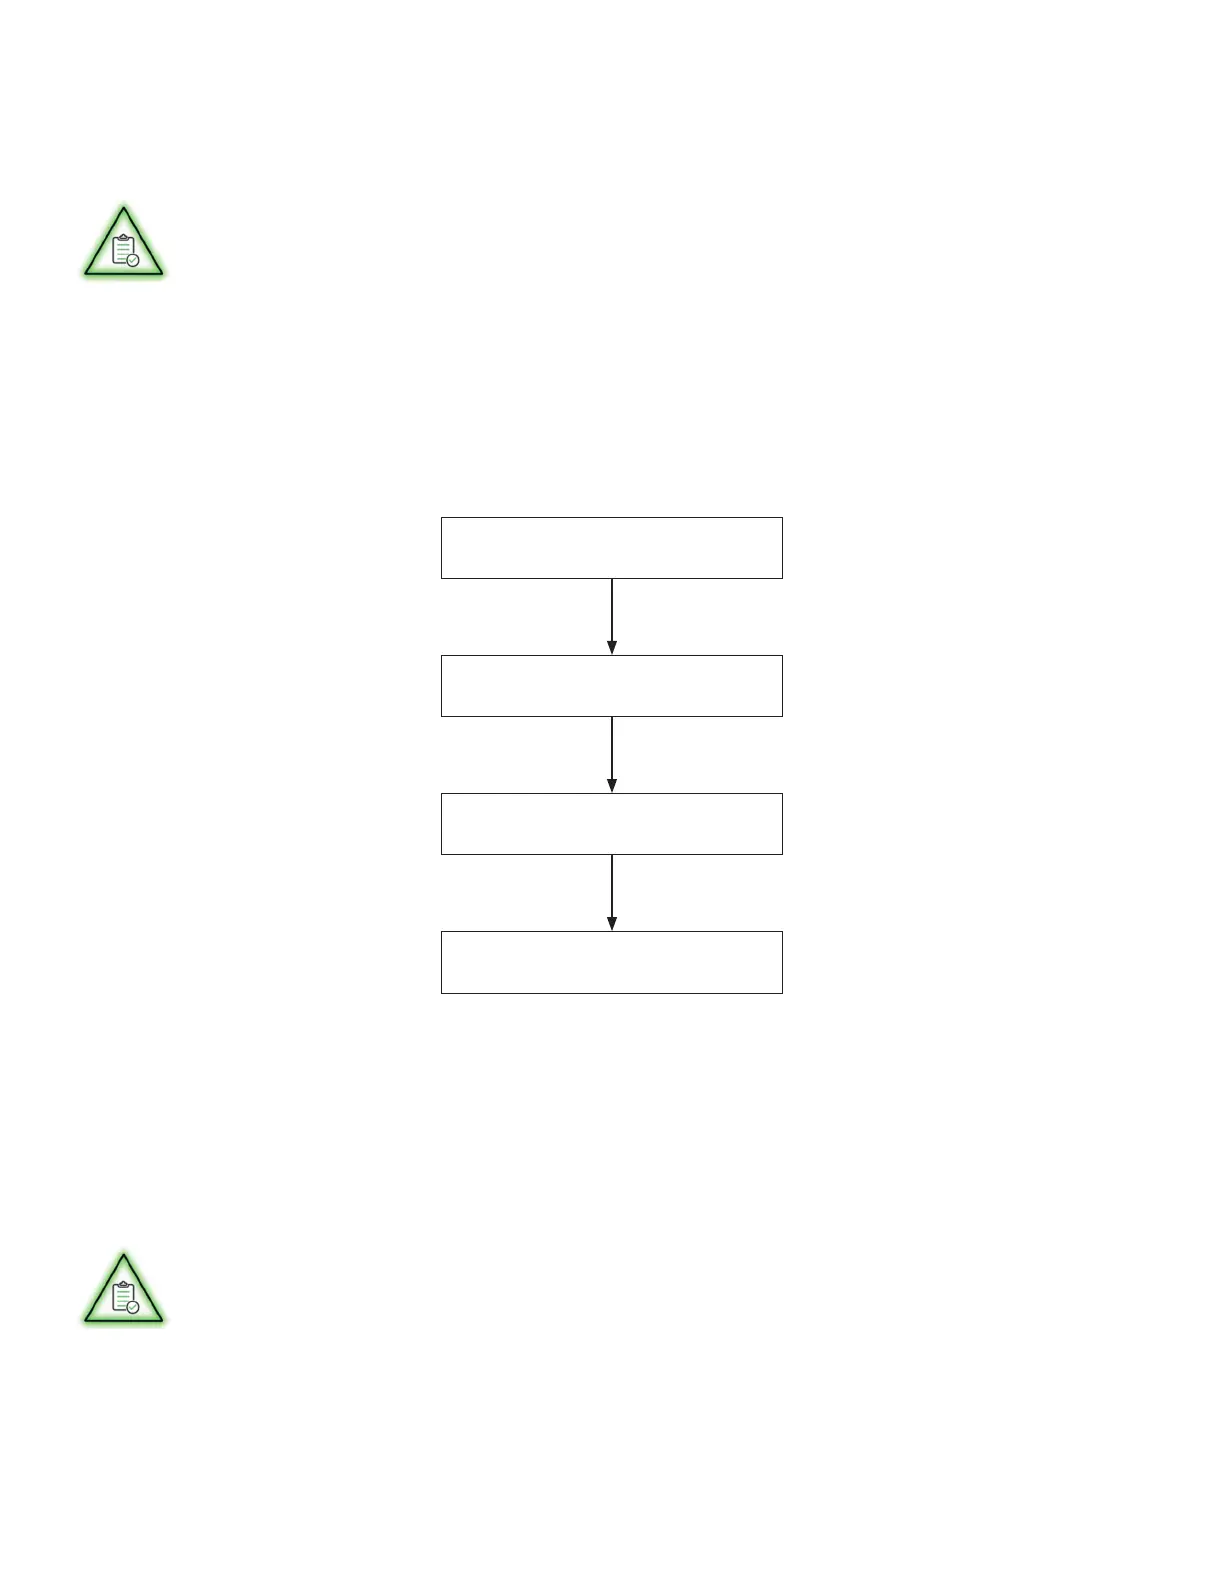 Loading...