66
• Checkthesettingsandadjustifsorequired.
Putting into Operation
Observe the safety instructions!
Important: The machine must only be brought into serv-
ice with completely installed safety and protection devic-
es. Before starting to use it, connect the machine to an
extraction system.
For every operation, the extraction cover has to be low-
ered down to the work piece. Remove the extraction cover
for shrouded cuts. After such an operation, the extraction
cover has to be reinstalled immediately.
The settings of the machine have to ensure that the top
of the highest saw tooth is positioned just a little higher
than the work piece.
Before switching on the machine, all safety and protection
devices have to be installed according to the instructions.
The saw blade must move freely.
Always check timber, which has been processed before,
for foreign objects (nails, screws, etc.). Remove all for-
eign matter.
Before turning on the power supply, make sure that the
saw blade is installed correctly and that the moving com-
ponents can move freely.
Warning: If in doubt, have the machine set by a qualified
person. It is too dangerous to work on assumptions.
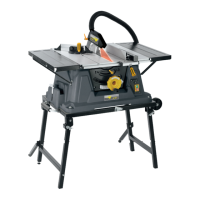
Turning the machine on and off, Illustration 13
• Pressthegreenpushbuttontoturnthemachineon.
• Presstheredpushbuttontoturnthemachineoff.
Adjusting the angle of the saw blade, fig. 13
• Release the tommy screws (f) and press the hand
wheel (12) until the gears click in.
• Now set the hand wheel so that the pointer (20) indi-
cates a right angle on the scale (23).
• After making the adjustments, tighten up the tommy
screws again.
The angle indicator (23) can be adjusted to check the
precision of the saw blade angle.
When the machine is turned off and unplugged, you can
put a square against the saw blade.
Adjust the hand wheel until the saw blade is positioned
parallel to the square. Then set the indicator (20) to 0°
on the scale.
Adjusting the cutting depth, Illustration 13
• Settherequiredcuttingdepthbyturningtheheight
adjustment wheel (19).
• Turning it anti-clockwise will increase the cutting
depth.
• Turningitclockwisewilldecreasethecuttingdepth.
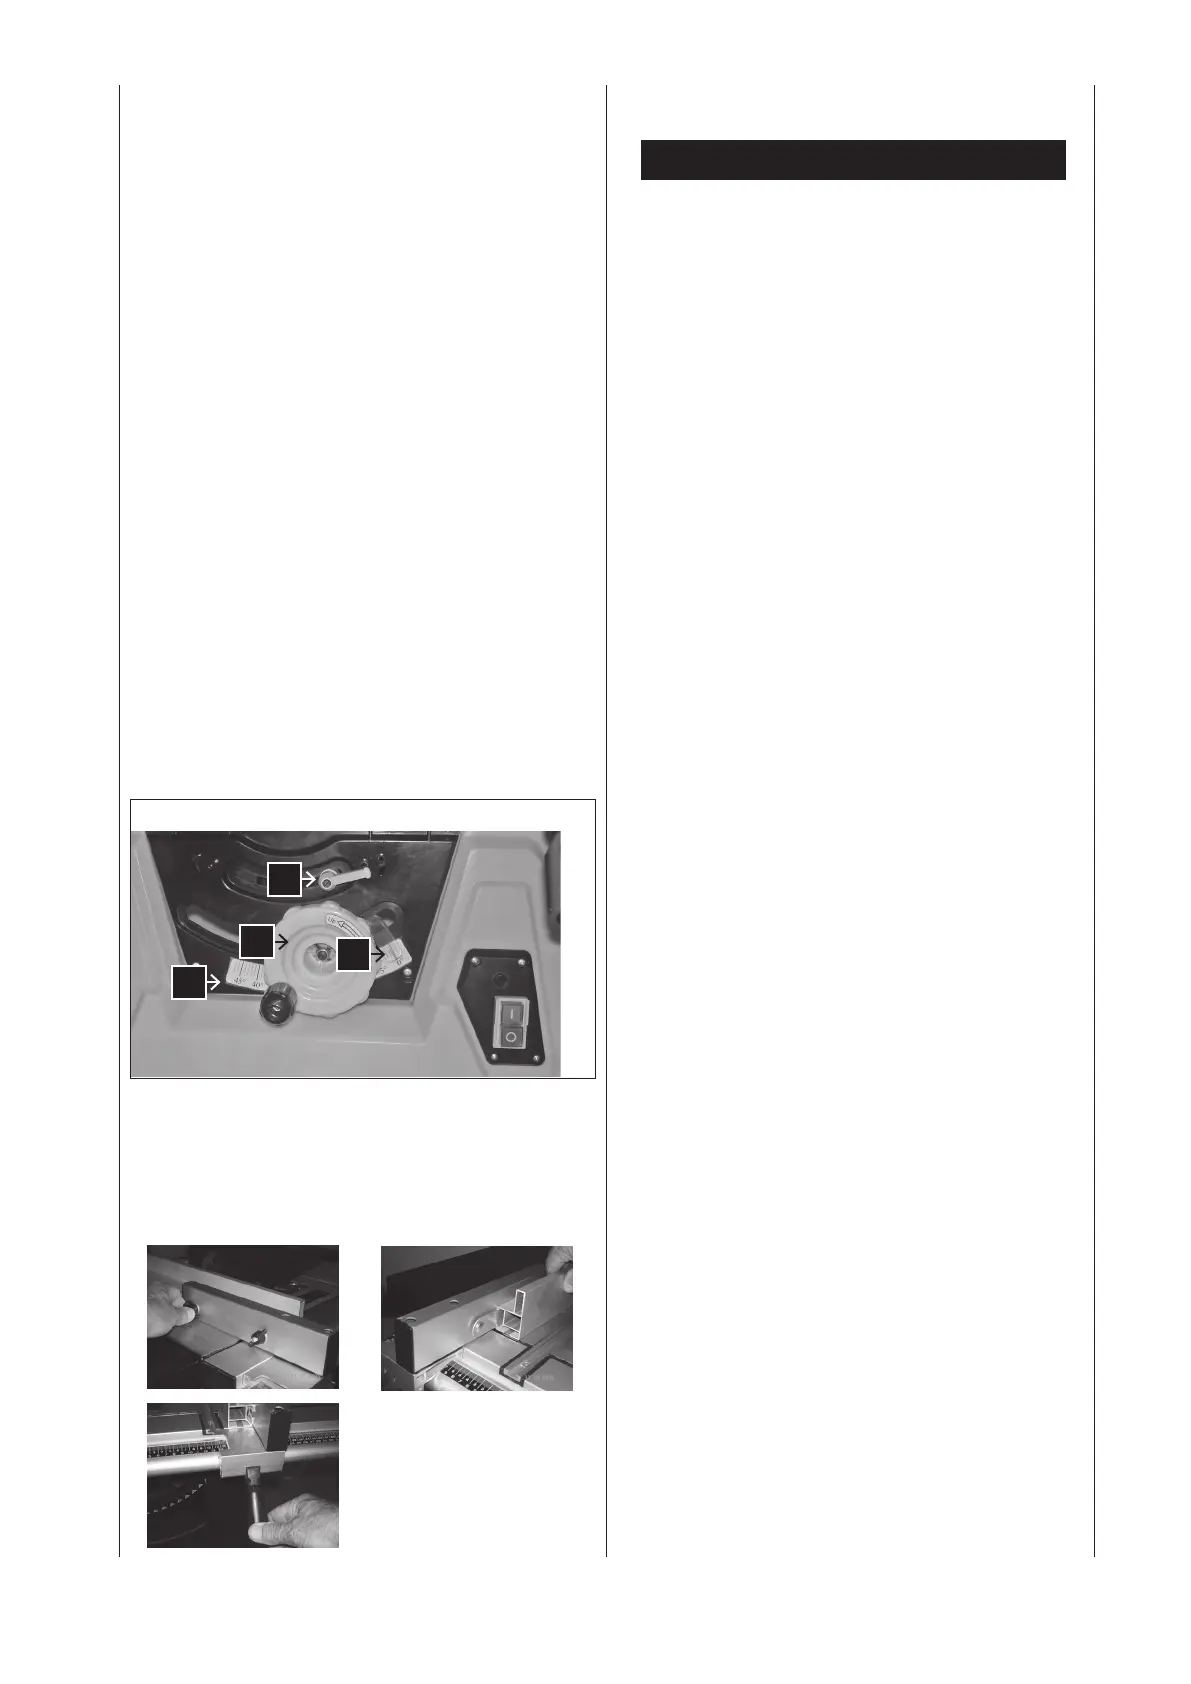
Using the longitudinal stop
Cutting width, Illustration 14
• Usethelongitudinalstopforlongitudinalcuts.
• Thelongitudinalstop(9)canbeinstalledoneitherside
of the bench top (2).
• Inorder tousethescale,movethestoptothesaw
Fig. 13
f
23
12
20
 Loading...