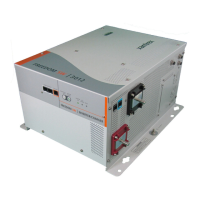
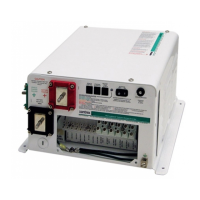
Mounting the Inverter
3–11
If you need more cable than the 20 feet (6 m) supplied, buy a 1:1
connector and a high-quality 4-conductor, telephone extension cable with
an RJ-11 connector on each end.
You can use a total cable length of 100 feet (30.5 m) although 50 feet
(15.25 m) is the maximum recommended.
Mounting the Inverter
To mount the PROwatt 3000:
1. Turn off the inverter’s On/Off switch.
2. Select an appropriate mounting location and orientation. The
PROwatt 3000 must be oriented in one of the following ways:
• Horizontally on a vertical surface. (The ventilation openings on
the DC end must not point up or down.)
• On or under a horizontal surface
3. Have one person to hold the inverter against the mounting surface,
while you mark the positions of the mounting screws, and then
remove the inverter.
4. Pilot-drill the four mounting holes.
5. Fasten the inverter to the mounting surface using corrosion-resistant
hardware sized 10 or greater.
Connecting the Chassis Ground
The PROwatt 3000 has a ground lug on the outside of the rear panel as
shown in Figure 3-4. Follow the guidelines in “Grounding Locations” to
connect the inverter’s chassis to the ground.
WARNING: Electrical Shock Hazard
Never operate the PROwatt 3000 without connecting it to the
ground. Electrical shock could result.
 Loading...

