Control Panel
10 CP5/CP50 Owner’s Manual
Component Names & Functions
Component Names & Functions
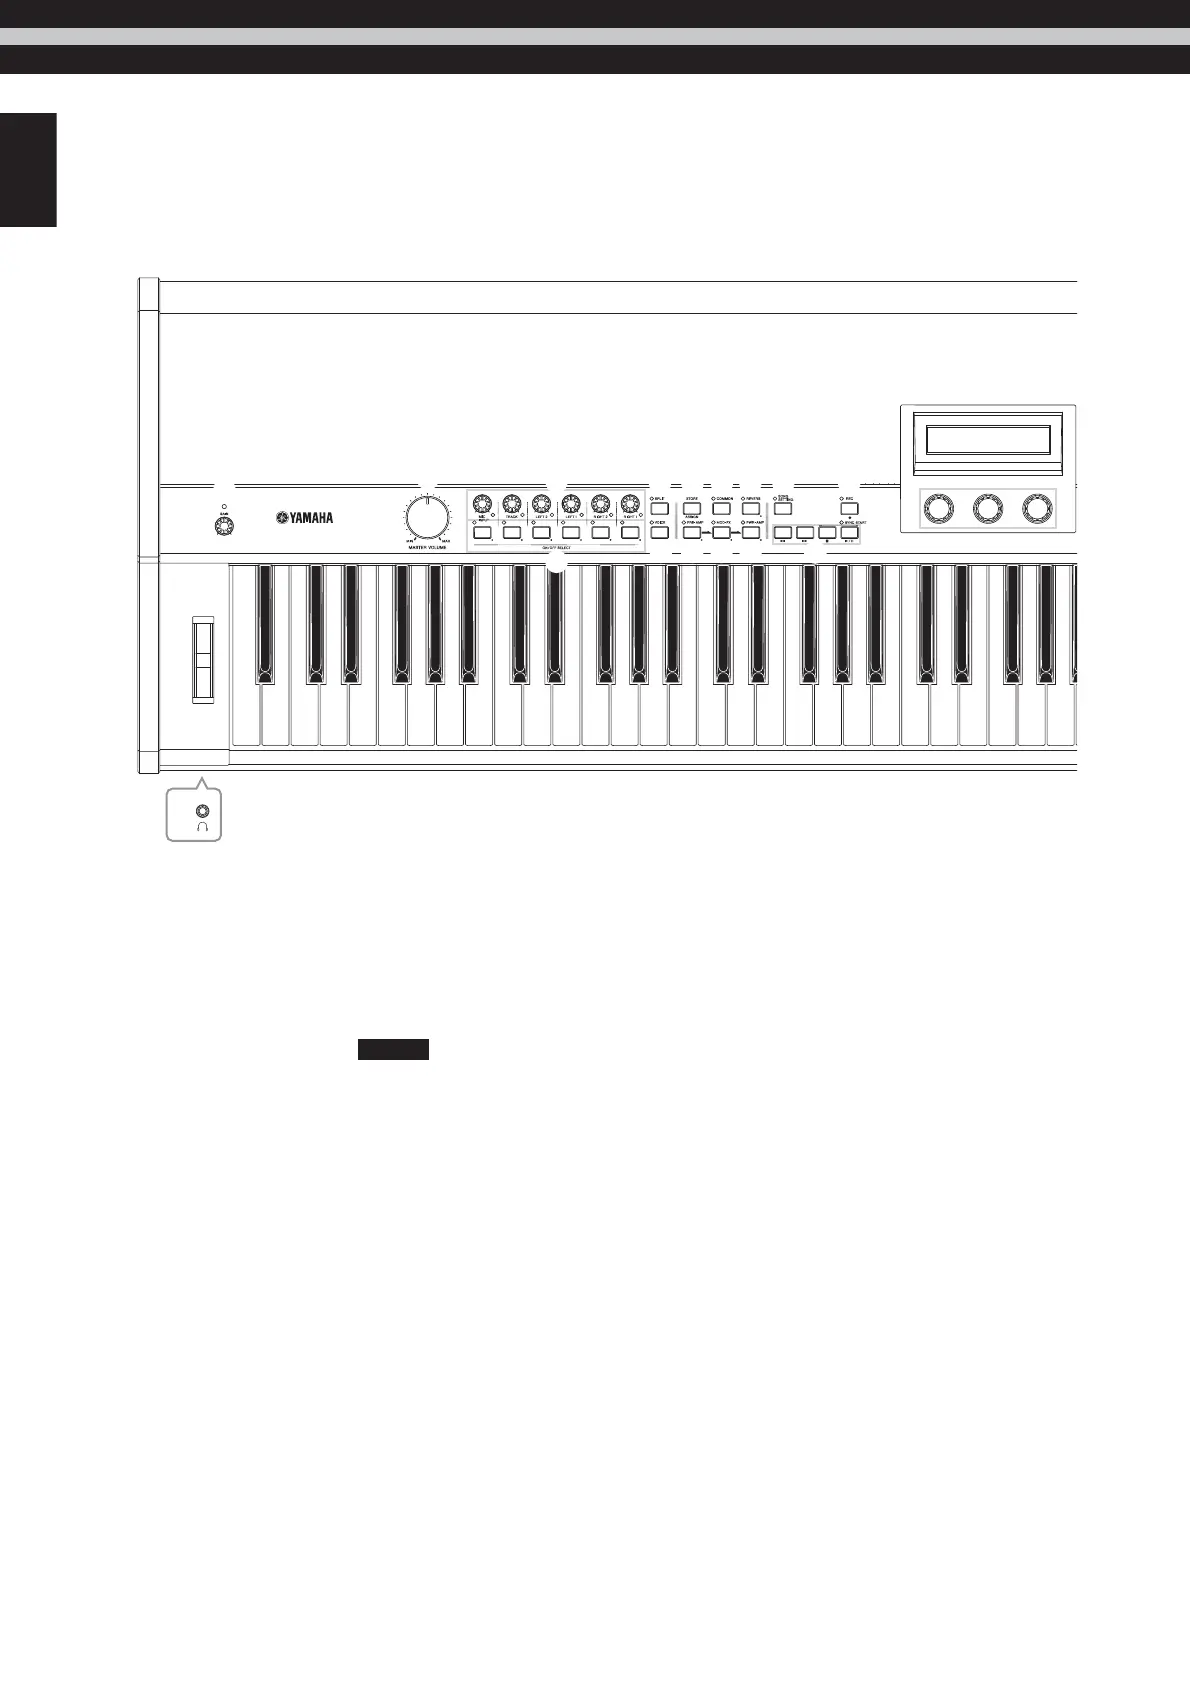
Control Panel
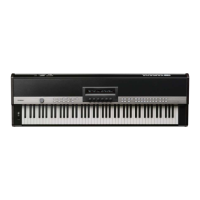
(Diagram shows CP5)
1 Pitch bend wheel (page 30)
Use this controller to temporarily shift the pitch of notes
upward or downward.
2 Headphones jack (page 15)
Use this standard audio jack to connect a pair of stereo
headphones.
3 [GAIN] knob (page 40)
CP5 only
Turn this knob to adjust the input gain for audio signals
coming from the CP5’s [MIC INPUT] jack. This type of
adjustment may be necessary as different microphones
output signals at a wide range of volumes. Increase the gain
by rotating the knob clockwise, and decrease it by rotating
the knob counter-clockwise.
4 [MASTER VOLUME] dial (page 17)
Turn this dial to adjust the overall volume of the stage piano.
5 Part Volume knobs
Use these knobs to set the individual volumes of the various
parts making up the currently selected Performance (page
22). Increase the part volume by rotating its knob clockwise,
and decrease it by rotating the knob counter-clockwise. The
lamp to the bottom-right of each knob lights up whenever the
corresponding part is selected. From left to right, the Part
Volume knobs on the CP5 are labeled [MIC INPUT],
[TRACK], [LEFT2], [LEFT1], [RIGHT2], and [RIGHT1]. On the
CP50, meanwhile, these knobs are labeled [TRACK], [LEFT],
and [RIGHT].
6 Part buttons
Press these buttons to toggle the various parts making up
the currently selected Performance on or off as required. The
lamp to the top-left of each Part button lights up whenever
the corresponding part is turned on. Furthermore, if you
press and hold one of these buttons (for at least one
second), the corresponding part will be selected, its
parameter setting screen will be displayed, and its lamp will
start to flash. Even if a part’s parameter setting screen is
being displayed, it can still be toggled on and off by
pressing the corresponding Part button. It should be noted
that these lamps will flash in one of two different ways to
indicate whether the part is on or off; specifically, the lamp
stays lit longer when the part is on, and it stays off longer
when the part is off. From left to right, the Part buttons on the
CP5 are labeled [MIC INPUT], [TRACK], [LEFT2], [LEFT1],
[RIGHT2], and [RIGHT1]. On the CP50, meanwhile, these
buttons are labeled [TRACK], [LEFT], and [RIGHT].
7 [SPLIT] button (page 32)
Press this button to toggle the splitting of Performance zones
on and off. The lamp to the top-left of the button lights up
whenever splitting is turned on. The same operation can be
performed using the Split parameter from the Common
Settings screen.
8 [VOICE] button (page 33)
Press this button to open the parameter setting screen for the
currently selected part’s Voice block. The lamp to the top-left
of the button lights up whenever this screen is being
displayed.
4
3
5
6
7
!8 @ #
&
9 ) $ % ^
*
1
2
A-1 B-1 C0 D0 E0 F0 G0 A0 B0 C1 D1 E1 F1 G1 A1 B1 C2 D2 E2 F2 G2 A2 B2 C3 D3 E3 F3 G3 A3
(
 Loading...