Performing with a Backing Track
38 CP5/CP50 Owner’s Manual
Quick Start Guide
3 Press the [L PAGE] or [1] button to ensure that Page 1 of the Song Setting screen is displayed.
On this page, you can specify a backing-track type and number.
4 Turn Knob 1 to select the required backing-track type.
5 If you have selected Preset Drum Pattern (PreDrum), turn Knob 2 to indicate whether you want to use a Drum Phrase
or Drum Kit, and then select the required phrase or kit number using Knob 3. Alternatively, if you have selected User
Song (UsrSong) or Wave file (Wave), turn Knob 3 to select the required user-song number or file.
6 Navigate to Pages 2 and 3 using the [PAGE R] button. Using Knobs 1 to 3, modify parameters such as tempo, time
signature, and track name as required.
NOTE If you have selected a Wave file recorded using your CP5 or CP50, be sure to leave the 7th and 8th characters in the file name — namely, }
and { — unchanged. If these characters were to be modified, the replay volume on your stage piano would become extremely low as a result.
If you have selected a Wave file that was not recorded using your CP5 or CP50, be sure not to add } and { as the 7th and 8th
characters of the file name. Failure to observe this precaution could lead to extremely high volumes upon playback (as the output
level is increased automatically whenever these characters are in the positions indicated).
NOTE For more details regarding the parameters on these pages, refer to the Reference Manual pdf document.
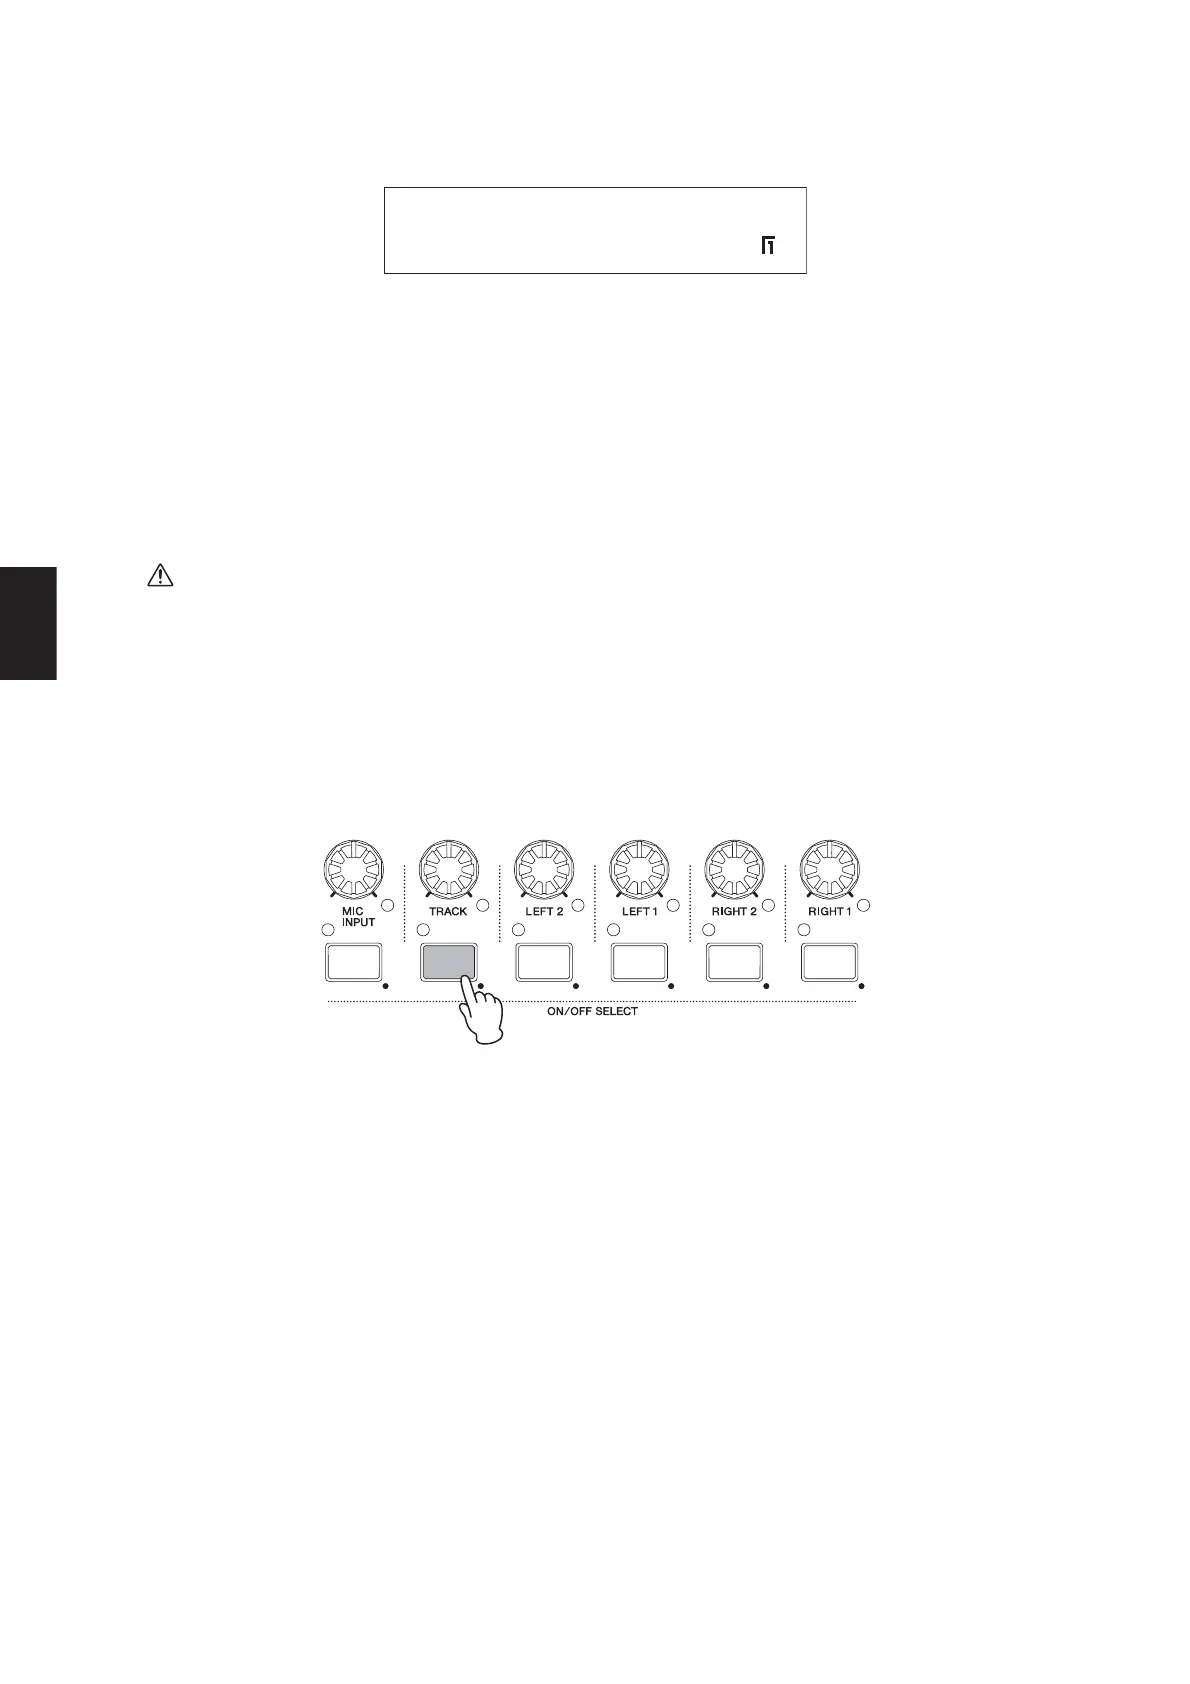
7 If you have selected a Preset Drum Pattern (PreDrum) or a Wave file (Wave) for use as the backing track, press and
hold the [TRACK] button (for at least one second) to call up the parameter setting screen for the TRACK part. If, on
the other hand, you have selected a User Song (UsrSong), skip to Step 10 below.
NOTE You can also jump to the parameter setting screen for the TRACK part by holding down the [EXIT/jump to edit] button and pressing the
[TRACK] button.
Type 8[ Beat]
PreDrumPhrase 001
 Loading...