Installing an optional rack mount kit 23
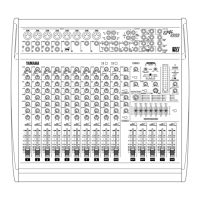
EMX66M—Owner’s Manual
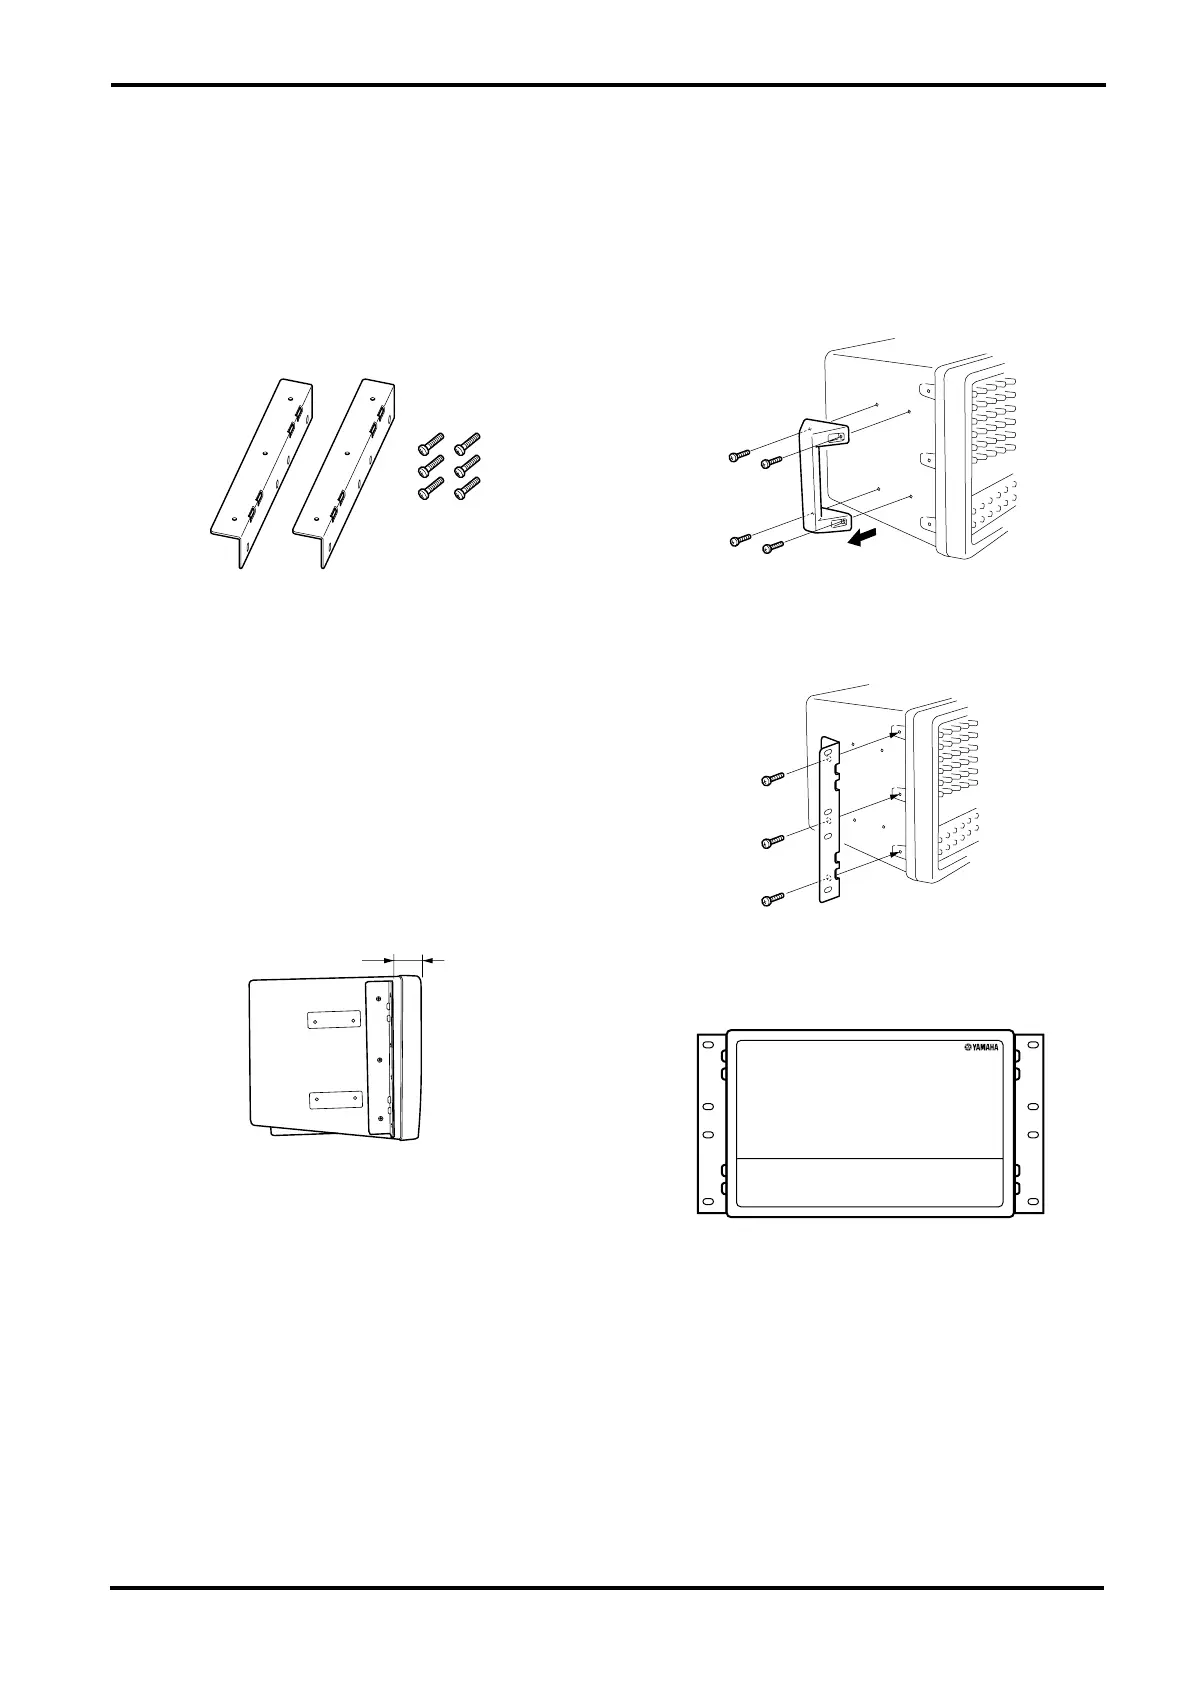
Installing an optional rack mount kit
You can rack-mount the EMX66M using an
optional rack mount kit (RK-88).
Rack mount kit RK-88
•Bracket × 2
• Screw × 6
Before you rack-mount the EMX66M, make sure
that sufficient ventilation will be maintained.
(Never install the unit in a sealed rack.)
If you are going to install multiple devices includ-
ing the unit in a rack, keep a 1U space or more
between the devices. Use a blank panel with holes
for ventilation if you wish to insert a panel
between the devices.
You will need a 7U space to install the rack
mount. After installation, the unit will project 62
mm from the front surface of the rack.
Installing the rack mount bracket
1 Remove the carrying handle by loosening and
removing four screws.
2 Attach one of the rack mount brackets to the side
of the EMX66M using three included screws.
3 Attach the other rack mount bracket in the same
way.
62
 Loading...