6-42
PERIODIC MAINTENANCE AND MINOR REPAIR
6
8. Pull the wheel axle out, and then
remove the wheel.
ECA00119
cC
Do not apply the brake after the
wheel has been removed together
with the brake disc, otherwise the
brake caliper pistons will be forced
out.
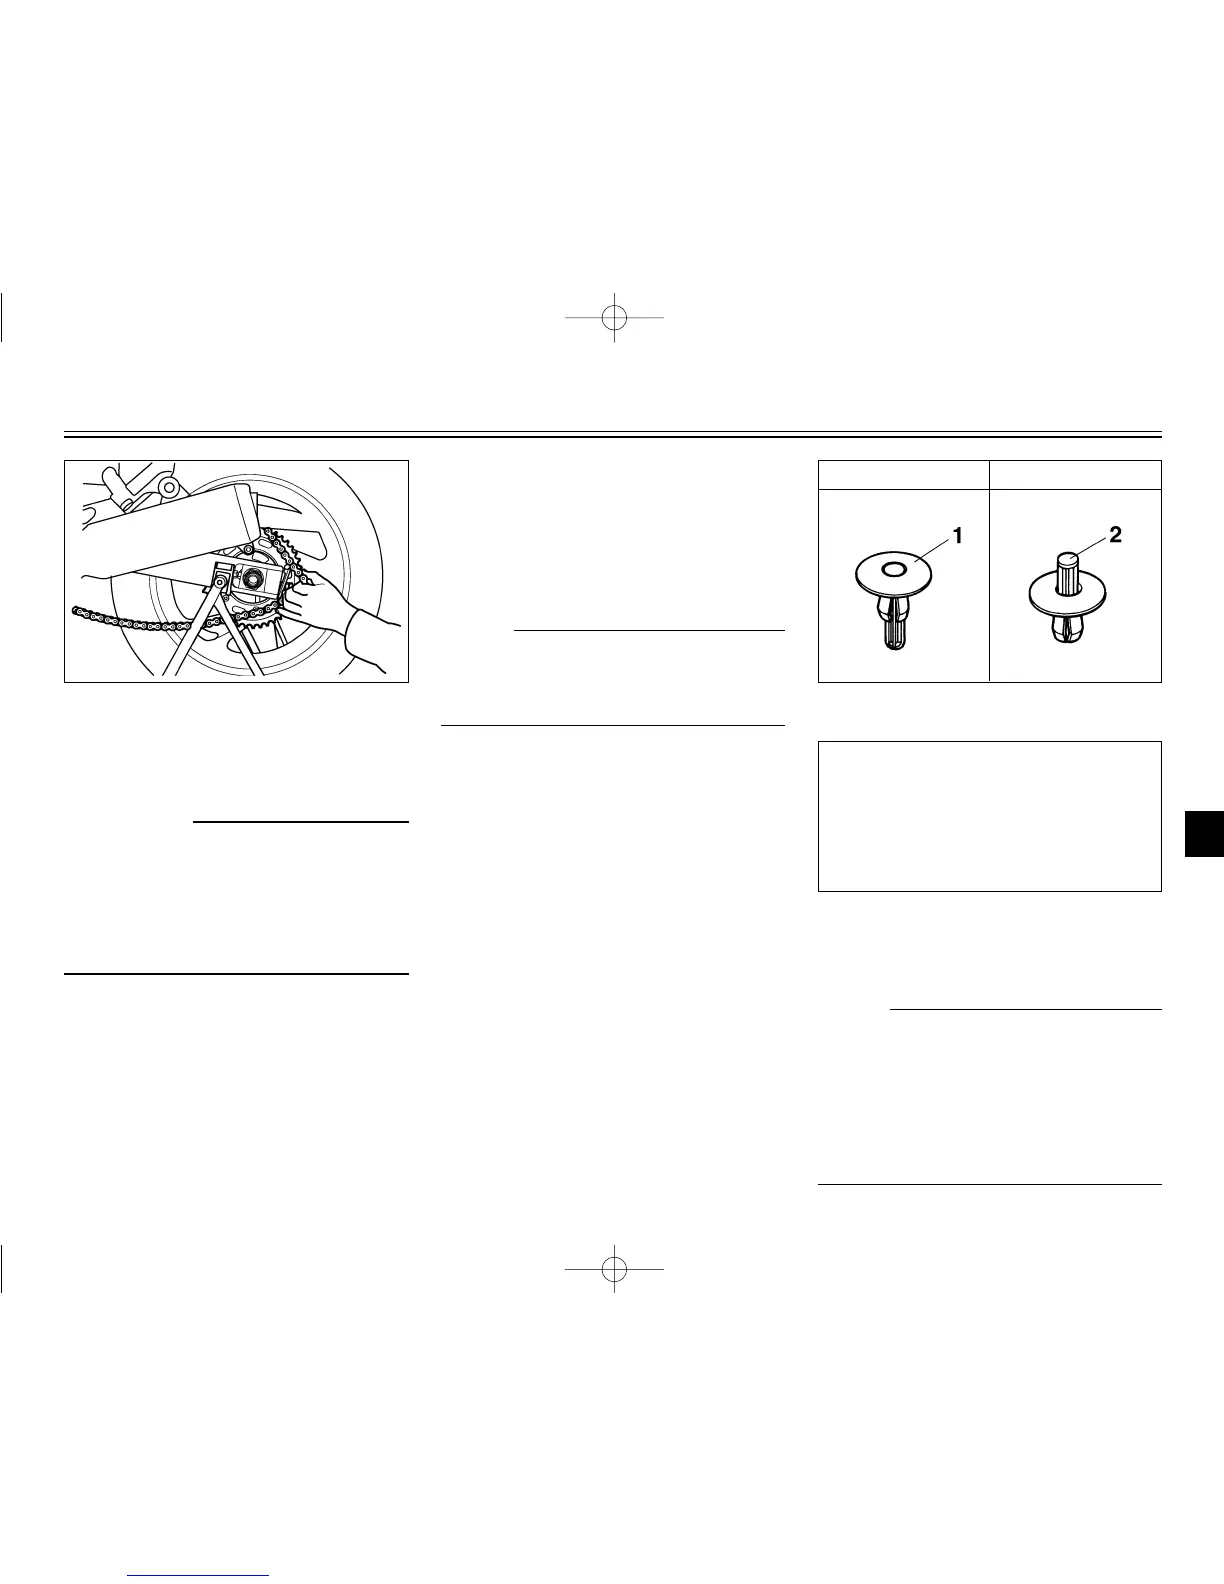
7. Install the drive chain cover by
installing the bolts and quick fas-
teners.
NOTE:
To install a quick fastener, push the
pin back so that it will protrude from
the fastener head, and then insert the
fastener and push the protruding pin
in until it is flush with the fastener
head.
EAU04456
To install the rear wheel
Installing
1. Install the wheel by inserting the
wheel axle from the right hand
side.
NOTE:
Make sure that there is enough
space between the brake pads
before installing the wheel.
2. Install the drive chain onto the
rear sprocket.
3. Loosen the brake caliper bracket
bolt.
4. Adjust the drive chain slack.
(See page 6-27 for drive chain
slack adjustment procedures.)
5. Install the axle nut, and then
lower the rear wheel so that it is
on the ground.
6. Tighten the axle nut and the
brake caliper bracket bolt to the
specified torques.
Tightening torques:
Axle nut:
150 Nm (15.0 m·kgf)
Brake caliper bracket bolt:
40 Nm (4.0 m·kgf)
1. Quick fastener
2. Pin
After removal
Before installation
5PS-28199-E1 8/29/02 9:17 AM Page 87
 Loading...