CHASSIS
3-16
d. Slowly apply the brake several times.
e. Fully pull the brake lever or fully press
down the brake pedal and hold it in posi-
tion.
f. Loosen the bleed screw.
Loosening the bleed screw will release the pres-
sure in the brake caliper and cause the brake le-
ver to contact the throttle grip or the brake pedal
to fully extend.
g. Tighten the bleed screw and then release
the brake lever or brake pedal.
h. Repeat steps (d) to (g) until all of the air
bubbles have disappeared from the brake
fluid in the plastic hose.
During the procedure, keep adding brake fluid to
the reservoir.
ECA24320
• Wipe off any brake fluid on the brake discs,
tires, wheels, etc.
• Brake fluid may erode painted surfaces or
plastic parts. Always clean up spilled fluid
immediately.
i. Tighten the bleed screw.
j. Pour brake fluid to the reservoir up to the
specified level.
Refer to “CHECKING THE BRAKE FLUID
LEVEL” on page 3-14.
EWA13110
After bleeding the hydraulic brake system,
check the brake operation.
EAM30481
DRIVE CHAIN SLACK
ECA13550
A drive chain that is too tight will overload
the engine and other vital parts, and one that
is too loose can skip and damage the swing-
arm or cause an accident. Therefore, keep
the drive chain slack within the specified lim-
its.
Checking the drive chain slack
1. Use a maintenance stand to raise the rear
wheel off the ground.
EWA13120
Securely support the vehicle so that there is
no danger of it falling over.
2. Shift the transmission into the neutral posi-
tion.
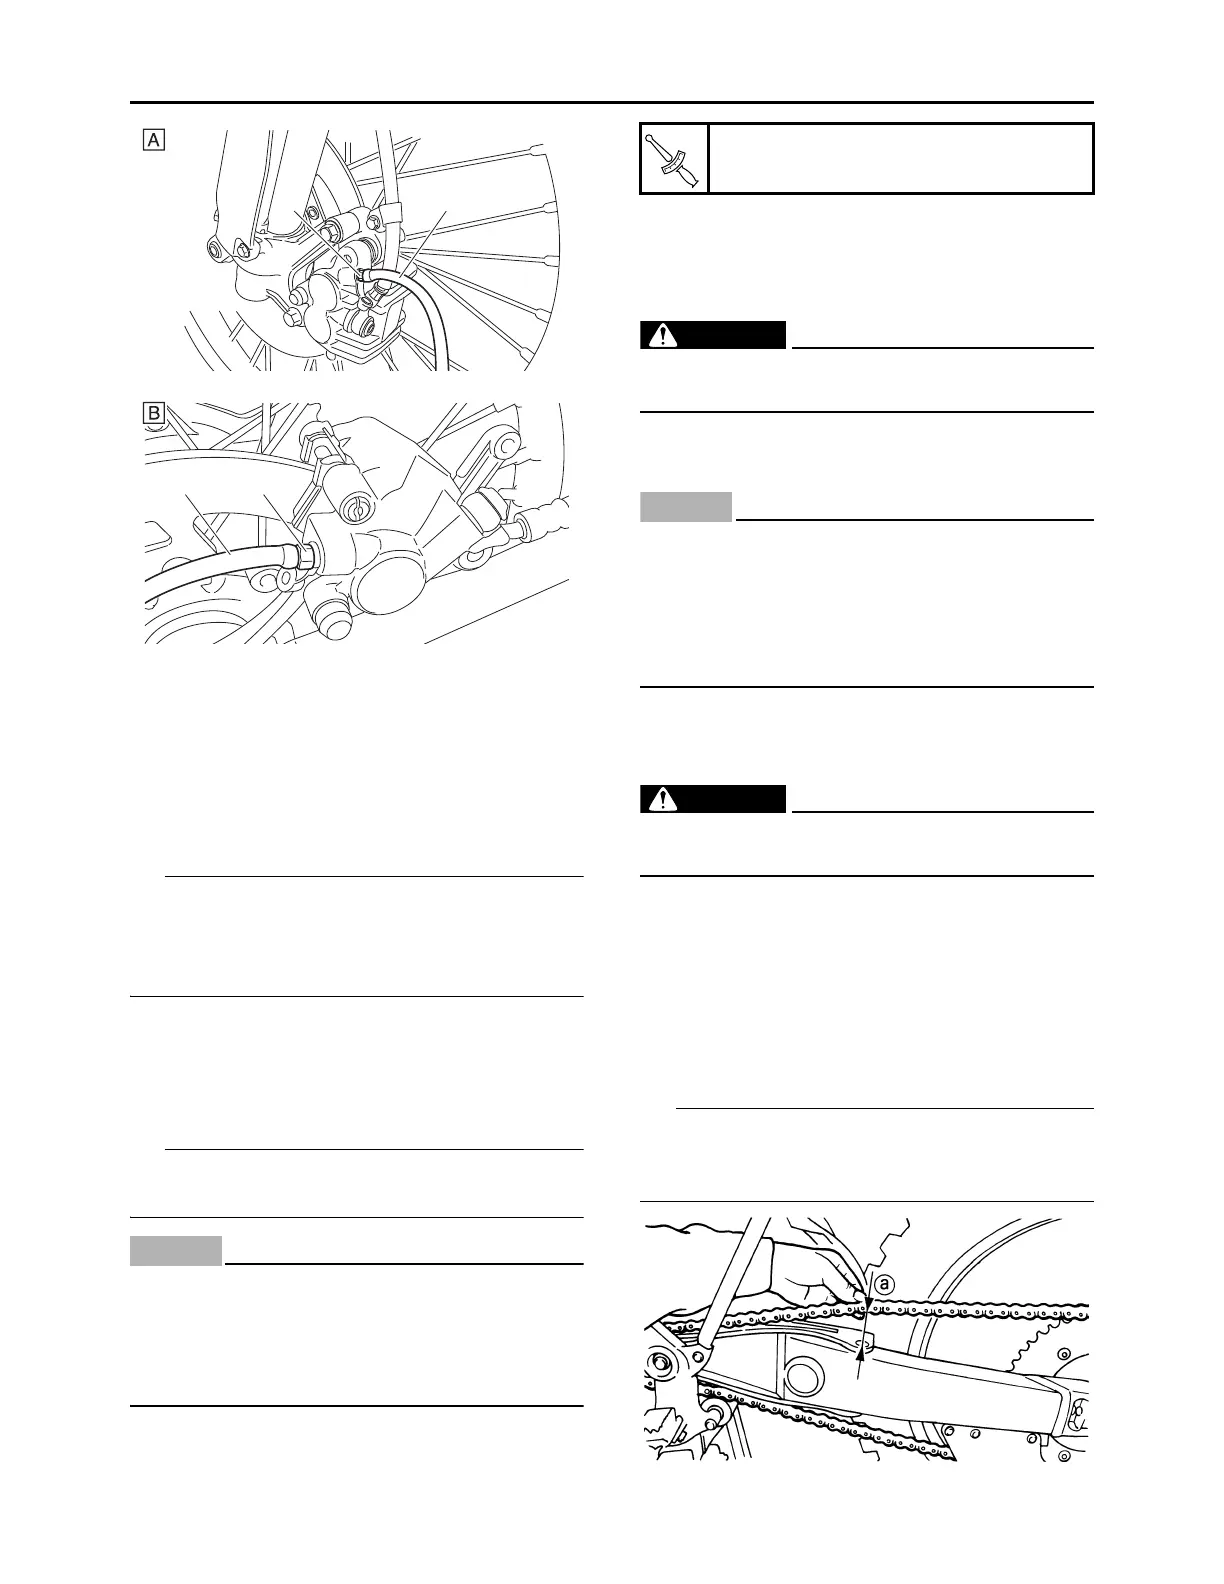
3. Pull the drive chain up above the drive chain
guide installation bolt with a force of about 50
N (5.0 kgf, 37 lbf).
4. Check:
• Drive chain slack “a”
Out of specification Regulate.
Measure drive chain slack between the drive
chain guide and the bottom of the chain as
shown.
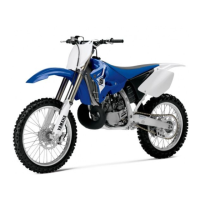
A. Front
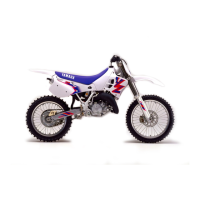
B. Rear
21
21
Brake caliper bleed screw
6 N·m (0.6 kgf·m, 4.4 lb·ft)

 Loading...