FRONT FORK
4-16
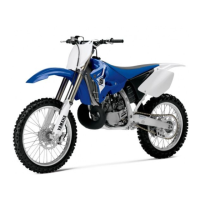
Contamination Clean.
• O-ring “2”
Wear/damage Replace.
• Piston metal “3”
Wear/damage Replace.
• Fork spring “4”
Damage/fatigue Replace base valve.
• Air bleed screw “5”
Wear/damage Replace.
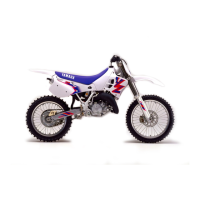
6. Check:
• Upper spring seat “1”
(contacting surface “a”)
Wear/damage Replace.
7. Check:
• Adjuster “1”
• O-ring “2”
Wear/damage Replace.
EAM30058
ASSEMBLING THE FRONT FORK LEGS
EWA13660
• Make sure the oil levels in both front fork
legs are equal.
• Uneven oil levels can result in poor han-
dling and a loss of stability.
• When assembling the front fork leg, be sure to
replace the following parts:
• Inner tube bushing
• Slide metal
• Oil seal
• Copper washer
• Before assembling the front fork leg, make
sure that all of the components are clean.
1. Stretch the damper assembly fully.
2. Fill:
• Damper assembly
ECA24530
• Be sure to use the recommended oil. Other
oils may have an adverse effect on front
fork performance.
• When disassembling and assembling the
front fork leg, take care not to allow any for-
eign material to enter the front fork.
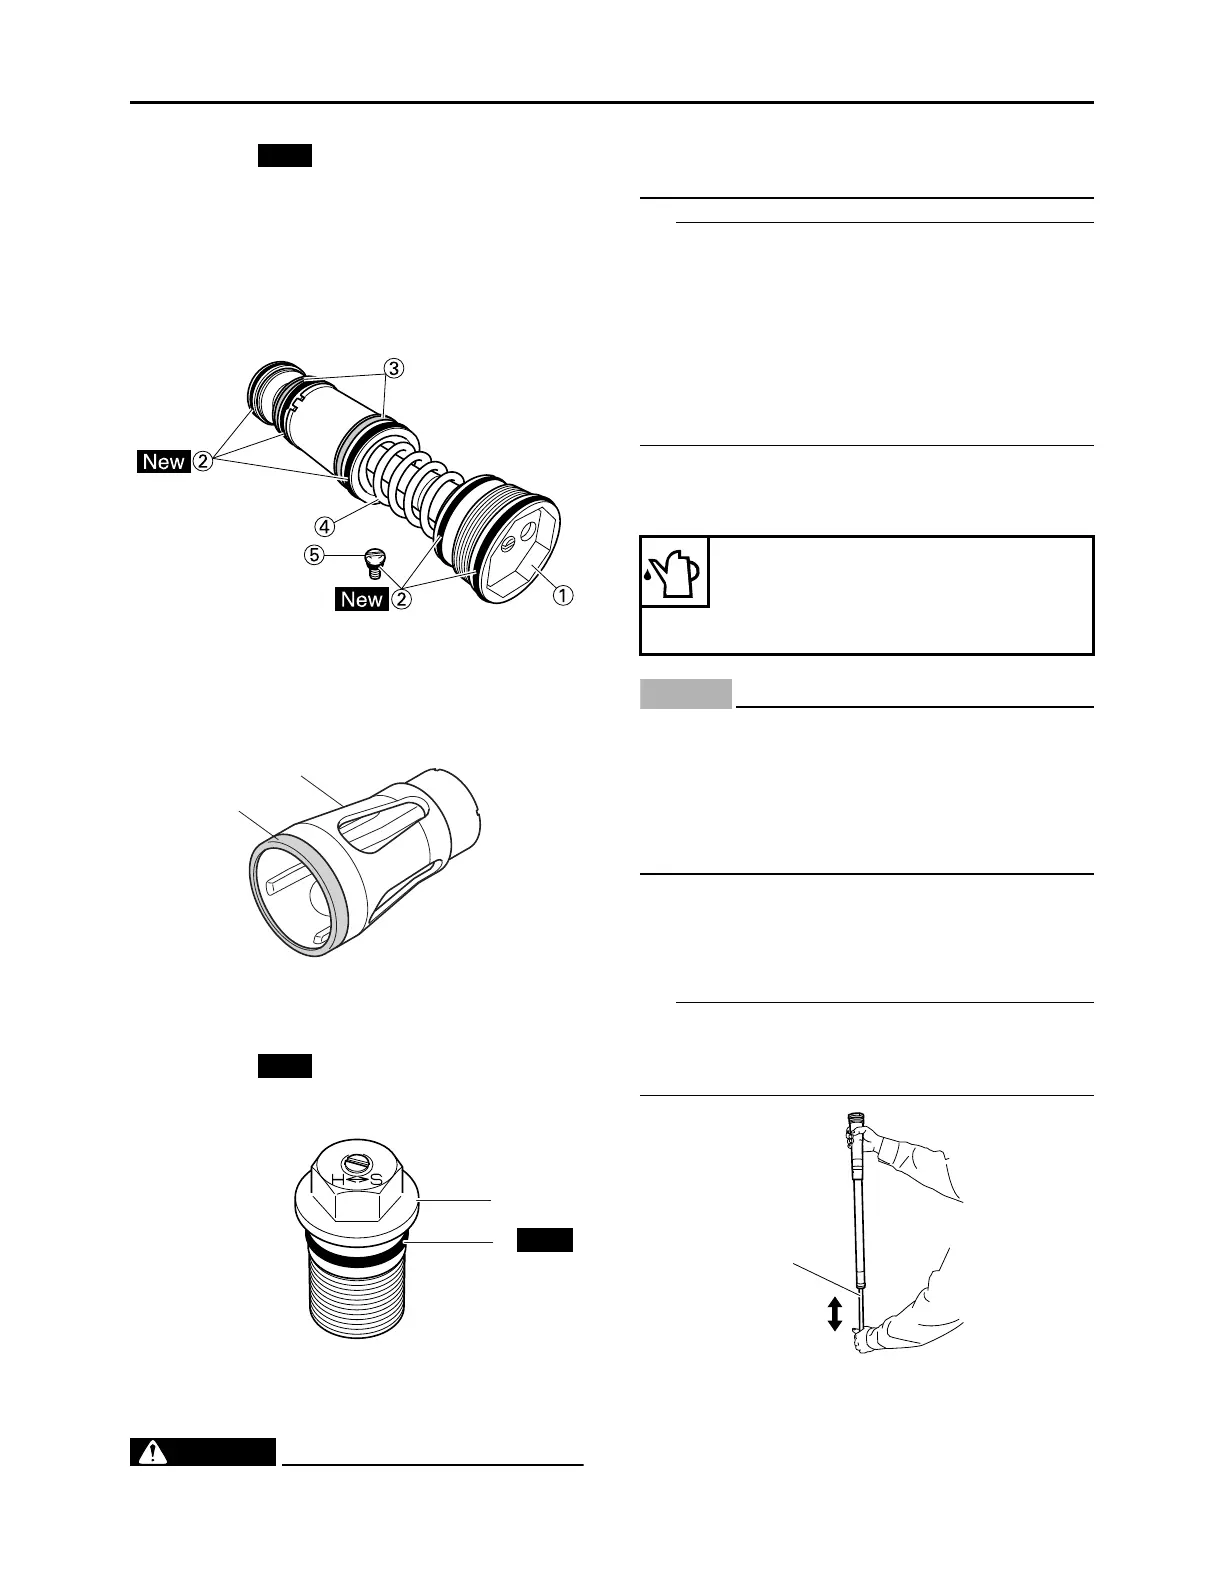
3. After filling, pump the damper assembly “1”
slowly up and down (about 200 mm (7.9 in)
stroke) several times to bleed the damper as-
sembly of air.
Avoid excessive full stroke. A stroke of 200 mm
(7.9 in) or more will cause air to enter. In this
case, repeat the steps (1) to (3).
4. Measure:
• Oil level (left and right) “a”
Out of specification Regulate.
a
1
Recommended oil
Yamaha Suspension Oil S1
Standard oil amount
205 cm³ (6.93 US oz, 7.21 Imp.oz)
 Loading...