<6. ELECTRONIC TRANSMITTER (-E)>
6-13
IM 01R01B02-00E-E 12th edition October 01, 2014 -00
All Rights Reserved. Copyright © 2003, Rota Yokogawa
6.2.9 Manual adjustment (F5-)
During manufacturers adjustment and calibration process the relation between ow rate with water (or with air)
and oat position (indicated as angle on the mm-scale) is determined. Based on the properties of the customers
uid at expected operating conditions the ow scale and the corresponding EEPROM is then
calculated.
If the uid properties are changing (by change of the uid or by change of the process conditions) the scale as
well as the EEPROM has to be adapted. Easiest and recommended way to do this is to order new scale and
EEPROM for the new properties from manufacturer and to replace both.
A second possibility is to readjust the meter by the user. This readjustment procedure will only adjust the current
output and the display indication (but only in % of the new ow range), At least the readjustment by the user is
possible by two different procedures:
1 Manual “dry” readjustment based on recalculated original scale:
The following steps have to be performed:
1.a ) Calculate the new of ow rate to mm (on scale) relation based on original manufacturers calibration
certicate.
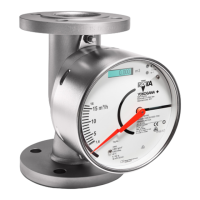
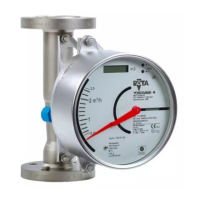
1.b ) Place the RAMC (with the measuring tube) horizontally on a table (Note: the distance to any ferro-
magnetic parts must be at least higher then 25 cm!).
1.c ) Go to menu function F51 and press ENTER to switch to manual adjustment mode. (Switching back
to the original adjustment is possible by pressing ENTER again).
1.d ) Go to menu function F52 in order to start the manual adjustment.
1.e ) Move the oat to a position where the pointer is indicating on mm-scale the mm-value belonging to
5% of the new ow rate (Note: these values have to be calculated in step a rst!)
1.f ) Press ENTER to adjust the rst 5% point.
1.g ) Repeat steps 1.e) to 1.f) for the 15%; 25%; 35%; 45%; 55%; 65%; 75%; 85%; 95% and 105%
points. (Note: The whole loop from 5% to 105% has to be adjusted in the requested order without
interruption. It is not possible to skip or stop and restart the adjustment.)
1.h ) The adjustment has to be nished and stored by pressing “ ↑ “.
After storage the new adjustment is permanently available and can be switched “on” or “off” by function F51.
When manually adjustment is active, the user is responsible for the measurement accuracy.
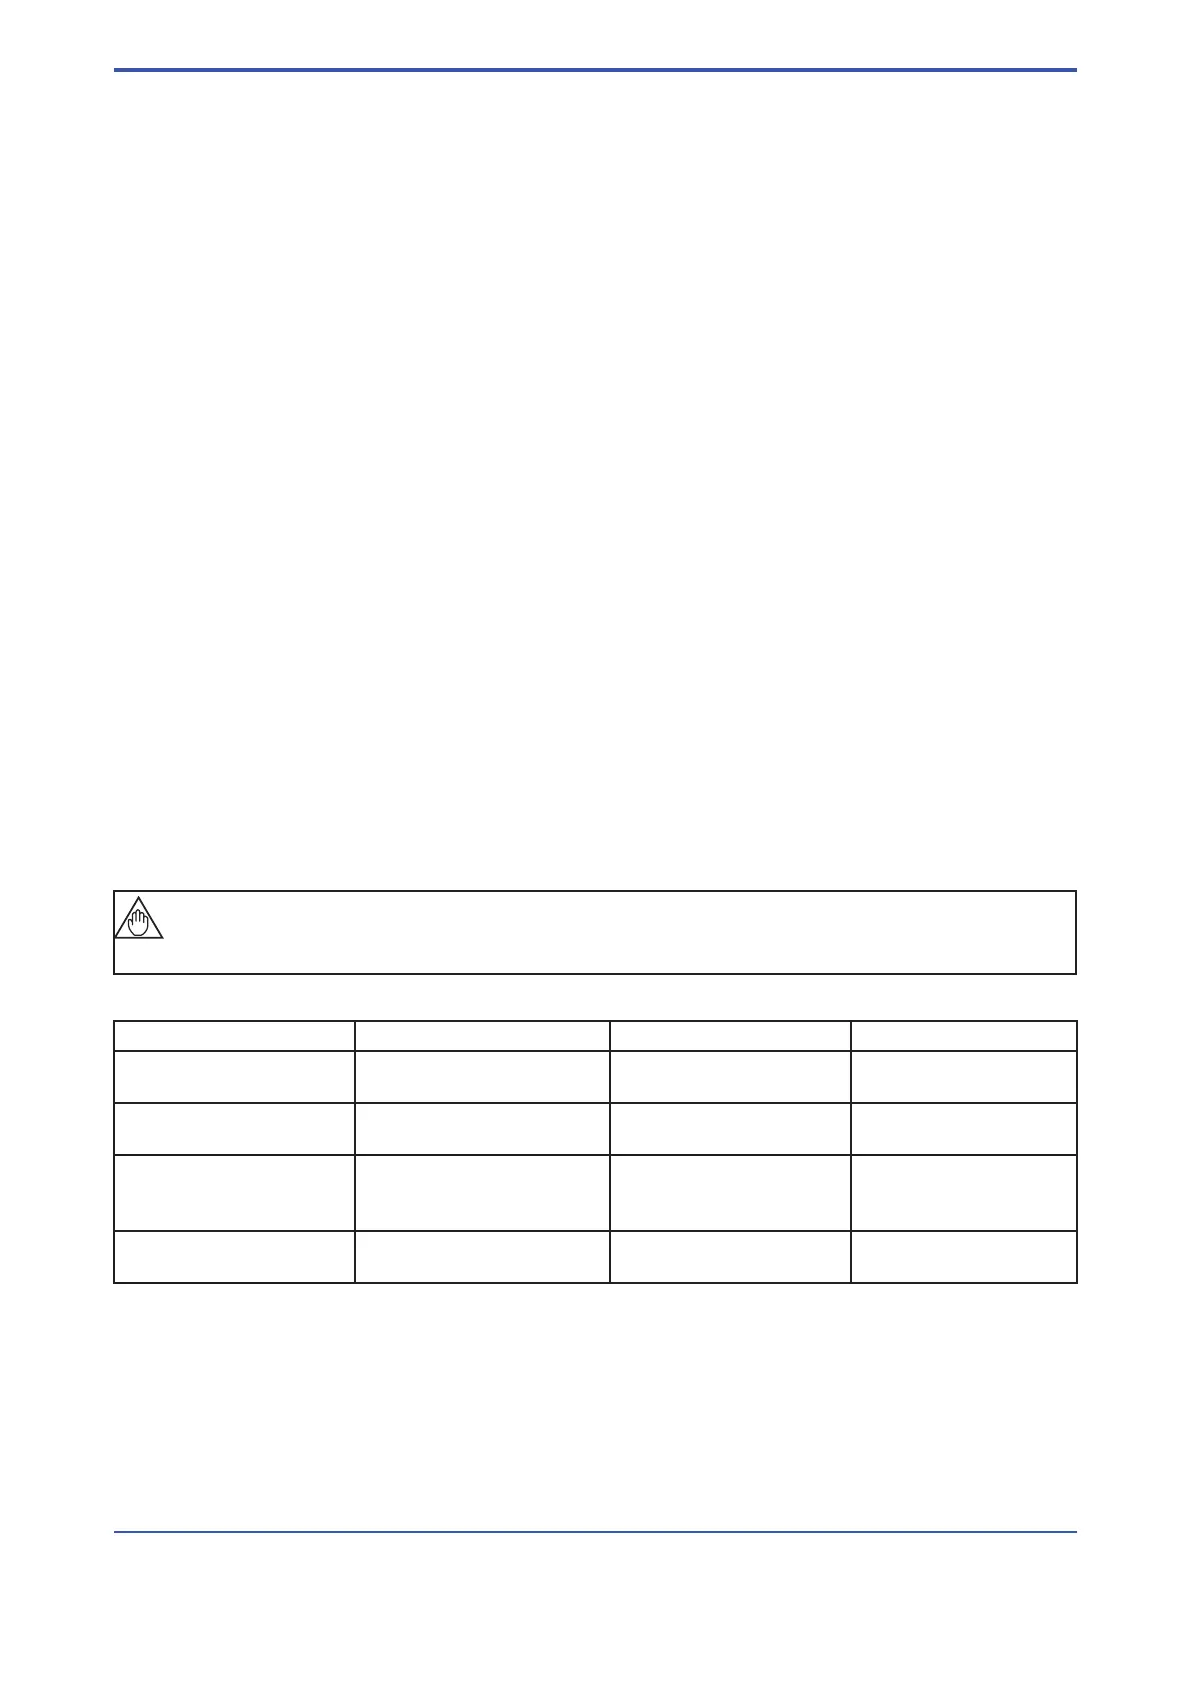
Activating/deactivating manual adjustment table (F51)
Description Selection Key Indication
Change to setting mode Enter
Display mode
F1-
Setting mode 4 x →
Enter
F5-
F51
Selection
Change state
Take state
Enter
→
Enter
F51 -1 or -2 (*)
F51 -2 or -1
F51
Back to display mode
↑
↑
F5-
Display mode
(*) -1 : manual adjustment OFF; -2 : manual adjustment ON
 Loading...