- 23 -
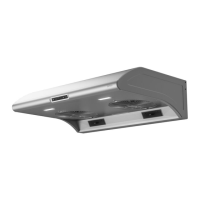
If you choose “B” air outlet (Fig.26):
1.Remove the (2) knockouts (Fig.29).
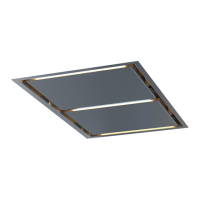
2.Install 10” round collar to the plate by means
(2) mounting screws 3.9x6mm (Fig. 30). Fix
the assembly round collar/plate to the hood
by means (4) 3.9x6 mm screws (Fig.30).
FIG.29
FIG.30
10” ROUND
COLLAR
A
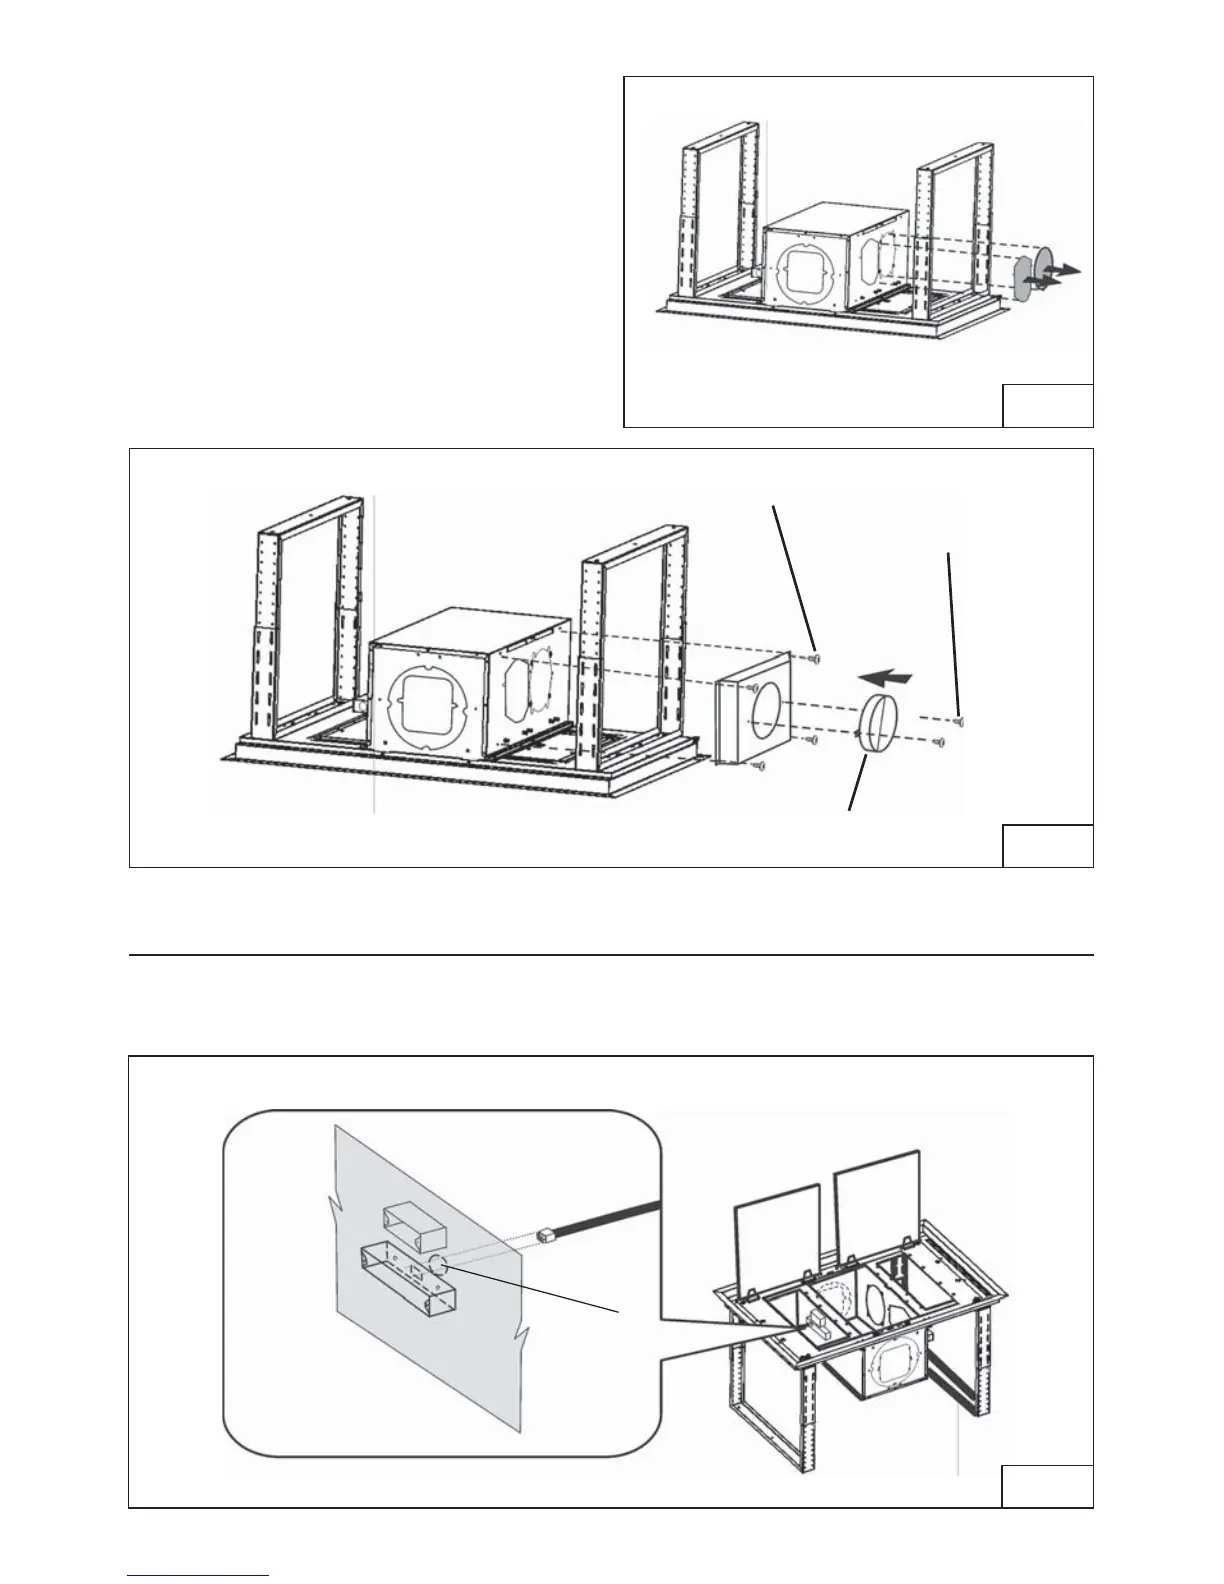
FIG.31
CONNECT THE WIRES (EXTERNAL AND IN-LINE BLOWER)
1. Remove a knockouts (A). See Fig. 31.
2. Secure the conduit to the wiring box through a conduit connector. For the connections
see section “Wiring (External and In-Line Blower)”.
(4) MOUNTING SCREWS
(3.9 x 6 mm Flat Head)
(2) MOUNTING SCREWS
(3.9 x 6 mm Flat Head)
 Loading...