- 19 -
Hood with 1 internal blower
(ducting and non-ducting version)
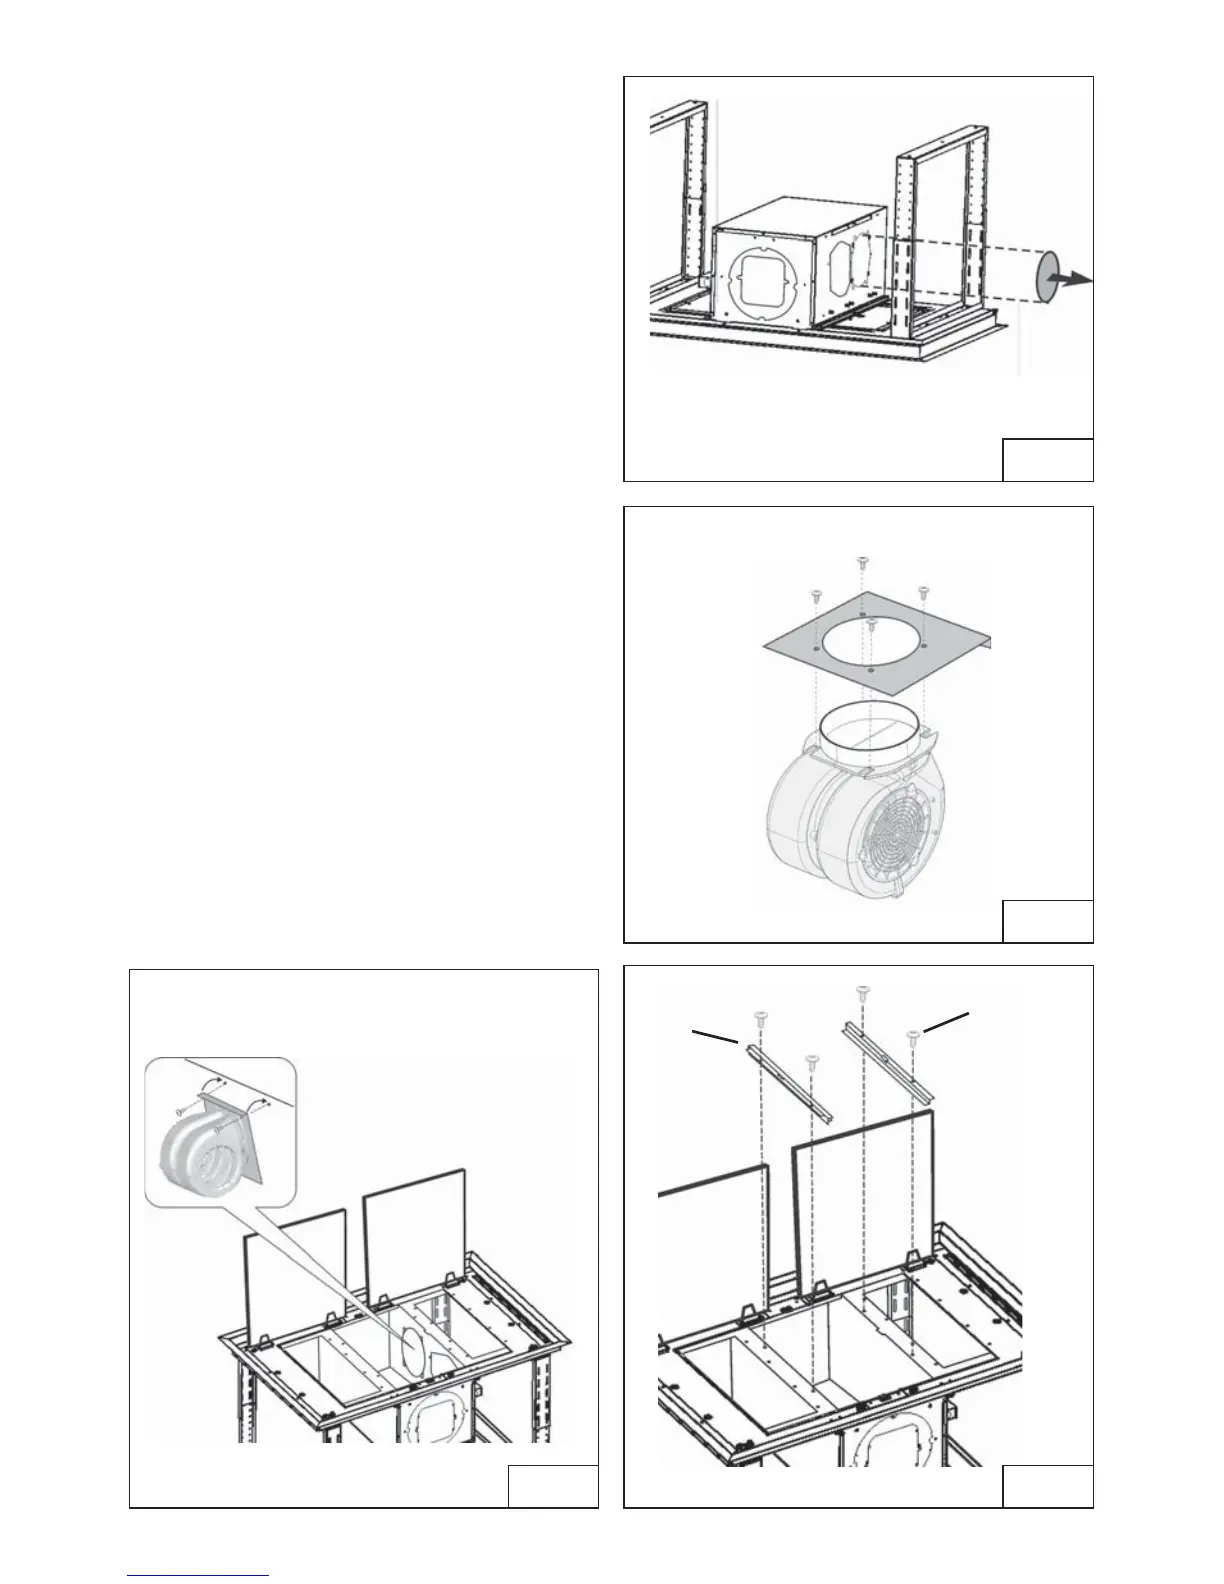
If you choose “B” air outlet (Fig.13):
1.Remove the knockout (Fig.17).
2.Install internal blower into blower plate
and secure using (4) screws supplied with
the motor (Fig.18).
3.Install assembly blower by means (2) M4 x
15 mm screws (Fig.19).
Installation Brackets (ONLY non-ducted
version):
Install the (2) mounting brackets using (4)
3,9 x 6 mm screws (Fig.20).
FIG.17
FIG.18
FIG.20FIG.19
(4) MOUNTING
SCREWS (Supplied
with the motor)
bracket with
springs
(2) MOUNTING
SCREWS
M4 x 15 mm
(4) MOUNTING SCREWS
(3.9 x 6 mm Flat Head)
 Loading...