INSTALLATION
10 • Residenal Hybrid Electric Heat Pump Water Heater Use and Care Guide
heater
1
Read each installaon step
and decide if you have the
necessary skills to install the
water heater. Only proceed if you can
safely perform the work. If you are
not comfortable, have a qualied
person perform the installaon.
2
Locate the water heater’s
circuit breaker and turn it
OFF (or remove the circuit’s
fuses).
3
On the old water heater,
remove the electrical
junction box access panel.
Using a non-contact circuit tester,
check the wiring to make certain the
power is OFF.
-
4
Disconnect the electrical
wires.
5
Open a hot water faucet and
let the hot water run unl it
is cool (This may take 10
minutes or longer).
Figure 10 - Let the hot water run until it is
cool.
-
6
Connect a garden hose to
the drain valve and place the
other end of the hose in a
drain, outside, or a bucket. (Note
that sediment in the boom of the
tank may clog the valve and prevent
it from draining. If you can’t get the
tank to drain, contact a qualied
person.)
7
Turn the cold water supply
valve OFF.
8
Open the drain valve on the
water heater.
Figure 11 - Draining the old water heater.
9
Also open a hot water faucet
to help the water in the tank
drain faster.
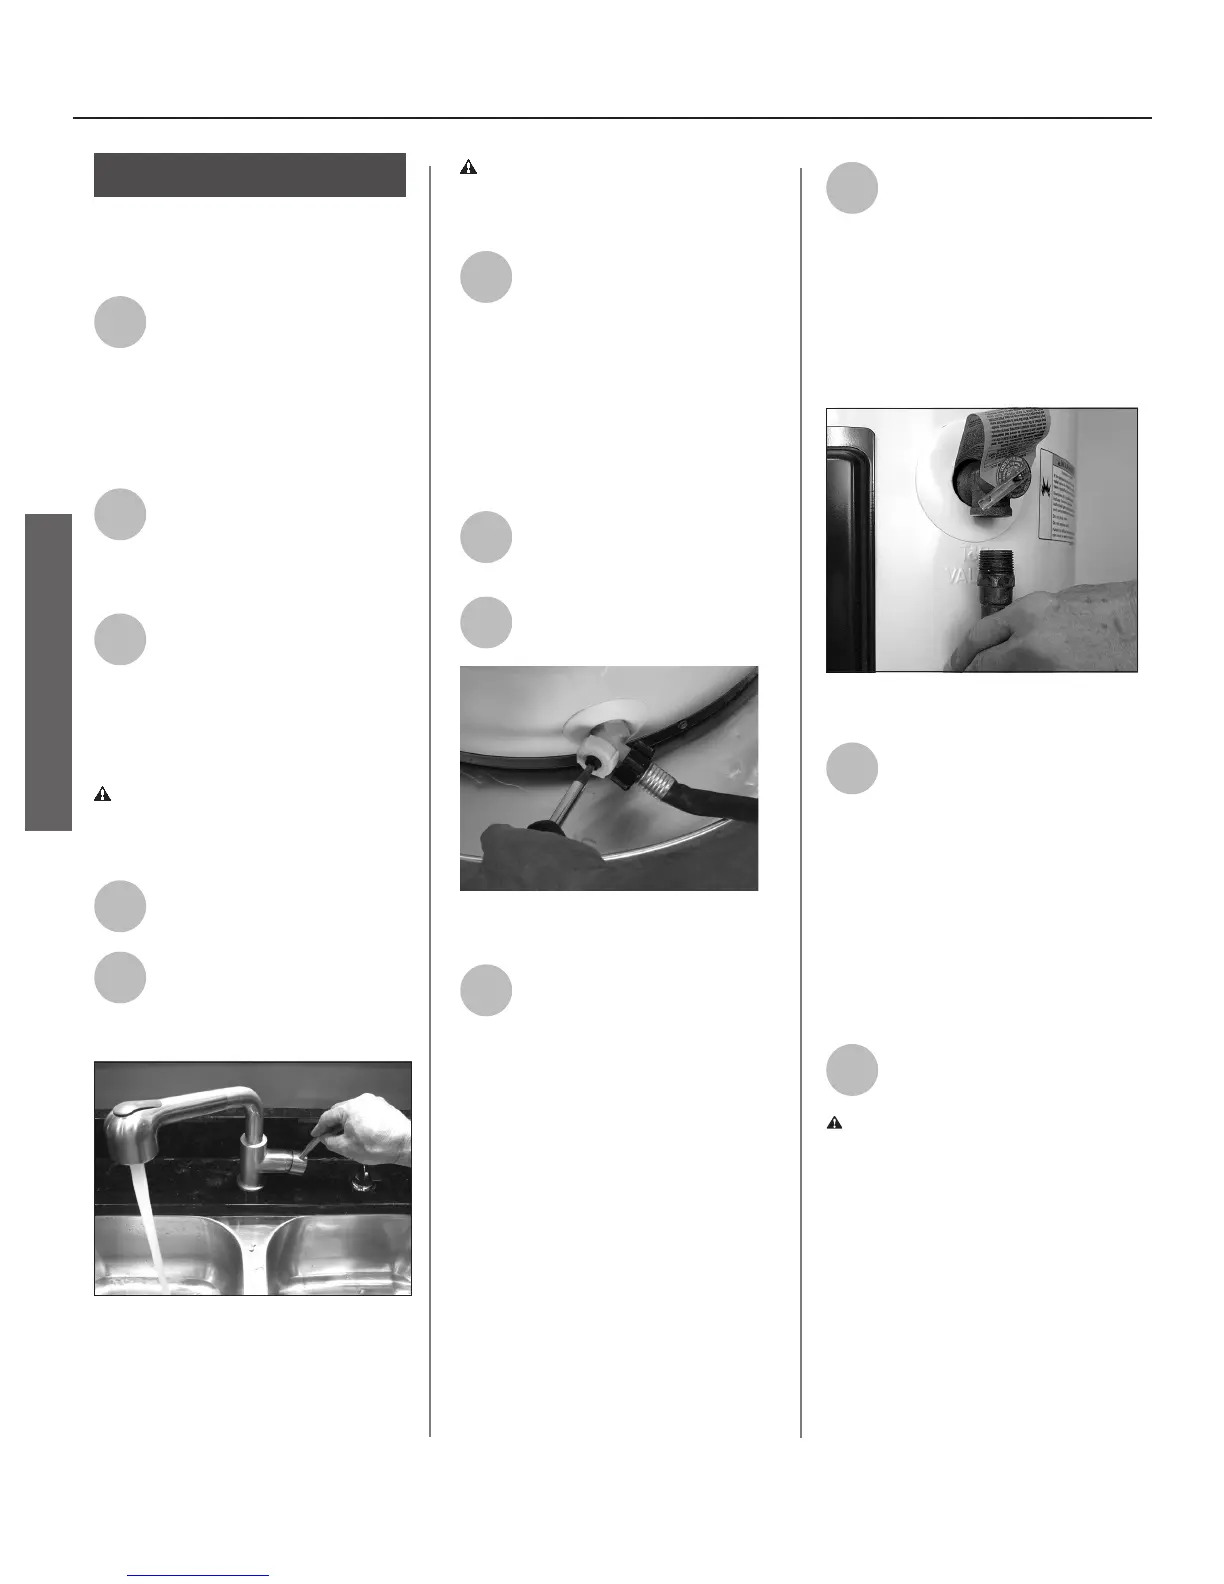
10
When the tank is empty,
disconnect the Temperature &
Pressure (T&P) Relief Valve
discharge pipe. You may be able to
reuse the discharge pipe, but do not
reuse the old T&P Relief Valve. A new
T&P Relief Valve comes installed on
your water heater (or on some models,
is in the carton with the water heater).
Figure 12 - Removing the T&P Relief Valve
discharge pipe.
11
Disconnect the water pipes.
Many water pipes are
connected by a threaded
union which can be disconnected with
wrenches. If you must cut the water
pipes, cut the pipes close to the water
heater’s inlet and outlet connecons,
leaving the water pipes as long as
possible. If necessary, you can make
them shorter later when you install
the new water heater.
12
Remove the old water heater.
INSTALLATION
 Loading...