7MD Evolution – Dialog 4425 IP Vision
Installing Your Extension
When it is necessary to disconnect a cord, it is recommended that
you use a screwdriver to depress the release tab on the RJ45 or
RJ12 male connector.
Notes:
In some cases, your extension may be directly powered
from your company’s LAN, if the LAN is equipped to do so
(in compliance with standard IEEE802.3af). In this case,
only the LAN connection is made, through a specific
network cable.
On the back of your extension, there is also an Ethernet jack
labelled “PC”, which – when applicable – enables you to
connect your PC to the LAN through your telephone. These
then share the same Ethernet port on the LAN.
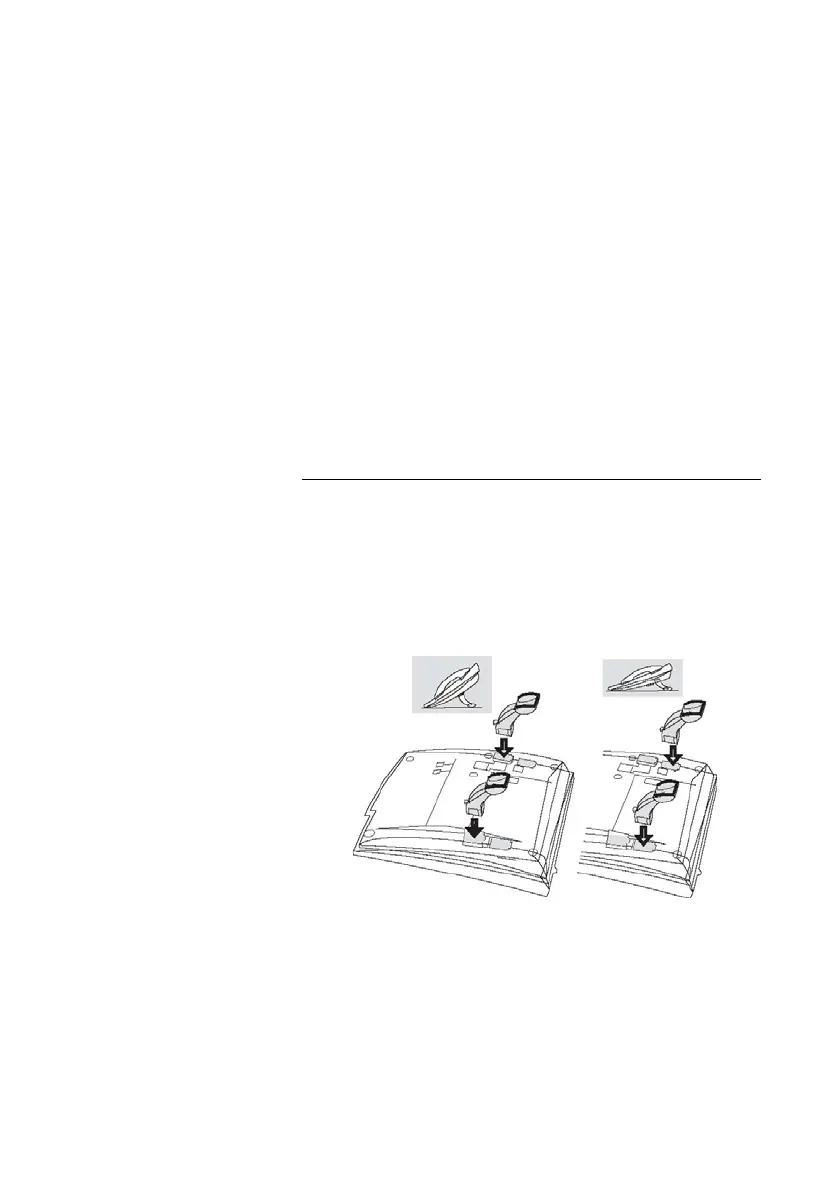
Installing Your Extension’s Support Feet,
and Adjusting the Angle
Your extension is equipped with two support feet that have two
possible installation angles, depending on the angle you prefer for
your extension.
To install the support feet, push them into the underside of your
extension to the desired angle, then push in the tab to hold their
position.
 Loading...