3
EN
Table of contents
1. Reference number index 4
2. Labels and Symbols 8
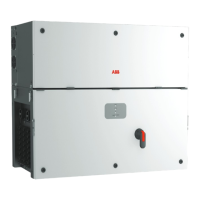
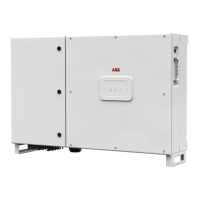
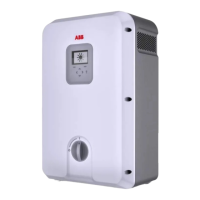
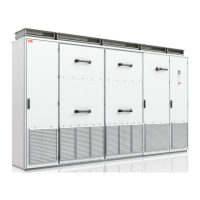
3. Models and range of equipment 9
4. Lifting and transport 10
4.1 Transport and handling 10
4.2 Unpacking and checking 10
4.3 Lifting 10
5. List of supplied components 12
6. Choice of installation location 13
6.1 General recommendation on
installation position 13
6.2 Tilting admittance 13
6.3 Distances 13
7. Mounting Instructions 15
7.1 Bracket assembly 15
7.2 Assembly the Inverter to the bracket 16
7.3 Opening the Wiring box cover 18
7.4 Final fastening operations 18
7.5 Opening the power module cover 19
7.6 Connection of the AC interface cables 20
7.7 Connection of the interface signal
connectors 21
7.8 Connection of the DC interface cables 21
8. Routing the cable to the inverter 23
9. Grid output connection (AC side) 24
9.1 Characteristics and sizing of the
protective grounding cable 24
9.2 Load protection breaker (AC disconnect
switch) and differential protection
downstream of the inverter 24
9.3 Characteristics and sizing of the line
cable 25
9.4 AC output cables connection 25
10. Input connection (DC) 28
11. Connection of the communication
and control signals 31
11.1 Communication and control board
references 31
11.2 Connections to the communication
and control board 32
11.3 Ethernet connection 32
11.4 Serial communication connection
(RS485) 33
11.5 Remote control connection 34
11.6 Multifunction Relay connection
(ALARM and AUX) 34
11.7 Demand Response Mode 0 (AS/NZS
4777.2) 35
12. Description of LED panel 35
13. Commissioning 37
13.1 Commissioning via ABB Installer for
Solar Inverters mobile APP 38
13.2 Commissioning via Web User Interface 39
14. Technical data table 40
 Loading...