5-6 Jumper and Connector Locations
9. Press the power button to turn on the computer.
10. After the POST, remove the tool from the hardware gap.
11. Reinstall the battery pack, and the bay cover
12. Turn on the computer and press F2 during bootup to access the Setup utility.
13. Press F9 to load the system defaults.
14. Press F10 to save the changes you made and close the Setup utility.
Performing a BIOS recovery 0
BIOS Recovery Boot Block 0
BIOS Recovery Boot Block is a special block of BIOS. It is used to boot up the system with
minimum BIOS initialization. Users can enable this feature to restore the BIOS firmware to a
successful one once the previous BIOS flashing process failed.
BIOS Recovery Hotkey 0
A function hotkey- <Fn + Esc>, used to enable the BIOS Recovery process when system is
powered On during BIOS POST. To use this function, it is strongly recommended to have the
AC adapter and Battery present. If this function is enabled, the system will force the BIOS to
enter a special BIOS block, called Boot Block.
Creating the Crisis Disk 0
To create the Crisis Recovery disk:
1. Plug a removable USB storage disk into your computer’s USB port.
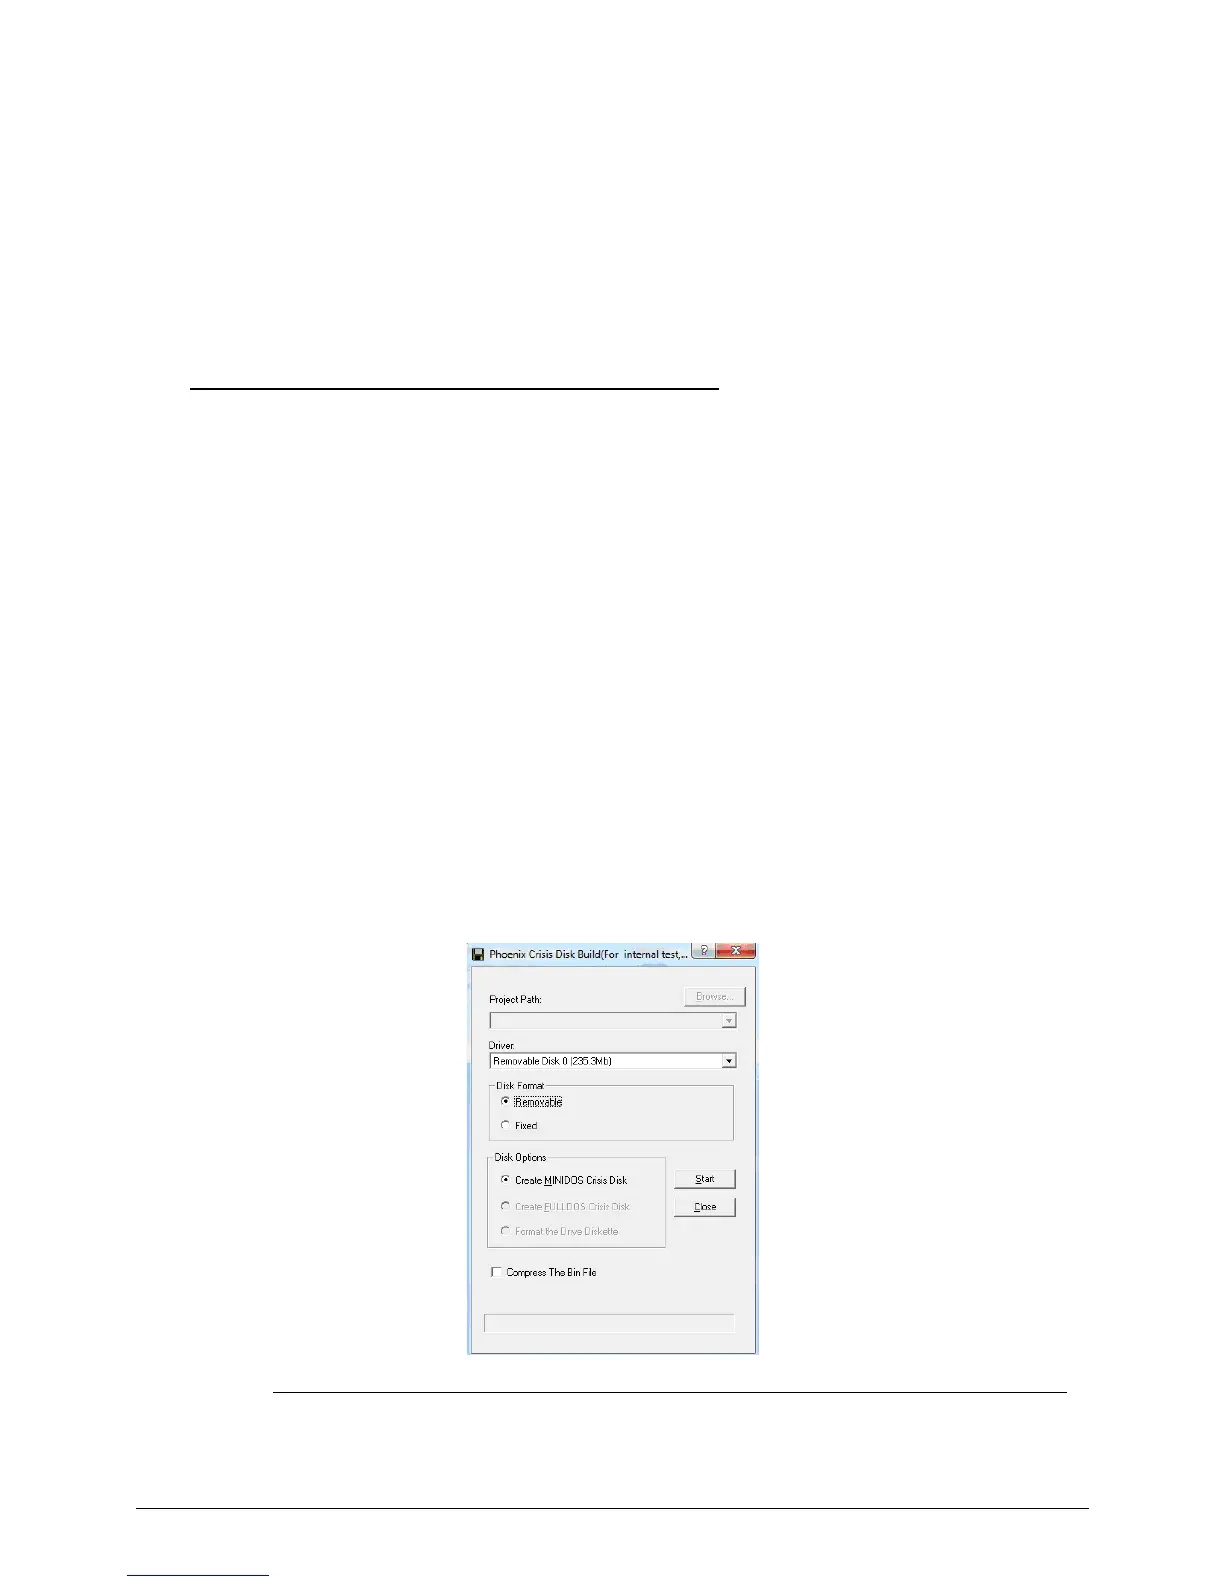
2. Save and launch the <WINCRIS.EXE> file.
Figure 5-4. Create Crisis Disk
3. Click Start.

 Loading...