Rockwell Automation Publication CNET-IN005A-EN-P - May 2011 15
Install a 1756 ControlNet Communication Module Chapter 1
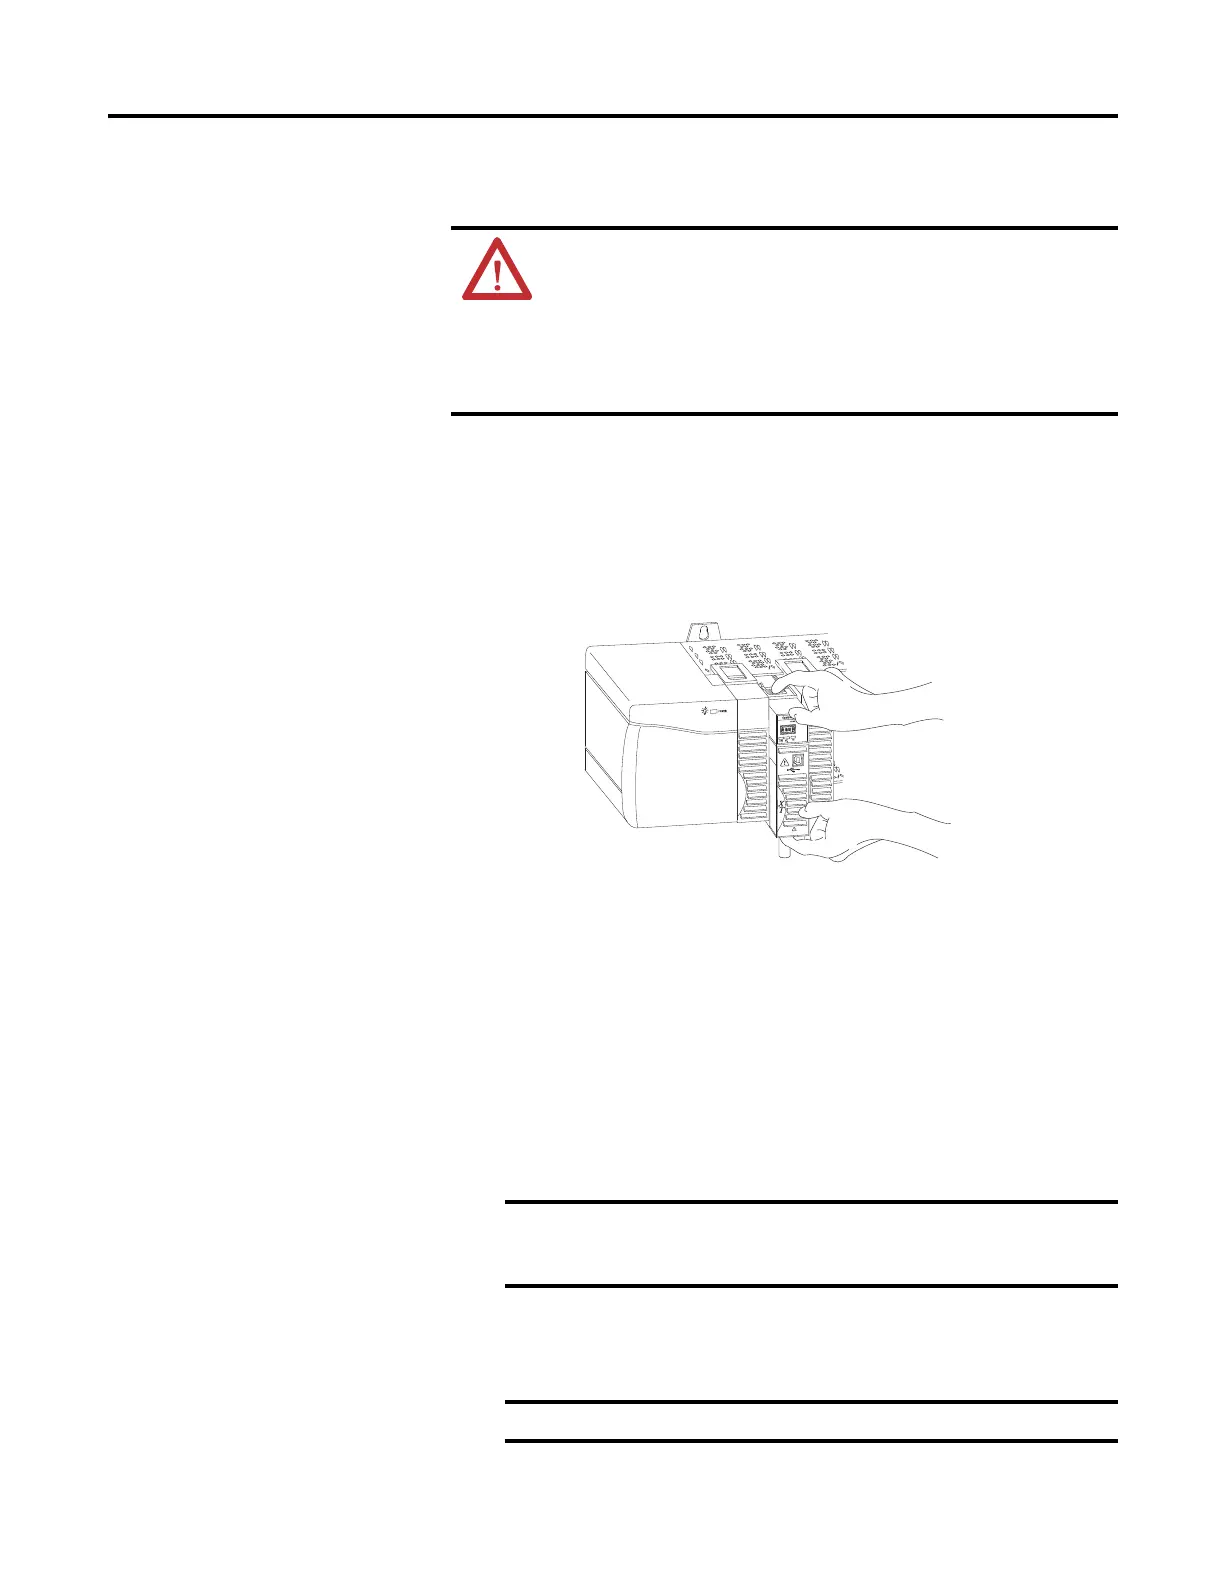
Remove the Module
You can install or remove this module while chassis power is applied.
To remove or replace the module, use this procedure.
1. Push on the upper and lower module tabs to disengage them.
2. Slide the module out of chassis.
The figure shows the removal of a 1756-CN2RXT module.
Reset the Module to the Original Factory Settings
If you are using a 1756-CN2/B, 1756-CN2R/B, or 1756-CN2RXT
communication module, you can reset the module to its original settings and
clear all keeper information.
To reset a module to its factory settings, complete these steps.
1. Remove power from the chassis.
2. Remove the module from the chassis.
3. Reset the switches to 00.
WARNING: When you insert or remove the module while backplane
power is on, an electrical arc can occur. This could cause an explosion in
hazardous location installations.
Be sure that power is removed or the area is nonhazardous before
proceeding. Repeated electrical arcing causes excessive wear to contacts on
both the module and its mating connector. Worn contacts may create
electrical resistance that can affect module operation.
Removing power from the chassis before removing the module is
only necessary if the module is in a Class I, Division 2 hazardous
location.
Do not use the 00 switch setting during normal module operation.
X
T
X
T
 Loading...