Rockwell Automation Publication 193-IN080A-EN-P - September 2018 13
E300 Electronic Overload Relay
4. RSNetWorx now browses the network and displays all nodes that it has detected on the network. For some versions of RSNetWorx
software, the E300 relay EDS files may not be included. In this event, the device is identified as an ‘Unrecognized Device’.
5. If RSNetWorx software recognizes the device as an E300 Overload Relay (or E3/E3 Plus in emulation mode), proceed to node
commissioning of the device.
You can also commission a node by using the DeviceNet Configuration Terminal, Cat. No. 193-DNCT.
Downloading the Electronic Data Sheet (EDS) File
For EtherNet/IP Communication
The EDS file for the E300 relay EtherNet/IP communication module is embedded within the module. Using RSLinx Classic, you can install the
proper EDS file for the E300 relay using the following steps:
1. Open RSLinx Classic and browse the EtherNet/IP network that has the E300 relay. It is identified with a yellow question mark. Right click
on the unrecognized device and select Upload EDS File from Device.
2. Using the EDS Wizard, install the embedded E300 relay EtherNet/IP Communication Module EDS file.
3. When finished, RSLinx Classic recognizes the newly registered E300 relay EtherNet/IP Communication Module. The yellow question
mark should have disappeared.
Now your E300 relay is configured within your network.
For DeviceNet Communication
The EDS file for the E300 relay DeviceNet communication module is embedded within the module. Using RSNetWorx for DeviceNet, you can
install the proper EDS file for the E300 relay using the following steps:
1. Launch the RSNetWorx software, then select Online from the Network pull-down menu.
2. Select the appropriate DeviceNet personal computer interface, then click OK.
3. If the RSNetWorx software gives notification to upload or download devices before viewing configuration, click OK to upload or download
these devices.
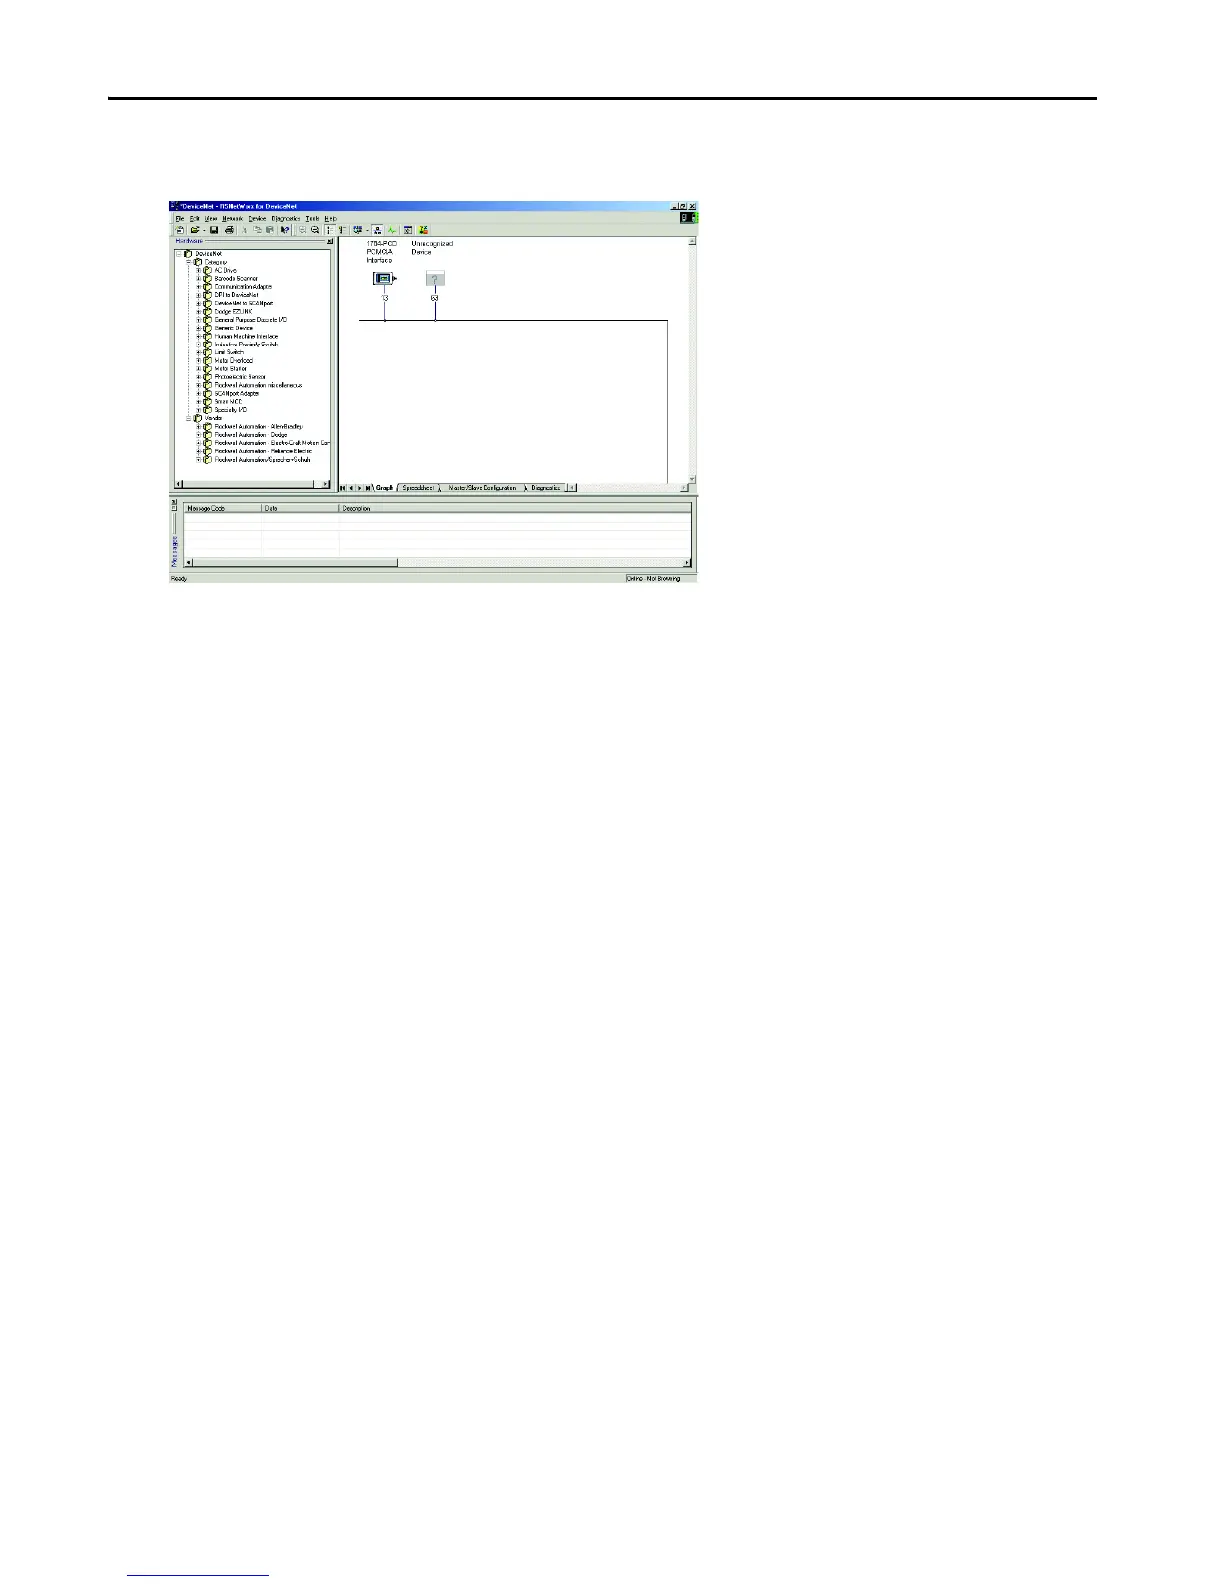
4. RSNetWorx now browses the network and displays all nodes it has detected on the network. Those nodes that do not yet have an EDS file
registered are identified as an ‘Unrecognized Device’.
5. Right-click the Unrecognized Device icon. The Register Device menu appears.
6. Select Yes. The EDS Wizard appears.
7. Select Next, then Create an EDS File.
8. Select Next.
9. Select Upload EDS.
 Loading...