 Loading...
Do you have a question about the Asus P6T - Motherboard - ATX and is the answer not in the manual?
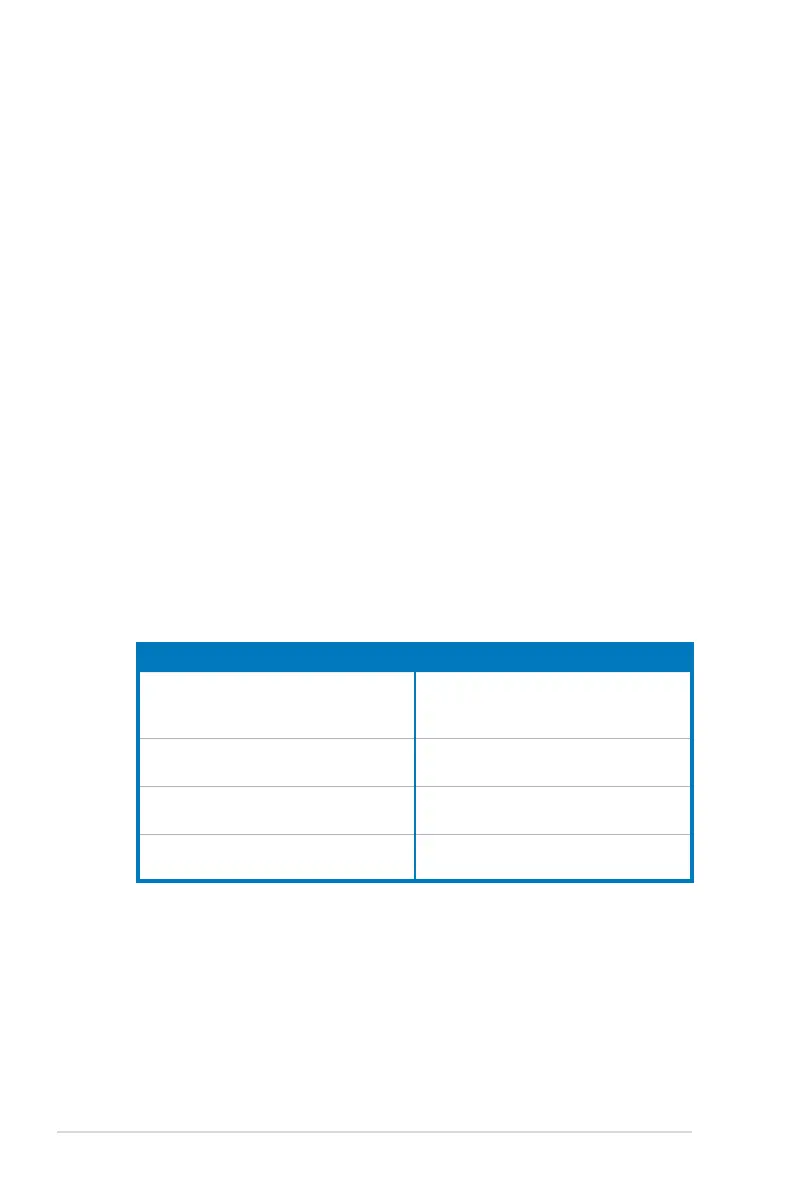
| Brand | Asus |
|---|---|
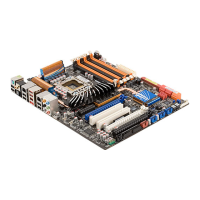
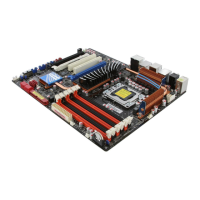
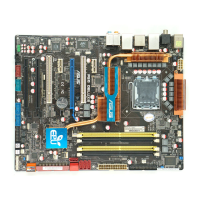
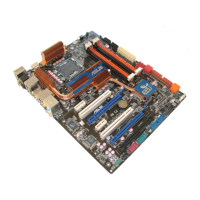
| Model | P6T - Motherboard - ATX |
| Category | Motherboard |
| Language | English |
Essential precautions and safety guidelines before installing motherboard components.
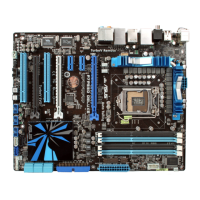
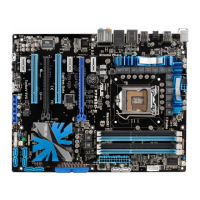
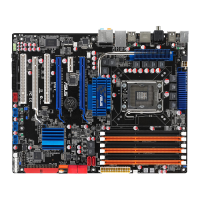
Information and installation guide for the CPU socket and component.
Details on DDR3 DIMM sockets, configurations, and installation.
Guides for connecting rear panel and internal motherboard connectors.
Utilities and procedures for updating the motherboard BIOS.
Introduction to the BIOS setup utility and its navigation.
Settings for configuring SATA devices and RAID options.
Options for overclocking-related settings like CPU frequency and voltages.
Advanced settings for CPU, chipset, onboard devices, and USB/PCI configurations.
Utility for real-time overclocking of CPU, voltages, and frequencies.
Installation and configuration procedures for ATI CrossFireX multi-GPU setup.
Installation and configuration procedures for NVIDIA SLI multi-GPU setup.