Page 22
Unity Controller R9 Variants, Issue 13
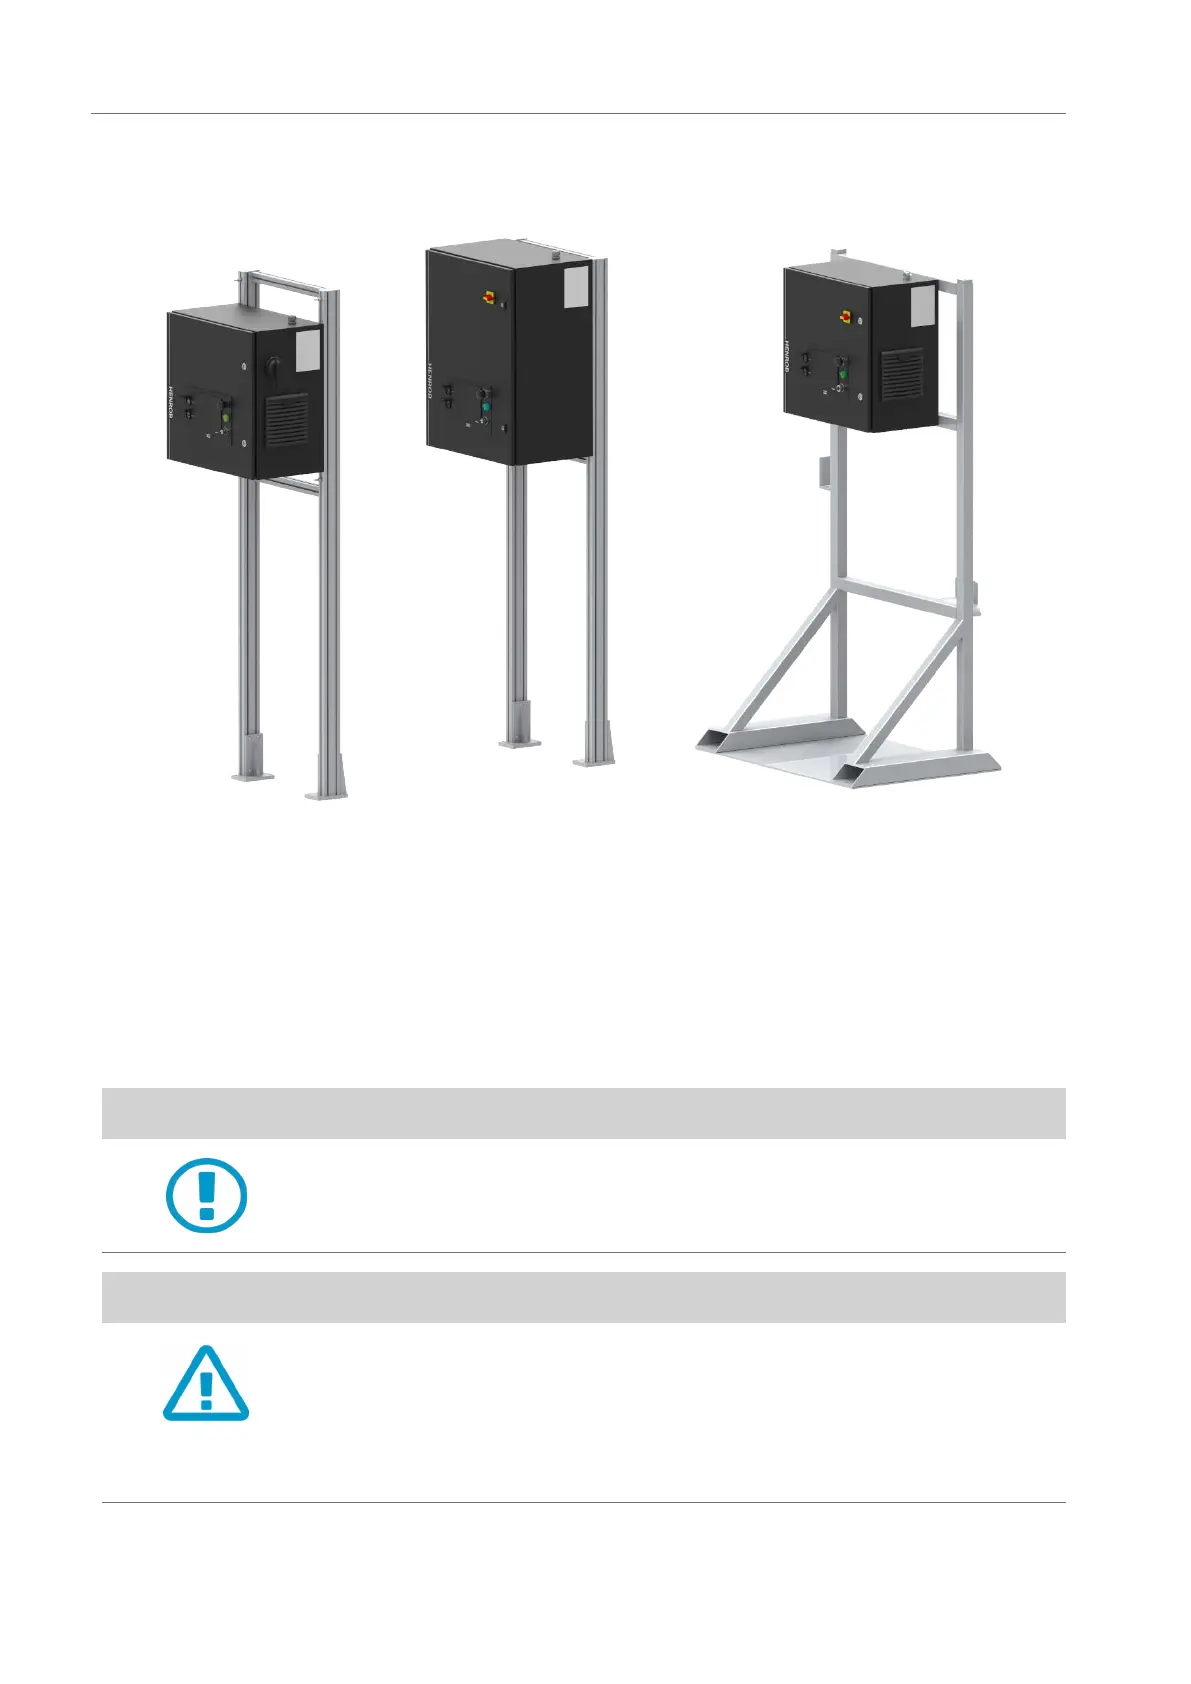
7. 2 Siting of Controller
The Controller is mounted onto a stand. This must be set on an even, stable oor as close as
possible to the riveting tool, in order to keep cable lengths to a minimum.
Additional holes are inserted in the stand to accommodate for the variants of the Controller of a
dierent height.
Holes should not be drilled into the Controller itself.
All connecting cables between the Controller and Rivet Setting Tool must be routed so that no
fouls or damage to the cables can occur.
CAUTION
Ensure Controller Stand is xing to the oor securely using the correct
xings provided.
WARNING
The encoder cable must be kept separate from any power cables to
reduce the risk of noise from external equipment.
Where the encoder cable is routed inside trunking, particular care must
be taken.
Do not coil cables.
 Loading...