12.7. Audio Keyboard Configuration
The audio not only can be configured by the menu but also can be configured by the keyboard control of
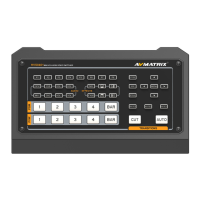
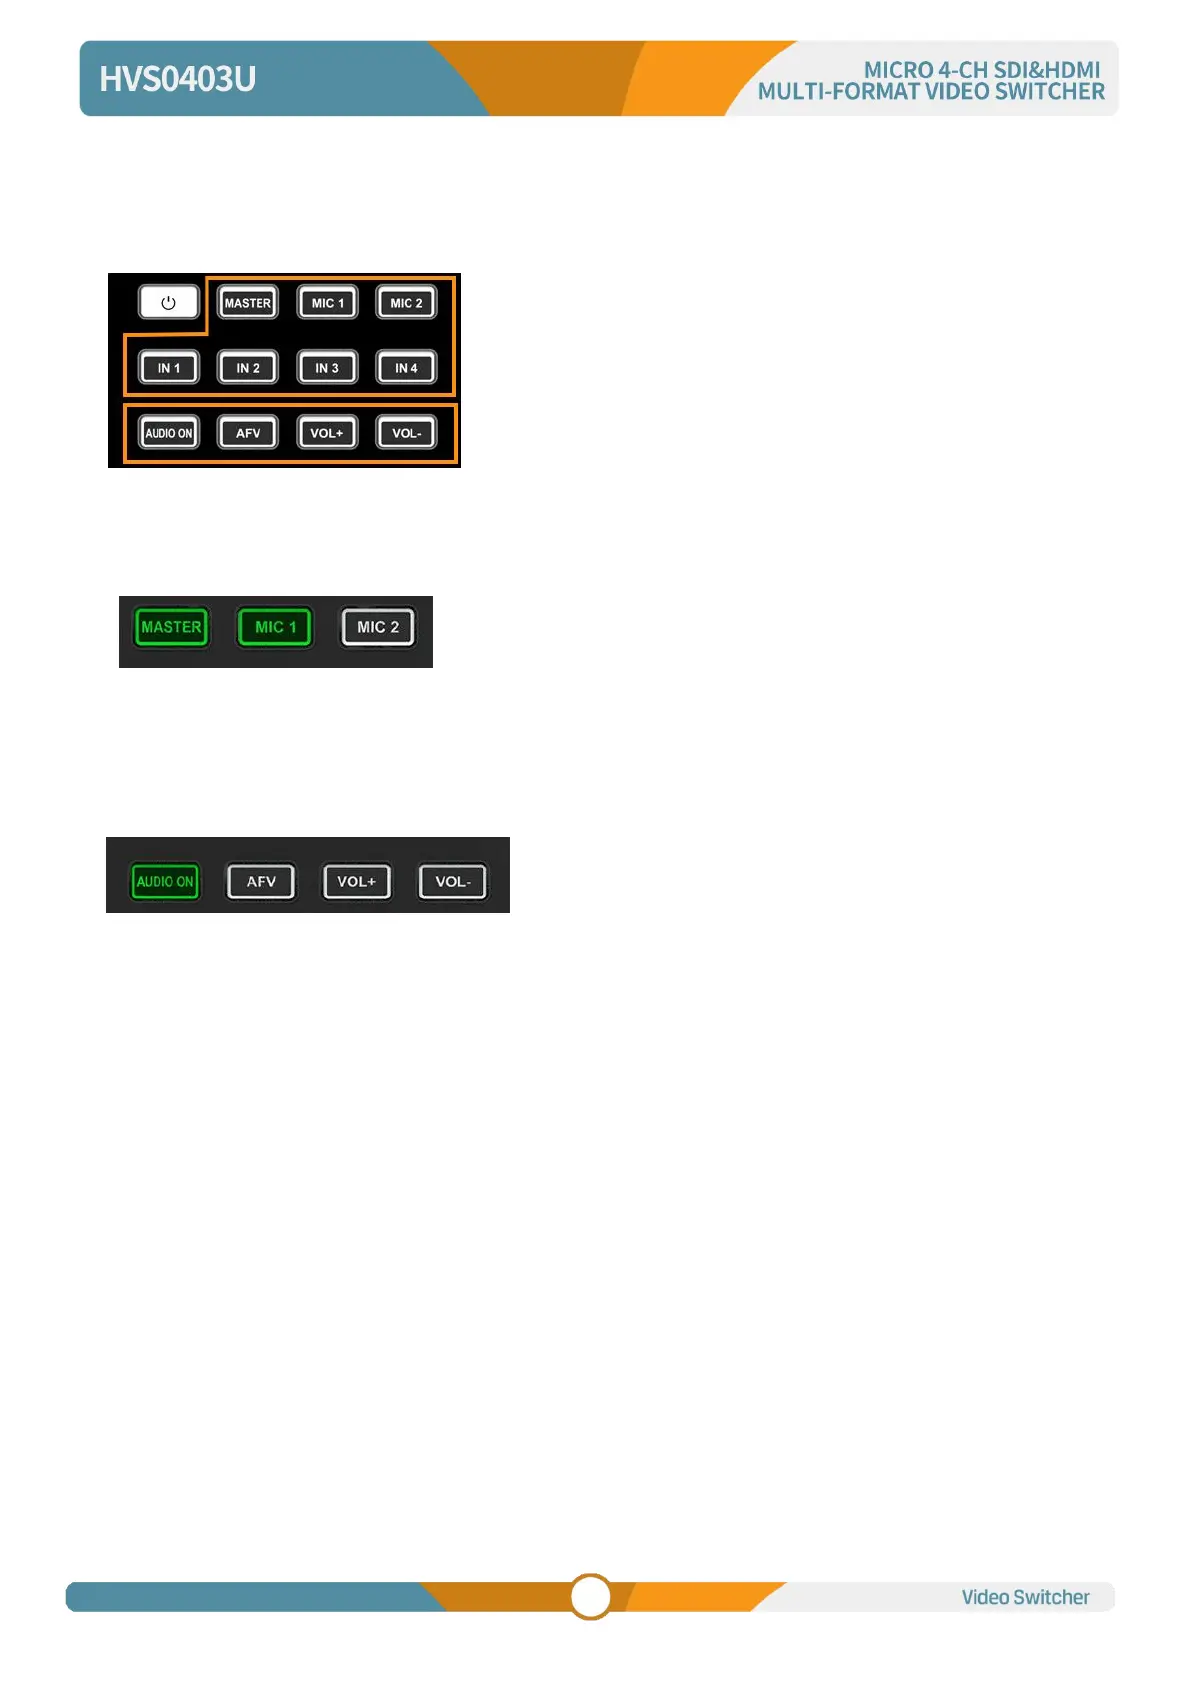
the switcher. The keyboard includes two parts as below image.
Part A is for selecting one audio to be configured, including
Master, MIC 1, MIC 2, SDI 1, SDI 2, HDMI 3 and HDMI 4.
Part B is for setting audio functions, including AUDIO ON, AFV,
VOL+ and VOL-.
12.7.1. Audio Indicator
The LED indicator of buttons shows the current audio status.
When the indicator of button in Part A is on in green means the
corresponding audio is on. When the indicator is off means the
corresponding audio is off.
The image as an example, when the indicators of MASTER, MIC 1, SDI 2, HDMI 3 are on, the
corresponding audios are on. The indicators of MIC 2, SDI1, HDMI 4 are off, the corresponding audios are
off.
After pressing one Part A button, the indicator of button in
Part B is on in green means the corresponding audio
function is on. When the indicator is off means the
corresponding function is off.
The image as an example, after pressing SDI 1 button the indicator of SDI keeping flashing, and the
indicator of AUDIO ON button is on in green and indicator of AFV button is off, which means the audio of
SDI 1 is on and the AFV of SDI 1 is off.
12.7.2. Audio Configuration Steps
Step 1. Press one button from Part A to select the audio for configuration, the LED indicator of the button
will keep flashing, which means it is available to make configuration.
Step 2. Press AUDIO ON button from Part B to turn on the audio, then LED indicator turns to green, and
press AFV button to set the audio following video, and LED indicator turns green. Press the AUDIO ON/
AFV double times to turn it off and indicator turns off too. Press button VOL+/ VOL- to adjust the audio
volume. Note: AFV button is not available for MASTER.
Step 3. The selected button from Part A in Step 1 is still flashing, press it again to finish the configuration
and the indicator stops flashing. Or when Part A button is flashing press another button from Part A to
select the next audio to configurate it in the same way, and when finish all configuration of audio, press
again the flashing button from Part A to finish all configuration and stop the flashing indicator.
 Loading...