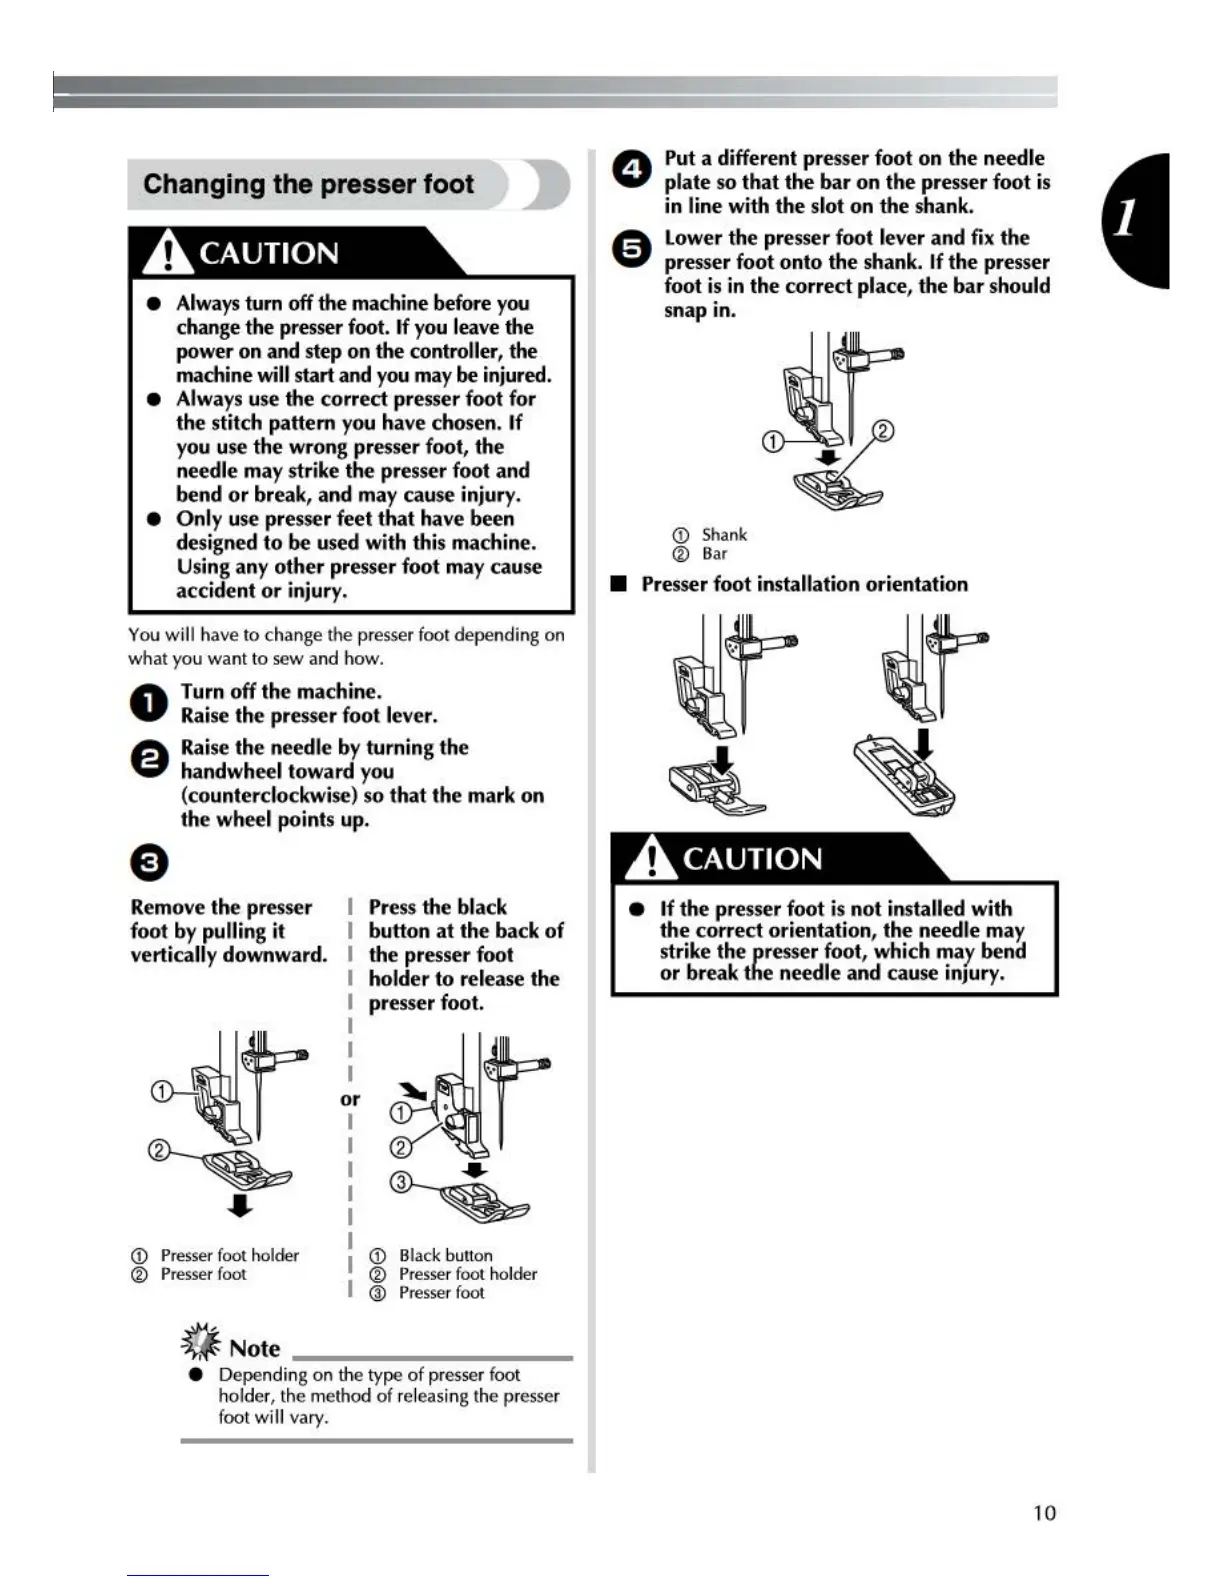
Changing the presser foot >
AcAu110N
•
Alwa
ys
turn off the machine before you
change the press
er
foot.
If
you leave the
power on and step on
th
e controller, the
machine
will
start and you may be injured.
• Always use the correct
pr
ess
er
foot for
th
e stitch pattern you
ha
ve chos
en
. If
you use the
wr
ong
pr
ess
er
f
oo
t, the
needle may
st
rike the presser foot and
bend
or
break, and may cause injur
y.
• Only use presser feet
that
have been
designed to
be used with this machine.
Us
in
g any
other
pre
ss
er
foot may cause
accide
nt
or
injury.
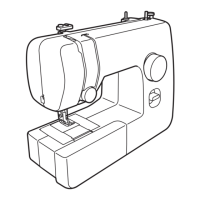
Yo
u wi
ll
have to change the presser
fo
ot depending on
what you want to sew and how.
0
Turn off the machine.
Raise the pr
es
ser foot lever.
A Raise the n
ee
dle by turning
th
e
~
handwh
ee
l toward you
e
(c
ountercl
oc
kwise)
so
that
th
e mark on
th
e wh
ee
l points up.
Remo
ve
th
e presser
foot by
pulling it
vertically downward.
Pr
ess the black
button
at
the back of
the
pre
ss
er
foot
holder
to
release the
presser foot.
<D
P
resse
r
foot
holder
®
Presse
r
foot
<D
Blac
k
buu
on
®
Presse
r
foot
holder
@
Presse
r
fo
ot
~
Note
----------
• Depending on the type of presser
foot
holder, the method of releasi
ng
the presser
foot
wi
ll
va
ry.
Put a differe
nt
pre
ss
er
foot on the needle
plate so that
th
e bar on the
pre
sser foot is
in
lin
e with the slot on the shank.
Lower the
pr
ess
er
f
oo
t lever
and
fi
x
th
e
presser foot onto the shank.
If
the presser
foot is
in
the correct place, the bar should
snap in.
<D
Shank
®
Bar
• Presser foot installation orientation
AcAu110N
• If the pre
ss
er
foot is not installed with
the
co
rre
ct
orientation, the needle may
st
rike the
pre
sser foot, which may bend
or
br
e
ak
the needle
and
c
au
se injury.
10
 Loading...