Home > Routine Maintenance > Check the Print Alignment from Your Brother Machine
Check the Print Alignment from Your Brother Machine
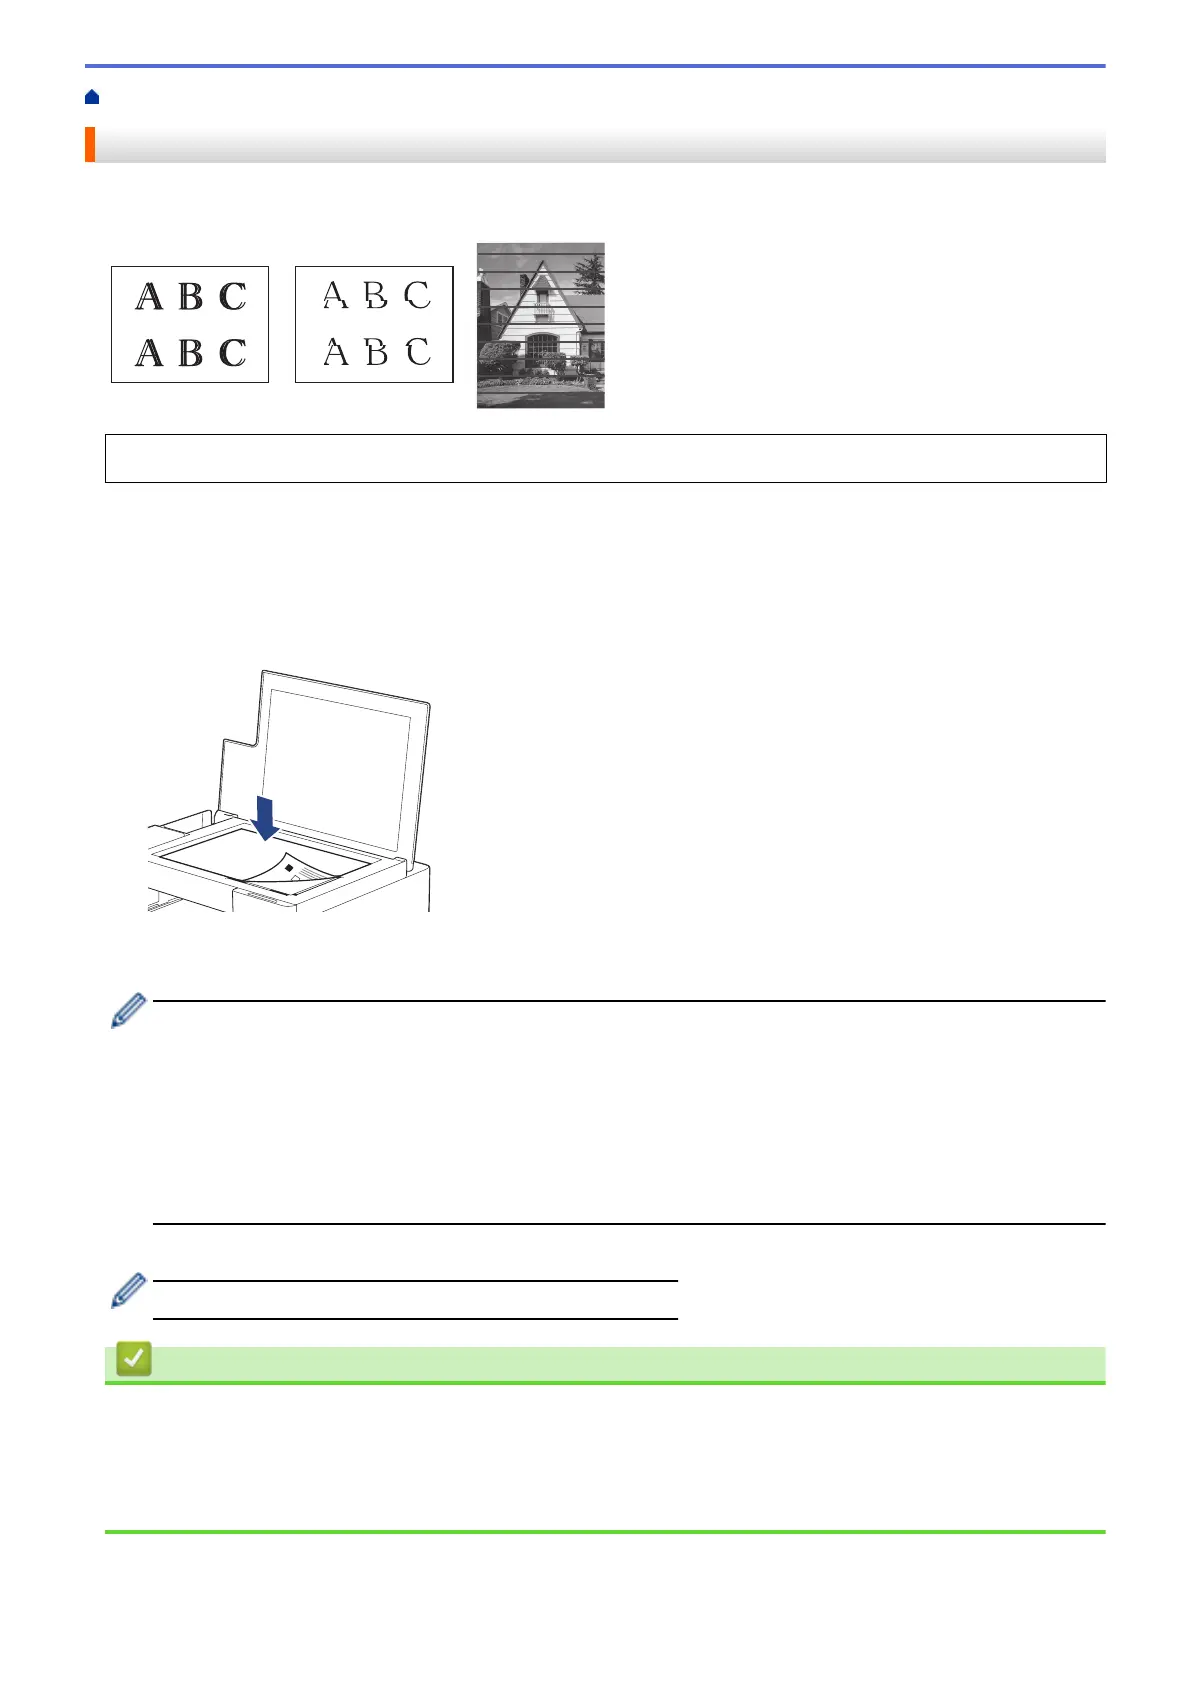
After transporting the machine, adjust the print alignment if the text is blurred or images become faded, and
adjust the paper feed to reduce dark lines.
Before starting to check the print alignment, check the print quality. See Related Information.
1. Turn the machine off.
2. Press and hold Mono Start and turn the machine on, then hold Mono Start until the Adjustment Sheet is
printed.
The Power LED blinks, and then the machine prints the Adjustment Sheet.
3. When the Power LED blinks slowly, place the Adjustment Sheet on the scanner glass so that the black
square mark on the Adjustment Sheet is in the lower right corner.
4. Press Mono Start or Colour Start.
The Power LED blinks while the machine starts scanning and performs automatic adjustment.
Immediately after scanning is finished, the LED indicates the adjustment results:
• When adjustment is OK:
The Power LED blinks quickly three times, and the machine returns to the standby condition.
• When there is an adjustment error:
The Warning LED and Ink LED blink quickly three times, and the machine returns to the standby
condition.
You need to try this adjustment one more time from the beginning.
5. If the print quality has not improved, try the print adjustment again.
You can also check the print alignment from your computer.
Related Information
• Routine Maintenance
Related Topics:
• Check the Print Alignment Using Web Based Management
• Check the Print Quality
207
 Loading...