Installing and Removing the Battery
16
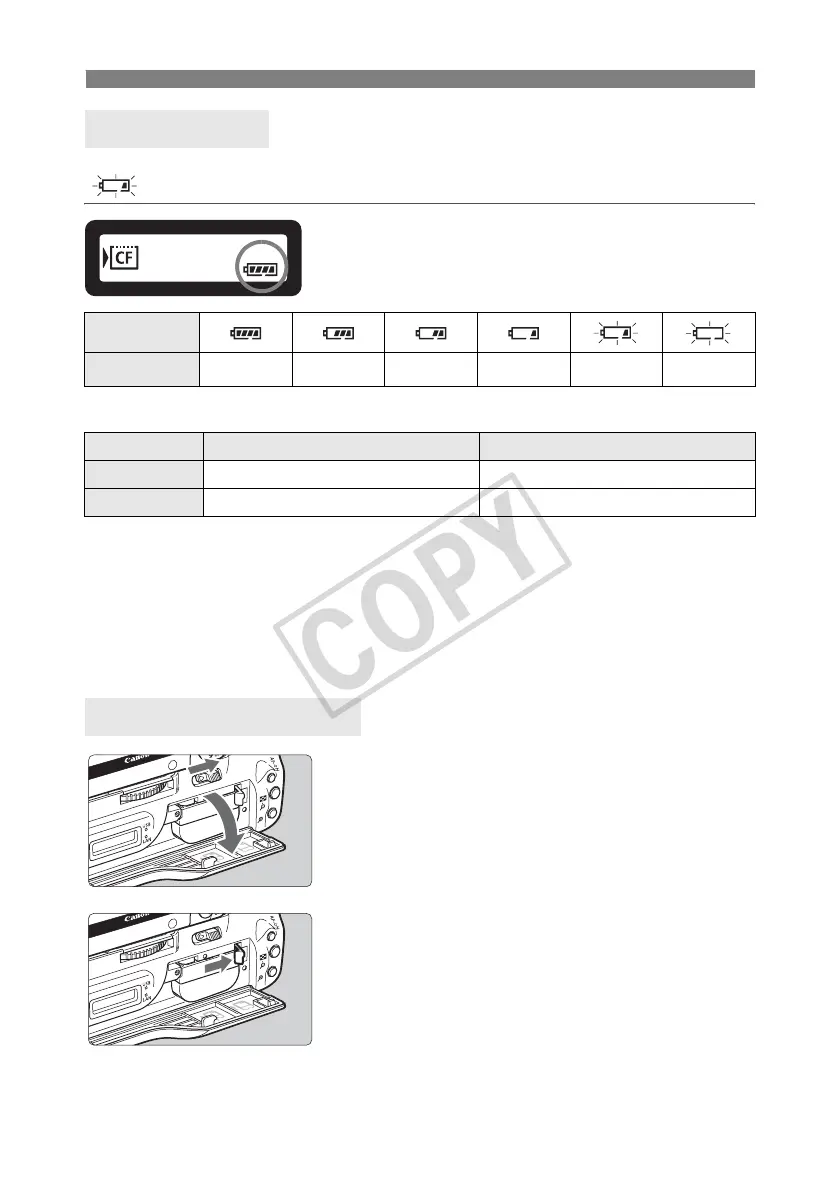
The remaining battery power is displayed when the camera is turned on. A blinking battery icon
( ) indicates that the battery will be depleted soon.
Number of images that can be transferred Approx. number of images
Using a fully charged LP-E6. The number of images that can be transferred is nearly the
same at normal temperature (23°C / 73°F) and low temperature (0°C / 32°F).
When automatic transfer is performed during shooting of an image of approx. 6 MB under
conditions based on the CIPA (Camera & Imaging Products Association) test standards.
Fewer images can be transferred when transferring images over a wireless LAN.
Fewer images can be transferred when using bus-powered external media or GPS devices,
or when using Bluetooth units.
1
Open the cover.
Slide the lever to open the cover.
2
Remove the battery.
Press the battery lock lever in the direction of the
arrow to unlock, and then unload the battery.
To prevent a short-circuit, be sure to always attach
the protective cover to the battery.
Battery check
Icon
Level (%) 100 – 70 69 – 50 49 – 20 19 – 10 9 – 1 0
LAN At Normal Temperature (23°C / 73°F) At Low Temperature (0°C / 32°F)
Wireless LAN 2300 2200
Wired LAN 3000 2600
Removing the battery
 Loading...