14 System Installation
System Setup
1. After removing the shrink wrap from the instrument, gently lift the dark gray cavity handle to lift the cover from
the instrument base.
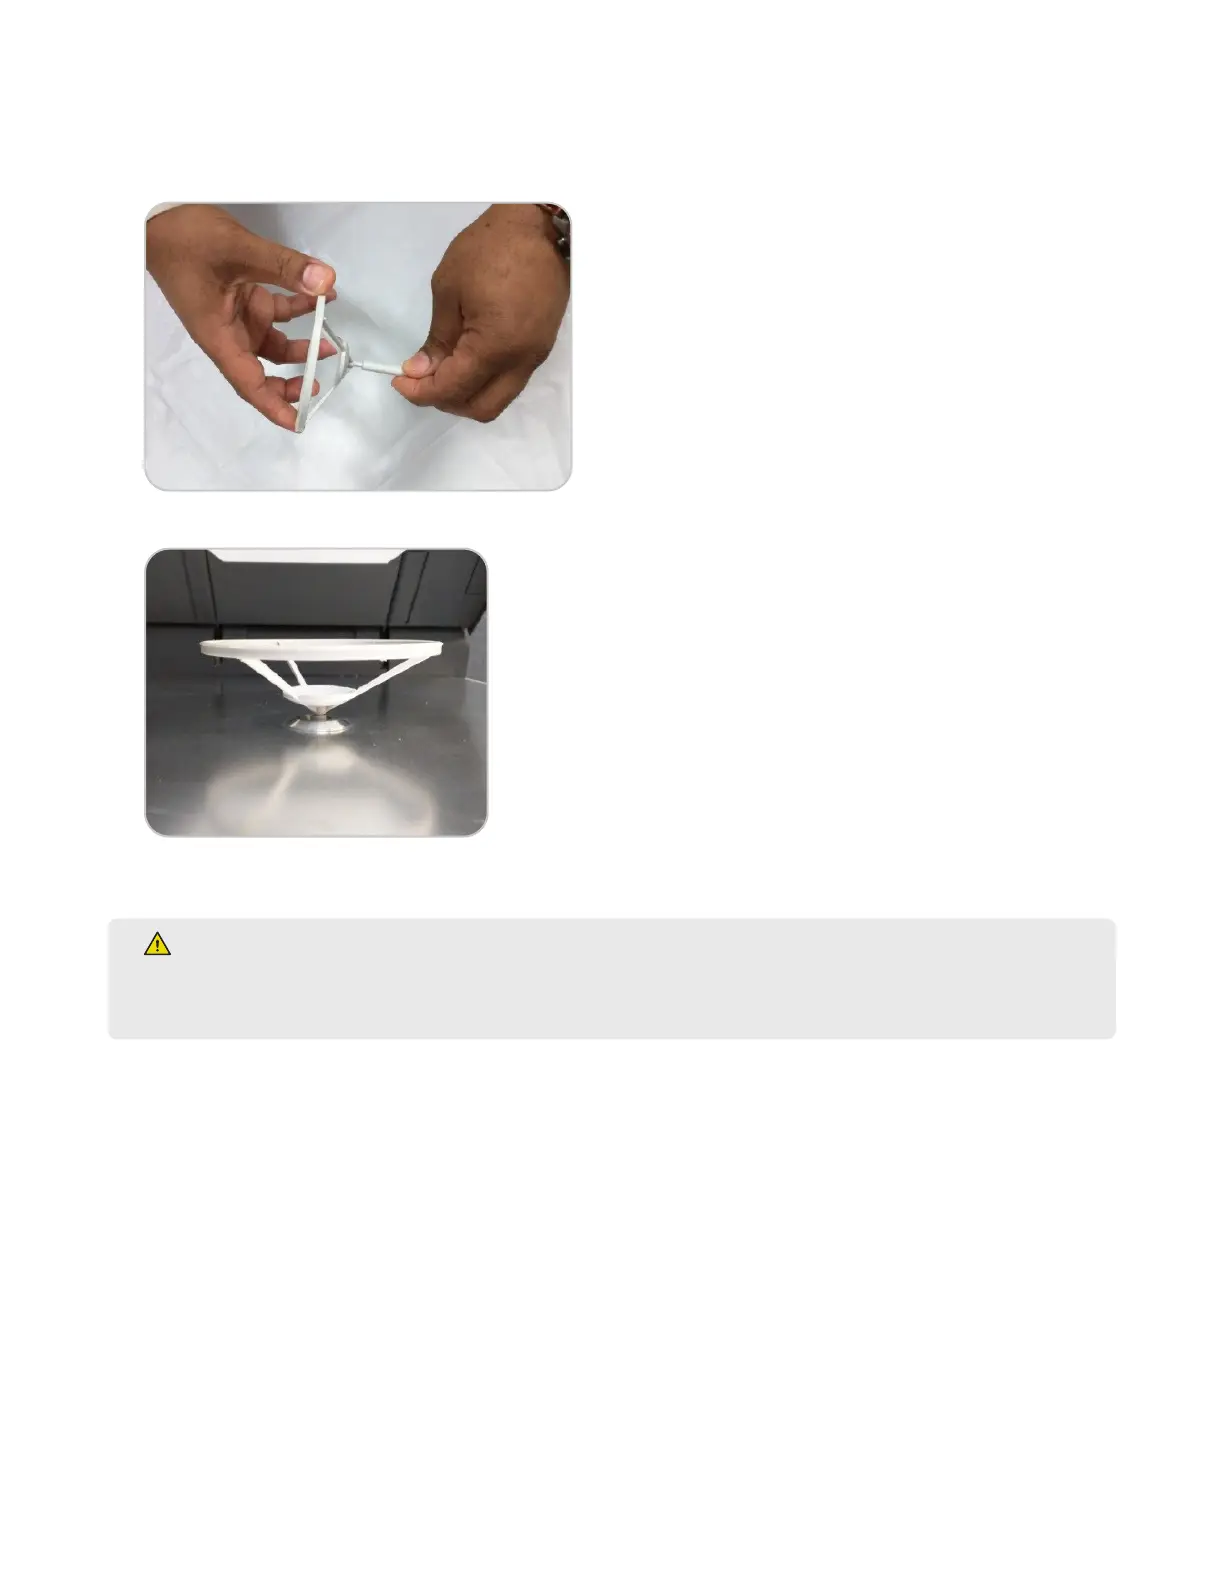
2. Install the balance pan on the balance stem.
3. Carefully install the balance stem into the instrument cavity with the top of the stem ush with the cavity oor.
4. Close the instrument cover.
WARNING
The cover of the SMART 6 will close once it falls below a certain angle. Keep hands and tools clear of the
cavity when closing the cover.
5. Position the SMART 6 to provide access to the back of the instrument.
6. Remove the screw from the exhaust output. Attach the exhaust elbow so that it faces away from the back of
the instrument. Install the screw to secure the exhaust elbow.

 Loading...