Chromalox
®
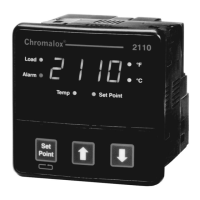
Chromalox 2110
2
Section 2–Introduction
Inspection and
Unpacking
Your Chromalox 2110 controller should arrive in good condition. Upon
arrival, inspect the packaging for any visible damage.
Unpack the controller and carefully inspect for product damage that may
have occurred during shipment. If the package or contents have been
damaged in shipping, you must file a claim with the delivery service.
The delivery service will not accept a claim from the shipper.
If not immediately installing the controller, store in a cool, dry environ-
ment in its original protective packaging. Temperature extremes and
excessive moisture can damage the instrument.
Description
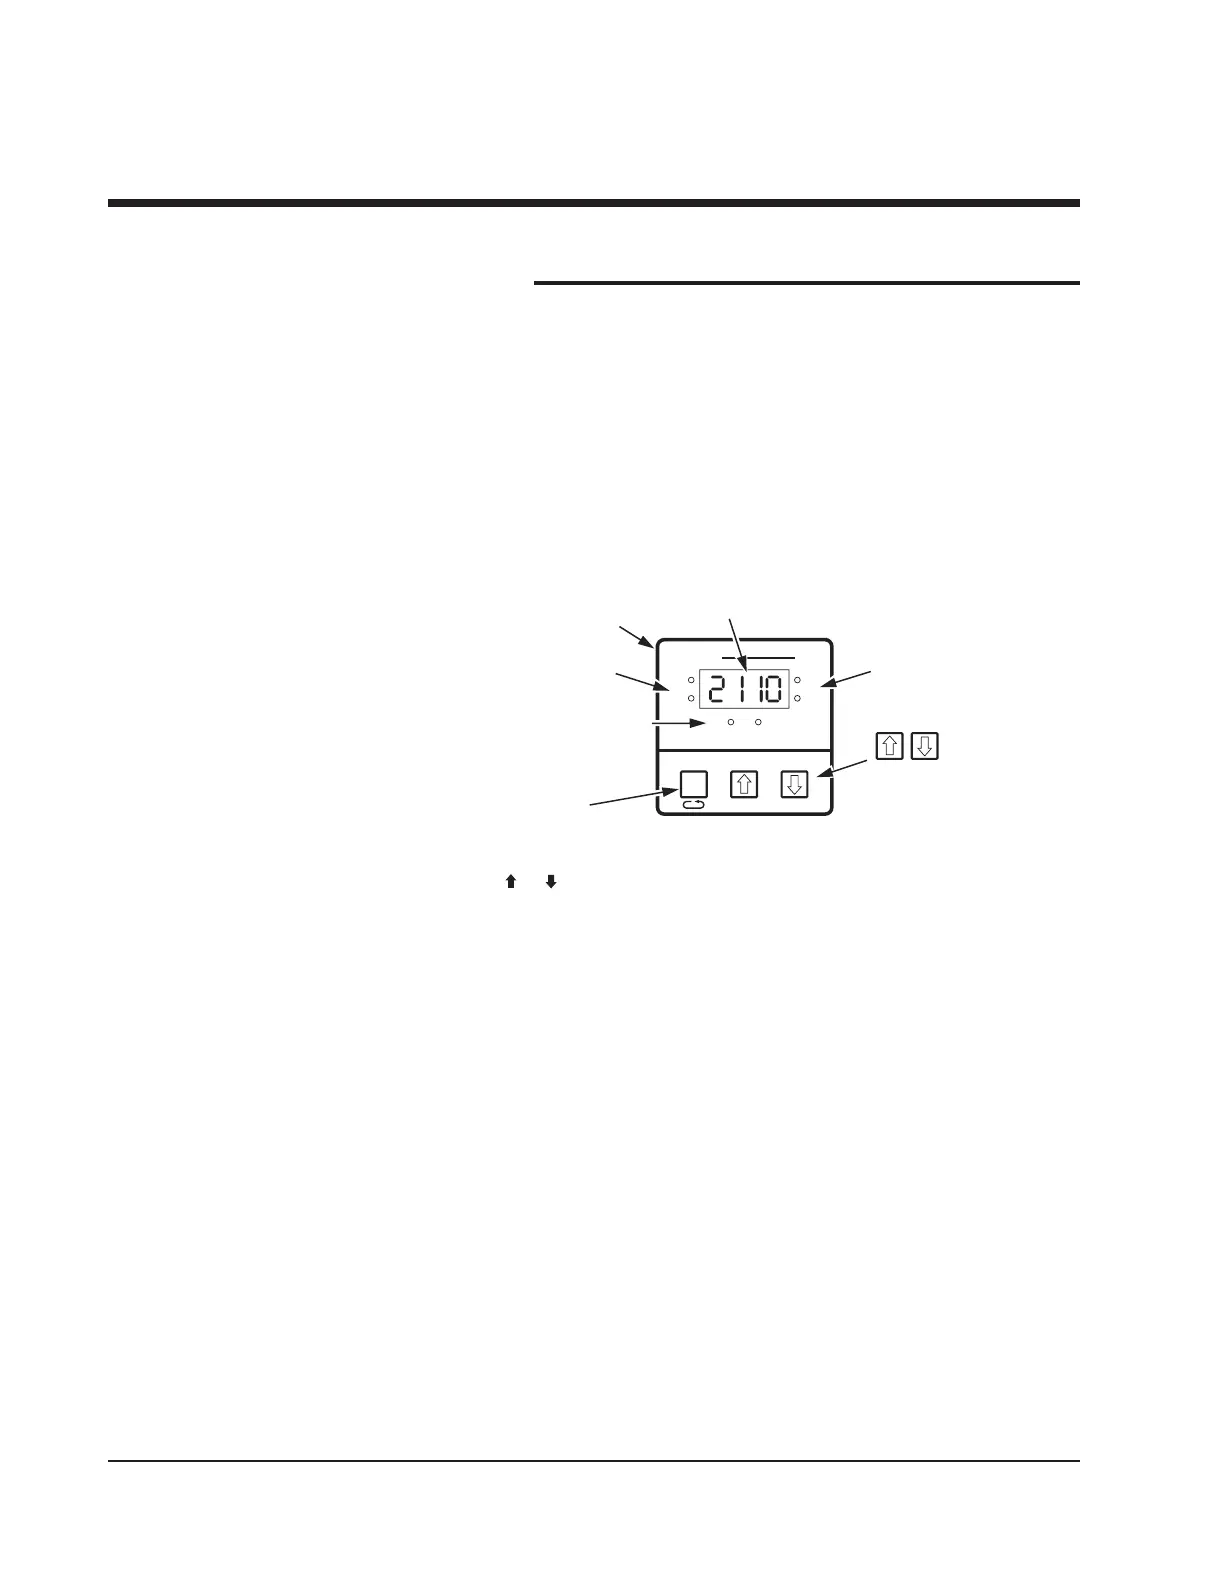
Figure 2.1
Front Panel Identification
NEMA 4X Front Panel
Construction for
hosedown applications
Output LEDs
Indicates control load
ON and alarm status
Temp and Set Point LEDs
Indicates actual or set point
temperature is displayed
Display
(4 Green, 7-Segment LEDs)
Actual process temperature displayed
Green LEDs
Indicates °F or °C selected
for temperature display
• In Operation Mode,
pushbuttons adjust Set Point.
• In Setup Mode, pushbuttons
increase/decrease MENU
values.
Set Point Button
• In Operation Mode,
adjusts Set Point
• In Configuration Mode
with the
or button,
serves as “Menu” button
Load
Alarm
°F
°C
Temp
Set
Point
Set Point
Chromalox
®
2110
The Chromalox 2110 Temperature controller offers simple setup,
flexibility and control features in an attractive, compact design. The
2110 is housed in a rugged, plastic 1/4 DIN package that only requires
four inches behind the mounting surface. Straightforward operation and
easy-to-use control features are major strengths of the 2110 controller.
Easy Three-Step Setup: The 2110 delivers exceptional process tempera-
ture control. Your process is up and running after three easy setup steps:
1) Select the sensor and control type, 2) Hook up the system and
3) Select the desired temperature.
Section 2—Introduction
 Loading...