11
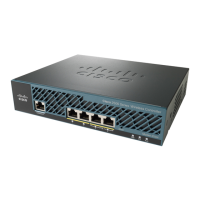
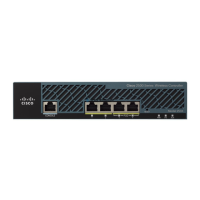
Cisco 2500 Series Wireless Controller Getting Started Guide
Installing the Controller
See Cisco Wireless LAN Controller Configuration Guide for more information.
Choosing a Physical Location
You can install the controller almost anywhere, but it is more secure and reliable if you install it in a
secure equipment room or wiring closet. For maximum reliability, mount the controller while following
these guidelines:
• Make sure you can reach the controller and all cables attached to it.
• Make sure that water or excessive moisture cannot get into the controller.
• Make sure that airflow through the controller is not obstructed. Leave at least 4 in. (10 cm) clear on
both sides and rear of the controller.
• Verify that the ambient temperature remains between 32 to 104° F (0 to 40° C).
• Make sure that the controller is within 328 ft. (100 m) of equipment connected to the 10/100/1000
Mb/s Ethernet ports.
• Make sure that the power cord can reach a 100 to 240 VAC grounded electrical outlet.
Installing the Controller
This section includes the following installation procedures:
• Mounting the Controller, page 11
• Connecting the Controller Console Port, page 18
• Securing the Power Adapter Cable, page 19
• Installing a Security Lock, page 20
Mounting the Controller
This section includes the following mounting procedures:
• Mounting the Controller on a Desktop or Shelf
• Mounting the Controller on a Wall (Rack-Mount Brackets)
• Mounting the Controller on a Wall (Mounting Screws)
• Mounting the Controller in a Rack
Mounting the Controller on a Desktop or Shelf
Before mounting the controller on a desktop or shelf, install the rubber feet located in accessory kit
shipped with the controller.
To install the rubber feet to the controller, follow these steps:
Step 1 Locate the adhesive strip with the rubber feet in the mounting-kit envelope.
 Loading...
