Procedure
Step 1
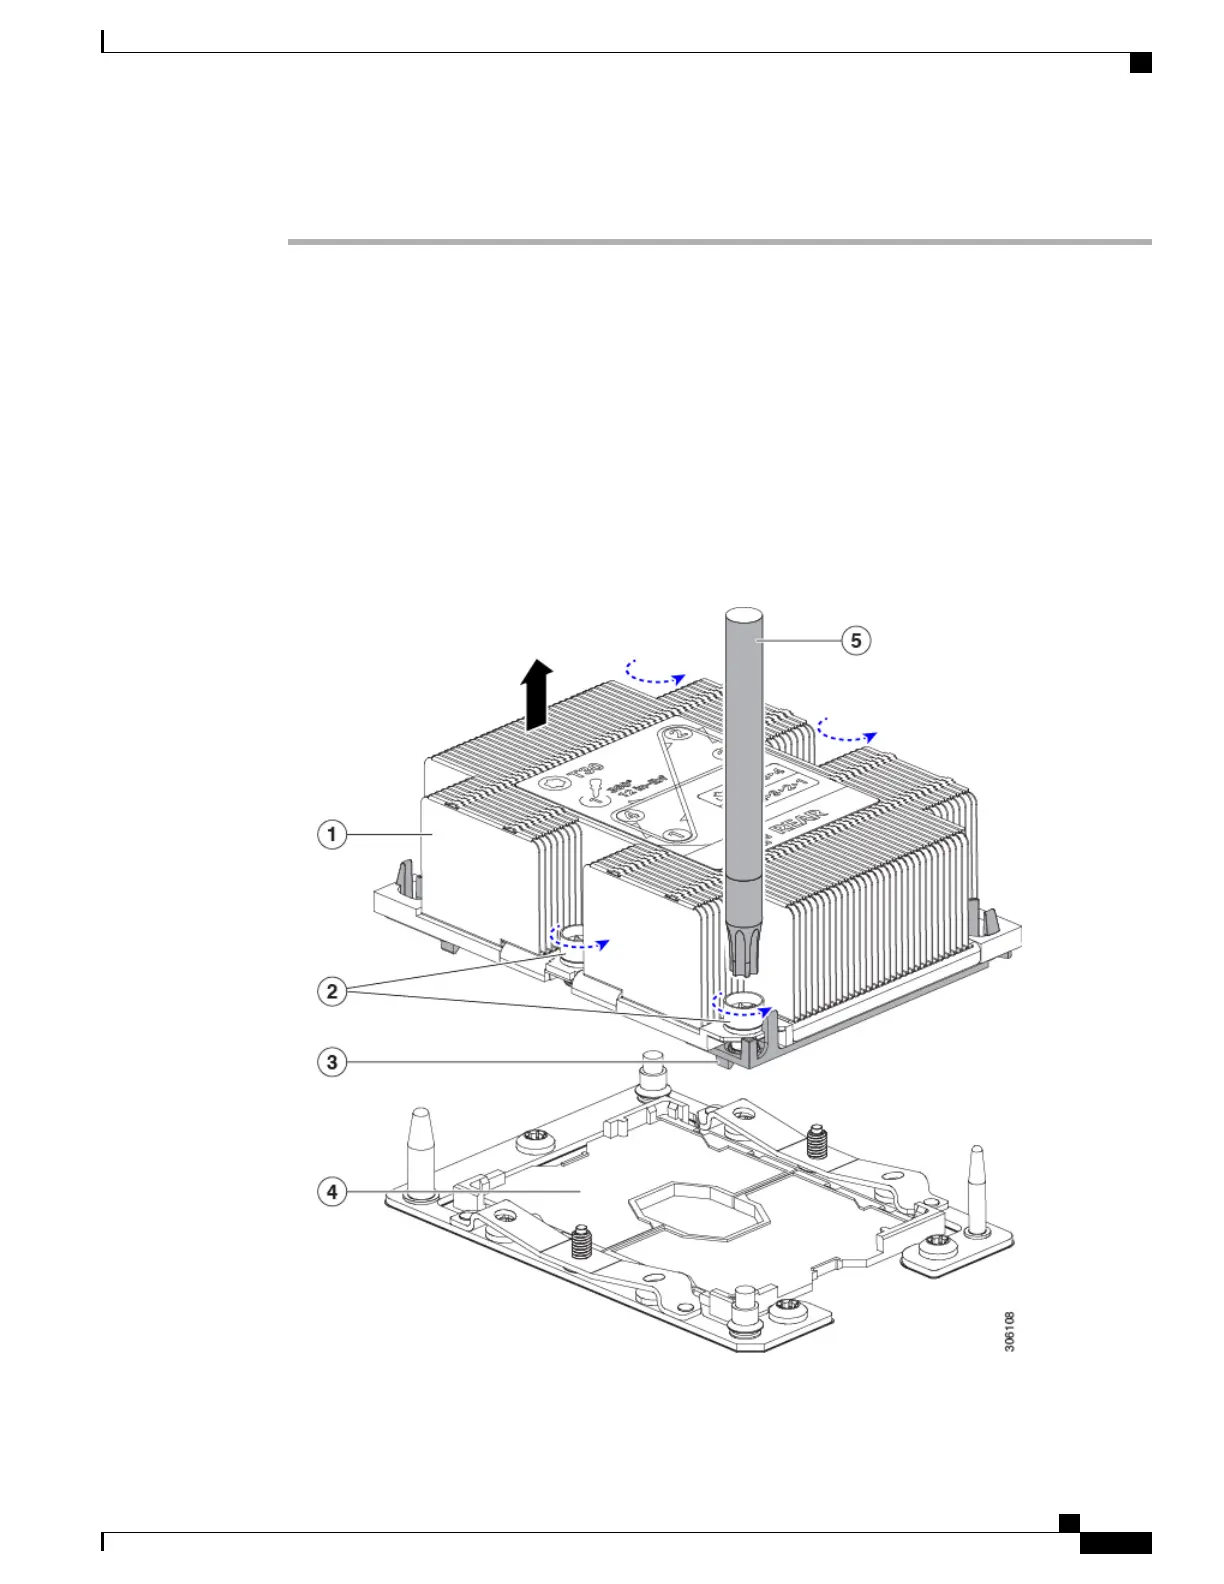
Remove the existing CPU/heatsink assembly from the server.
a) Shut down and remove power from the server.
b) Slide the server out the front of the chassis.
c) Remove the top cover from the server as described in Removing a Blade Server Cover, on page 13.
d) Use the T-30 Torx driver that is supplied with the replacement CPU to loosen the four captive nuts that
secure the heatsink with the attached CPU assembly to the motherboard standoffs.
Alternate loosening the heatsink nuts evenly so that the heatsink remains level as it is raised.
Loosen the heatsink nuts in the order shown on the heatsink label: 4, 3, 2, 1.
Note
e) Lift straight up on the CPU/heatsink assembly and set it heatsink-down on an antistatic surface.
Make sure to hold the heatsink along the fin edges and not the fin walls to prevent damaging the
heatsink.
Note
Figure 10: Removing the CPU/Heatsink Assembly
Cisco UCS B200 M5 Blade Server Installation and Service Note
29
Servicing a Blade Server
Replacing a CPU and Heatsink
 Loading...