EasyManua.ls Logo

Cisco UCS C240 User Manual

Cisco UCS C240
156 pages
To Next Page IconTo Next Page
To Previous Page IconTo Previous Page
Page #31 background imageLoading...
Page #31 background image
2-11
Cisco UCS C240 Server Installation and Service Guide
OL-25761-01
Chapter 2 Installing the Server
Initial Server Setup
Step 3 Open the Cisco IMC Configuration Utility:
a. Press the Power button to boot the server. Watch for the prompt to press F8.
b. During bootup, press F8 when prompted to open the Cisco IMC Configuration Utility. Note the
differences between versions of Cisco IMC firmware:
In Cisco IMC 2.0(1) and later, there are two windows for this utility that you can switch between
by pressing F1 or F2 (see Figure 2-6 for sample windows). The IPv4 and IPv6 protocols and
dynamic domain name system (DDNS) are supported. You can also define a host name and a
DDNS domain.
In Cisco IMC earlier than release 2.0(1), there is only one window for this utility. Only the IPv4
protocol is supported. DDNS is not supported.
Figure 2-6 Cisco IMC Configuration Utility Window 1 and Window 2 (Cisco IMC 2.0(1) and Later)
Step 4
Set NIC mode and NIC redundancy:
a. Set the NIC mode to your choice for which ports to use to access the CIMC for server management
(see Figure 1-3 for identification of the ports):
Shared LOM EXT (default)—This is shared LOM extended mode. This is the factory-default
setting, along with Active-active NIC redundancy and DHCP-enabled. With this mode, the shared
LOM and Cisco Card interfaces are both enabled.
In this mode, DHCP replies are returned to both the shared LOM ports and the Cisco card ports. If
the system determines that the Cisco card connection is not getting its IP address from a Cisco UCS
Manager system because the server is in standalone mode, further DHCP requests from the Cisco
card are disabled. Use the Cisco Card NIC mode if you want to connect to the CIMC through a Cisco
card in standalone mode.
Dedicated—The dedicated management port is used to access the CIMC. You must select a NIC
redundancy and IP setting.
Shared LOM—The 1-Gb Ethernet ports are used to access the CIMC. You must select a NIC
redundancy and IP setting.
Cisco Card—The ports on an installed Cisco UCS virtual interface card (VIC) are used to access the
CIMC. You must select a NIC redundancy and IP setting.
Note The Cisco Card NIC mode is currently supported only with a Cisco UCS VIC that is installed in
PCIe slot 2. See also Special Considerations for Cisco UCS Virtual Interface Cards, page 3-43.

Table of Contents

Other manuals for Cisco UCS C240

Question and Answer IconNeed help?

Do you have a question about the Cisco UCS C240 and is the answer not in the manual?

Cisco UCS C240 Specifications

General IconGeneral
ManagementCisco Integrated Management Controller (CIMC)
Form Factor2U Rack
MemoryUp to 3TB DDR4
StorageUp to 24 x 2.5-inch or 12 x 3.5-inch SAS/SATA HDDs or SSDs
Power SupplyRedundant hot-swappable power supplies (various wattage options)

Summary

Preface

Related Documentation

Information on the documentation set for Cisco Unified Computing System (UCS) C-Series rack-mount servers.

Organization

Describes how the guide is structured into chapters and appendices for clarity.

CHAPTER 1 Overview

External Features Overview

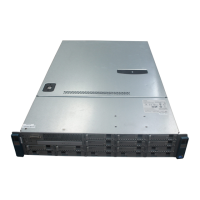
Overview of the external features of the Cisco UCS C240 server, including drive bay configurations.

Summary of Server Features

Lists a summary of the key features of the Cisco UCS C240 server, including chassis, processors, memory, and I/O.

CHAPTER 2 Installing the Server

Unpacking and Inspecting the Server

Step-by-step instructions for unpacking and inspecting the server shipment for damage or missing items.

Preparing for Server Installation

Guidelines and requirements for preparing the server installation environment, including rack and electrical codes.

Installing the Server In a Rack

Detailed procedure for installing the server into a rack using slide rails, including cable management arm.

Initial Server Setup

Steps for connecting and powering on the server for initial setup in standalone mode.

Updating the BIOS and CIMC Firmware

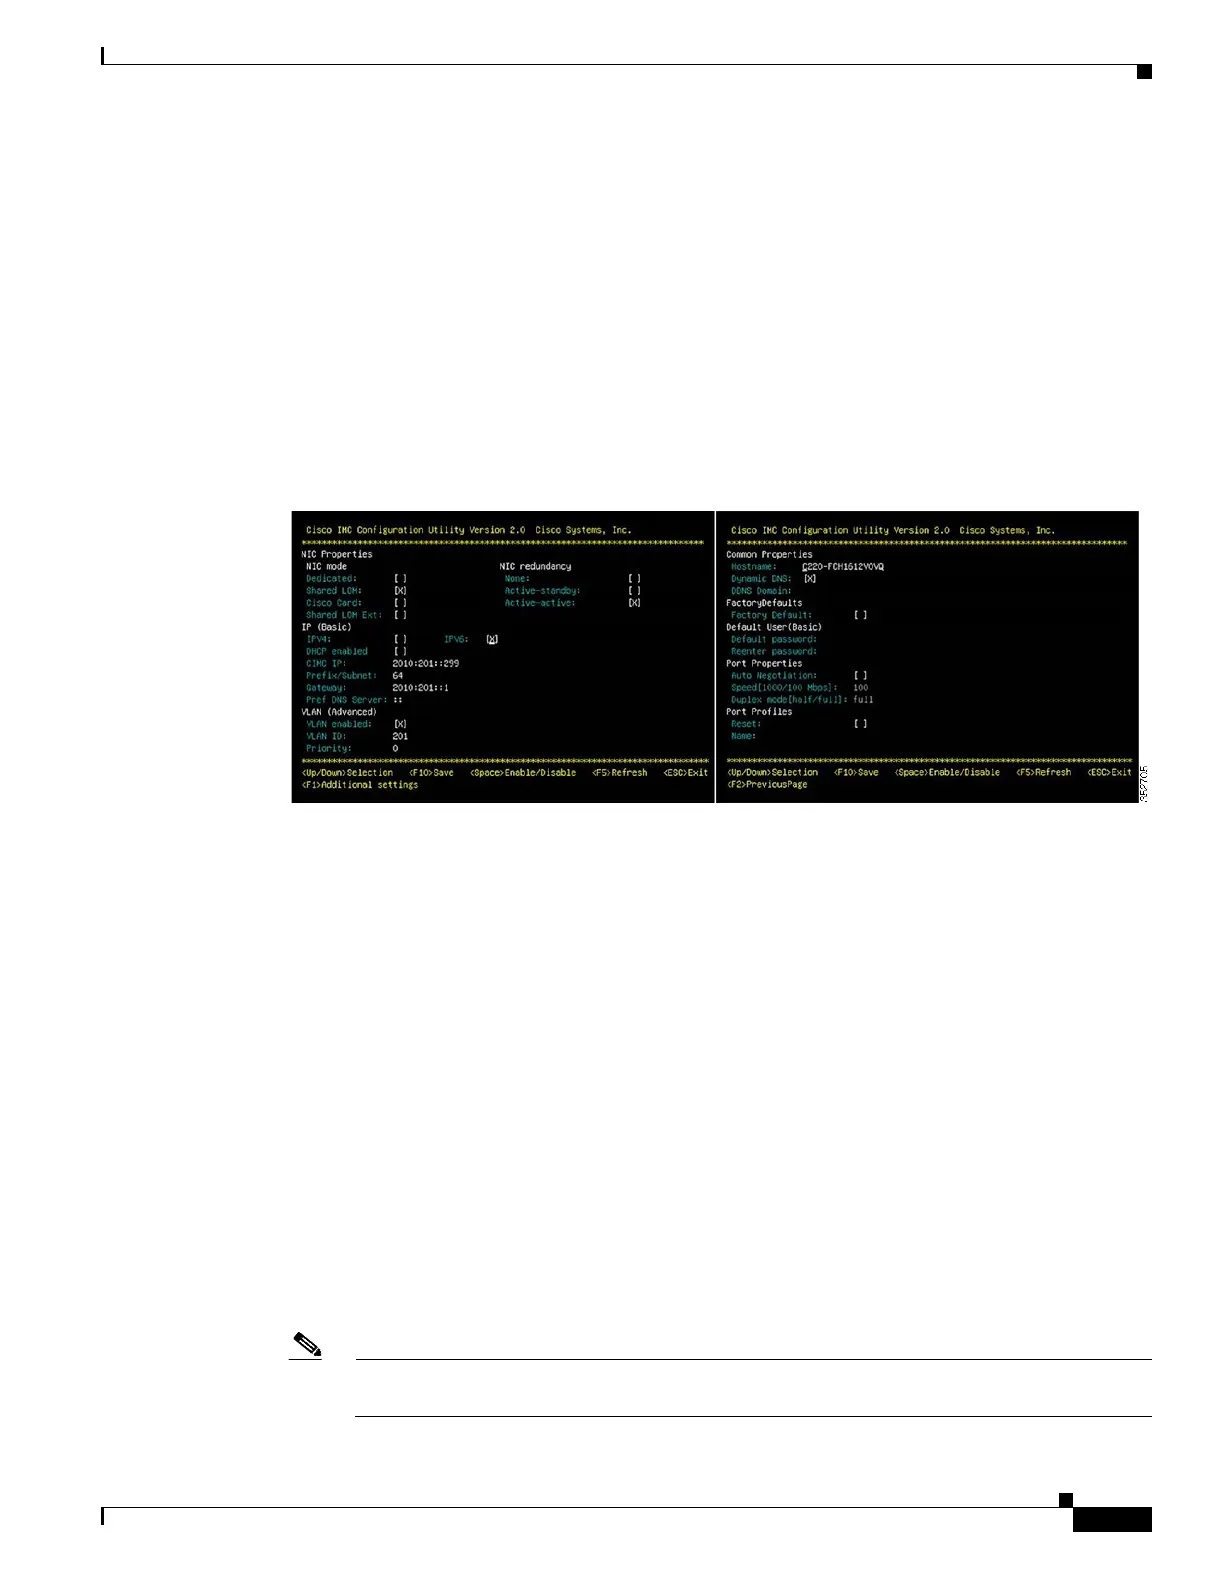
Procedures for updating the server's BIOS and CIMC firmware to ensure compatibility and functionality.

CHAPTER 3 Maintaining the Server

Server Monitoring and Management Tools

Overview of tools like CIMC and Server Configuration Utility for monitoring and managing the server.

Status LEDs and Buttons

Explains the meaning of front and rear panel LEDs and buttons for server status indication.

Preparing for Server Component Installation

Steps to prepare the server for installing or replacing components, including required equipment.

Installing or Replacing Server Components

General instructions and overview for installing or replacing various server hardware components.

APPENDIX A Server Specifications

Physical Specifications

Lists the physical dimensions and weight of the Cisco UCS C240 server.

Power Specifications

Details the power supply options, including AC and DC specifications for the server.

APPENDIX B Power Cord Specifications

Supported Power Cords and Plugs

Lists and illustrates the supported power cords and plugs for the Cisco UCS C240 server.

APPENDIX C RAID Controller Considerations

Supported RAID Controllers and Required Cables

Details supported RAID controllers, their requirements, and necessary cabling for the server.

Embedded MegaRAID Controller

Details about the embedded MegaRAID controller, its features, and limitations.

RAID Controller Cabling

Instructions and diagrams for routing cables for RAID controllers and backplanes.

Restoring RAID Configuration After Replacing a RAID Controller

Procedure to restore RAID configuration after replacing a RAID controller.

APPENDIX D Installation for Cisco UCS Integration

Cisco UCS C-Series Server Integration with UCS Manager Guides

Points to integration guides for connecting Cisco UCS C-Series servers with UCS Manager.

Related product manuals