MOVERODUPANO--_.
DOWNVERTICALLY_:..., _ _'_
,_ --' _" START
CUT
HERE
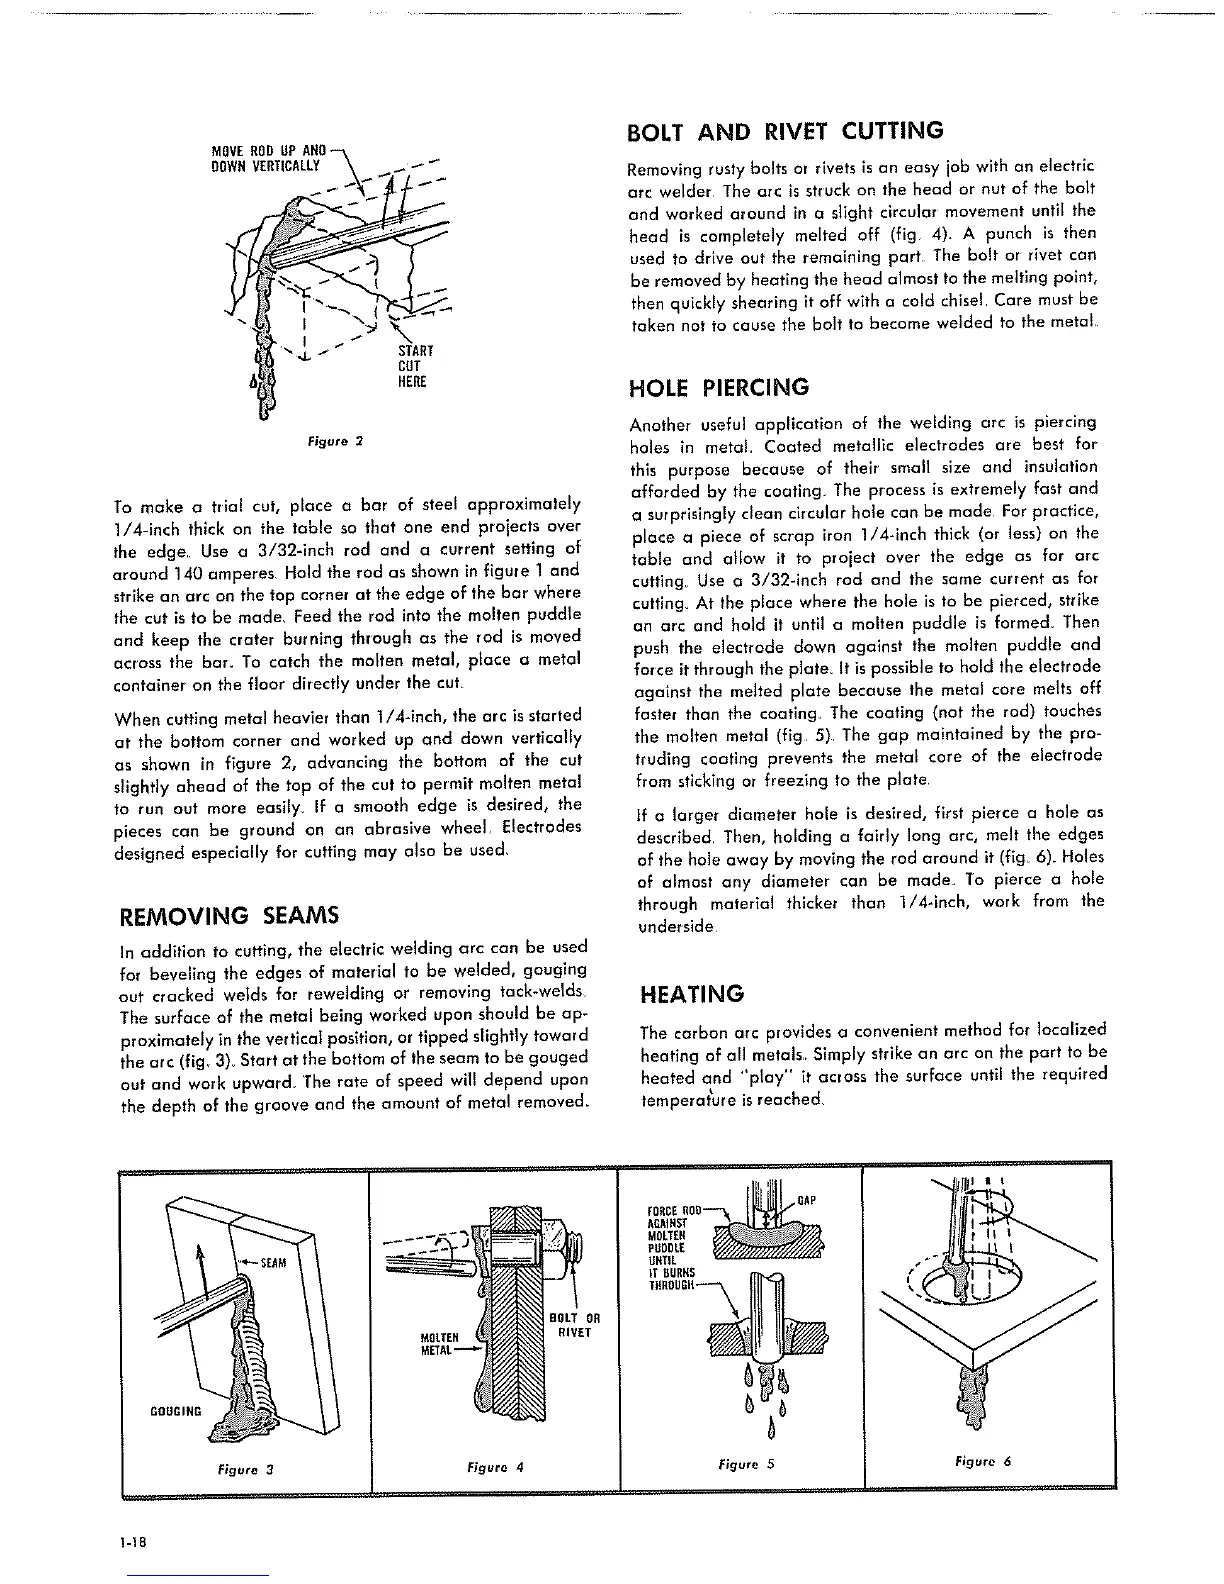
Figure 2
To make a trlal cut, place a bar of steel approximately
1/4-inch thick on the table so that one end projects over
the edge. Use a 3/32-1nch rod and a current setting of
around 140 amperes HoJd the rod as shown in figure 1 and
strike an arc on the tap corner at the edge of the bar where
the cut is to be made, Feed the rod into the molten puddle
and keep the crater burning through as the rod is moved
across the bar. To catch the molten metal, place a metal
container on the floor directly under the cut
When cutting metal heavler than 1/4-1nch, the arc is started
at the bottom corner and worked up and down vertically
as shown in figure 2, advancing the bottom of the cut
slightly ahead of the top of the cut to permit molten metal
to run out more easily_ if a smooth edge is desired, the
pieces can be ground on an abrasive wheel. Electrodes
designed especially for cutting may also be used_
REMOVING SEAMS
In addition to cutting, the electric welding arc can be used
for beveling the edges of material to be welded, gouging
out cracked welds for rewelding or removing tack-welds.
The surface of the metal being worked upon should be ap-
proximately in the vertical position, or tipped slightly toward
the arc (flg_ 3)_Start at the bottom of the seam to be gouged
out and work upward. The rate of speed will depend upon
the depth of the groove and the amount of metal removed.
BOLT AND RIVET CUTTING
Removing rusty bolts or rivets is an easy job with an electric
arc welder The arc is struck on the head or nut of the bolt
and worked around in a slight circular movement until the
head is completely melted off (fig. 4). A punch is then
used to drive out the remaining part. The bolt or rivet con
be removed by heating the head almost to the melting point,
then quickly shearing it off with a cold chisel Care must be
taken not to cause the bolt to become welded to the metal
HOLE PIERCING
Another usefu] application of the welding arc is piercing
holes in metal Coated metallic electrodes ore best far
this purpose because of their small size and insulation
afforded by the coatlng_ The process is extremely fast and
a surprisingly clean circular hole can be made For practice,
place a piece of scrap iron 1/4-inch thick (or less) on the
table and allow it to project over the edge as for arc
cutting Use a 3/32-1nch rod and the same current as for
cutting_ At the place where the hole is to be pierced, strike
an arc and hold it until a molten puddle is formed_ Then
push the electrode down against the molten puddle and
force it through the plate_ It is possible to hold the electrode
against the melted plate because the metal core meffs off
faster than the coating_ The coating (not the rod) touches
the molten metal (fig 5) 1"he gap maintained by the pro-
truding coating prevents the metal core of the electrode
from sticking or freezing to the plate
if a larger diameter hole is desired, first pierce a hole as
described. Then, holding o fairly long arc, melt the edges
of the hole away by moving the rod around it (flg_ 6). Holes
of almost any diameter can be mode_ To pierce a hole
through material thicker than 1/4_inch, work from the
underside
HEATING
The carbon arc provides a convenient method for localized
heating of aJI metals. S_mply strike an arc on the part to be
heated and "play" it across the surface until the required
temperat_ure isreached
GQUGIRG
Figure 3 Figure 4
Figure 6
!-18
 Loading...