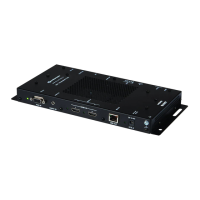
DigitalMedia 8G+™ Transmitter 201 Crestron DM-TX-201-C
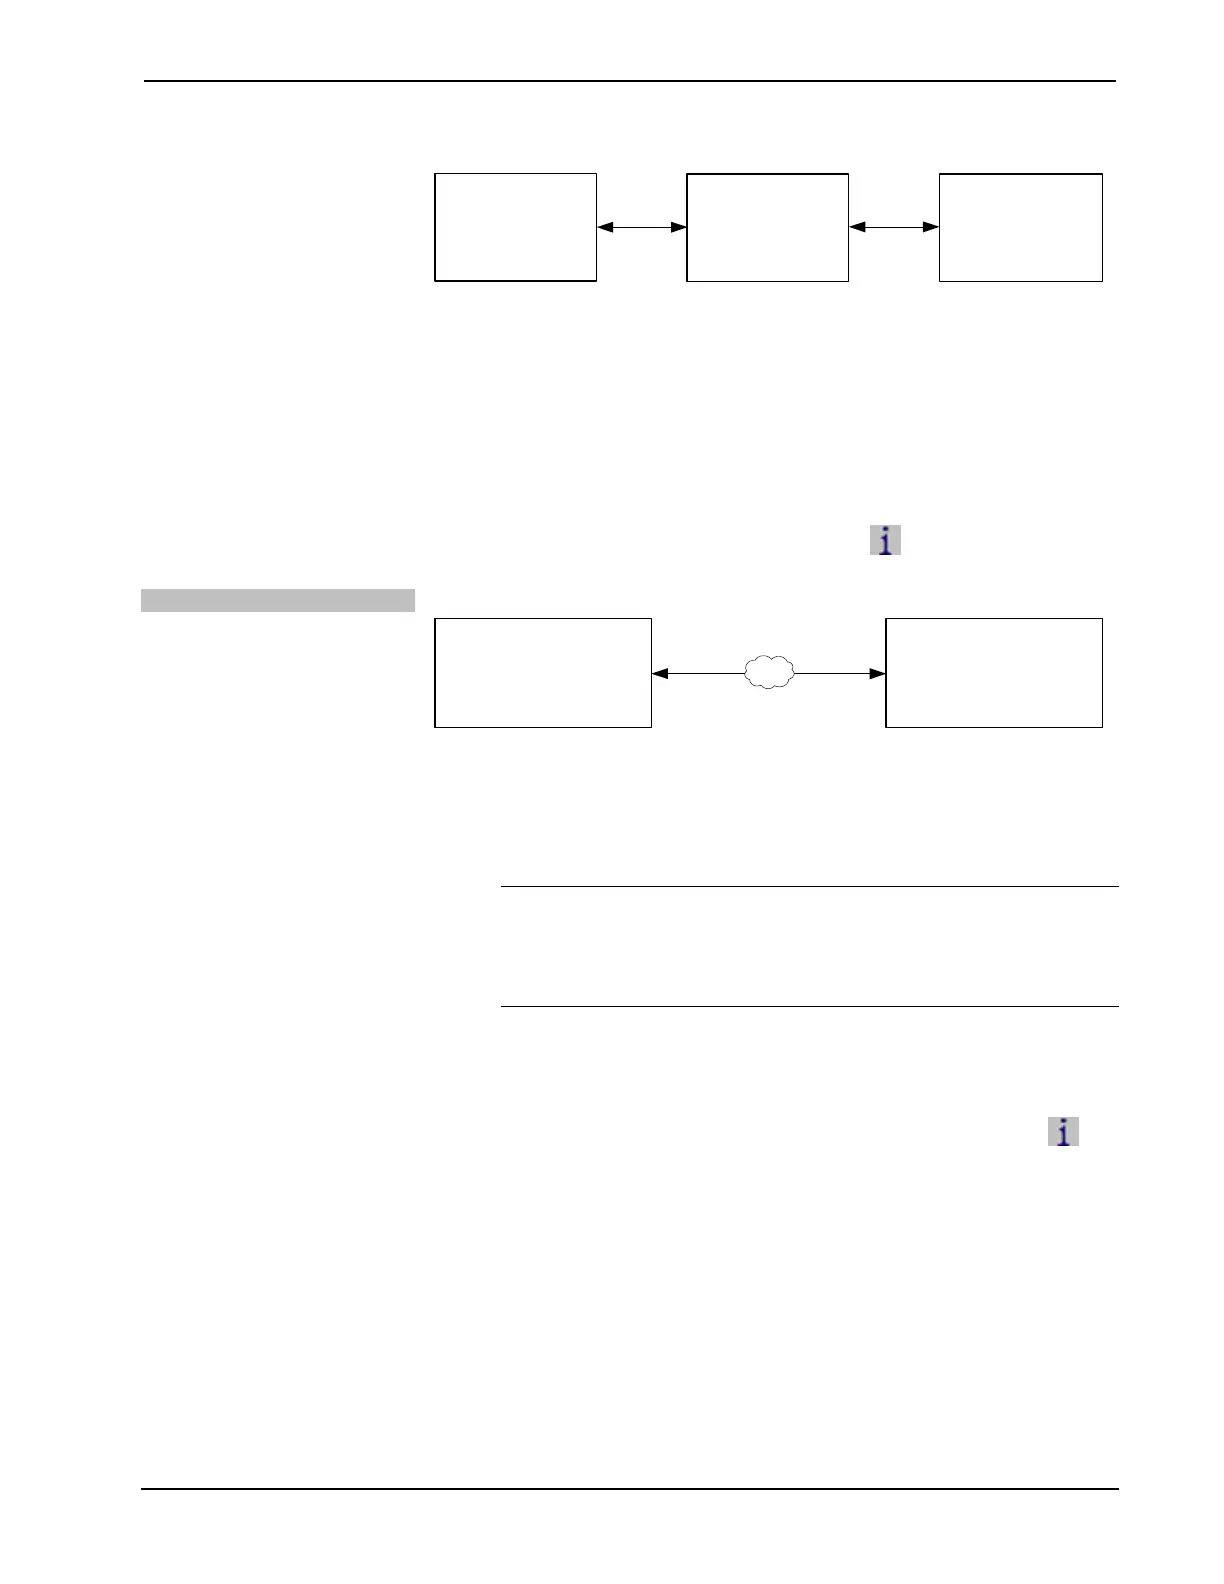
USB Communication via DM Switcher
DM 8G+
DM Switcher
PC Running
Crestron Toolbox
DM-TX-201-C
USB
To establish USB communication between the PC and the DM switcher:
1. Use the Address Book in Crestron Toolbox to create an entry using the
expected communication protocol (USB). When multiple USB devices are
connected, identify the DM switcher by entering “DM-MD8X8”,
“DM-MD16X16”, or “DM-MD32X32” in the Model textbox, the unit’s
serial number in the Serial textbox, or the unit’s hostname in the Hostname
textbox. The hostname can be found in the “System Info” window in the
section marked Ethernet; however, communications must be established in
order to see this information in the “System Info” window.
2. Display the “System Info” window (click the
icon); communications
are confirmed when the device information is displayed.
Via LAN Port
TCP/IP Communication via LAN Port of DM-TX-201-C
PC Running
Crestron Toolbox
LAN
DM-TX-201-C
To establish TCP/IP communication between the PC and the DM-TX-201-C via the
LAN port of the DM-TX-201-C:
1. Use the Device Discovery Tool in Crestron Toolbox to find the IP address
of the DM-TX-201-C. The tool is available in Toolbox version 1.15.143
or later.
NOTE: When the DM-TX-201-C is used in a standalone configuration
(i.e., without a DM switcher), DHCP is enabled by default. If desired, a
default IP address (192.168.1.236) can be assigned by holding down its
SETUP button while applying power. This IP address overwrites any
previous settings and remains until it is changed.
2. Use the Address Book in Crestron Toolbox to create an entry for the
DM-TX-201-C using the TCP connection type, and enter the IP address of
the DM-TX-201-C.
3. Display the “System Info” window of the DM-TX-201-C (click the
icon); communications are confirmed when the device information
is displayed.
4. (Optional) If additional changes to TCP/IP settings are desired,
do the following:
a. Assign an IP address, IP mask, and default router for the
DM-TX-201-C via the Crestron Toolbox (Functions | Ethernet
Addressing).
b. Close the “System Info” window.
c. In Crestron Toolbox, change the Address Book entry for the
DM-TX-201-C so that it uses the IP address assigned in step 4a.
22 • DigitalMedia 8G+™ Transmitter 201: DM-TX-201-C Operations & Installation Guide – DOC. 6958B
 Loading...