6 | Unit installation
Installer reference guide
26
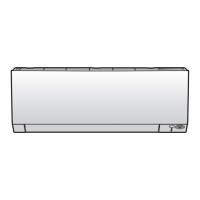
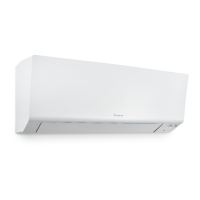
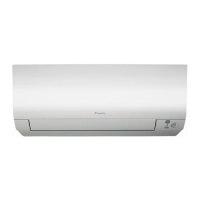
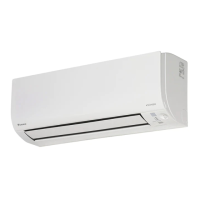
CTXM15+FTXM20~42+ATXM20~35R2/5V1B + FTXM50~71R2V1B +
ATXM50R2V1B
Daikin room air conditioner
4P518023-8G – 2020.06
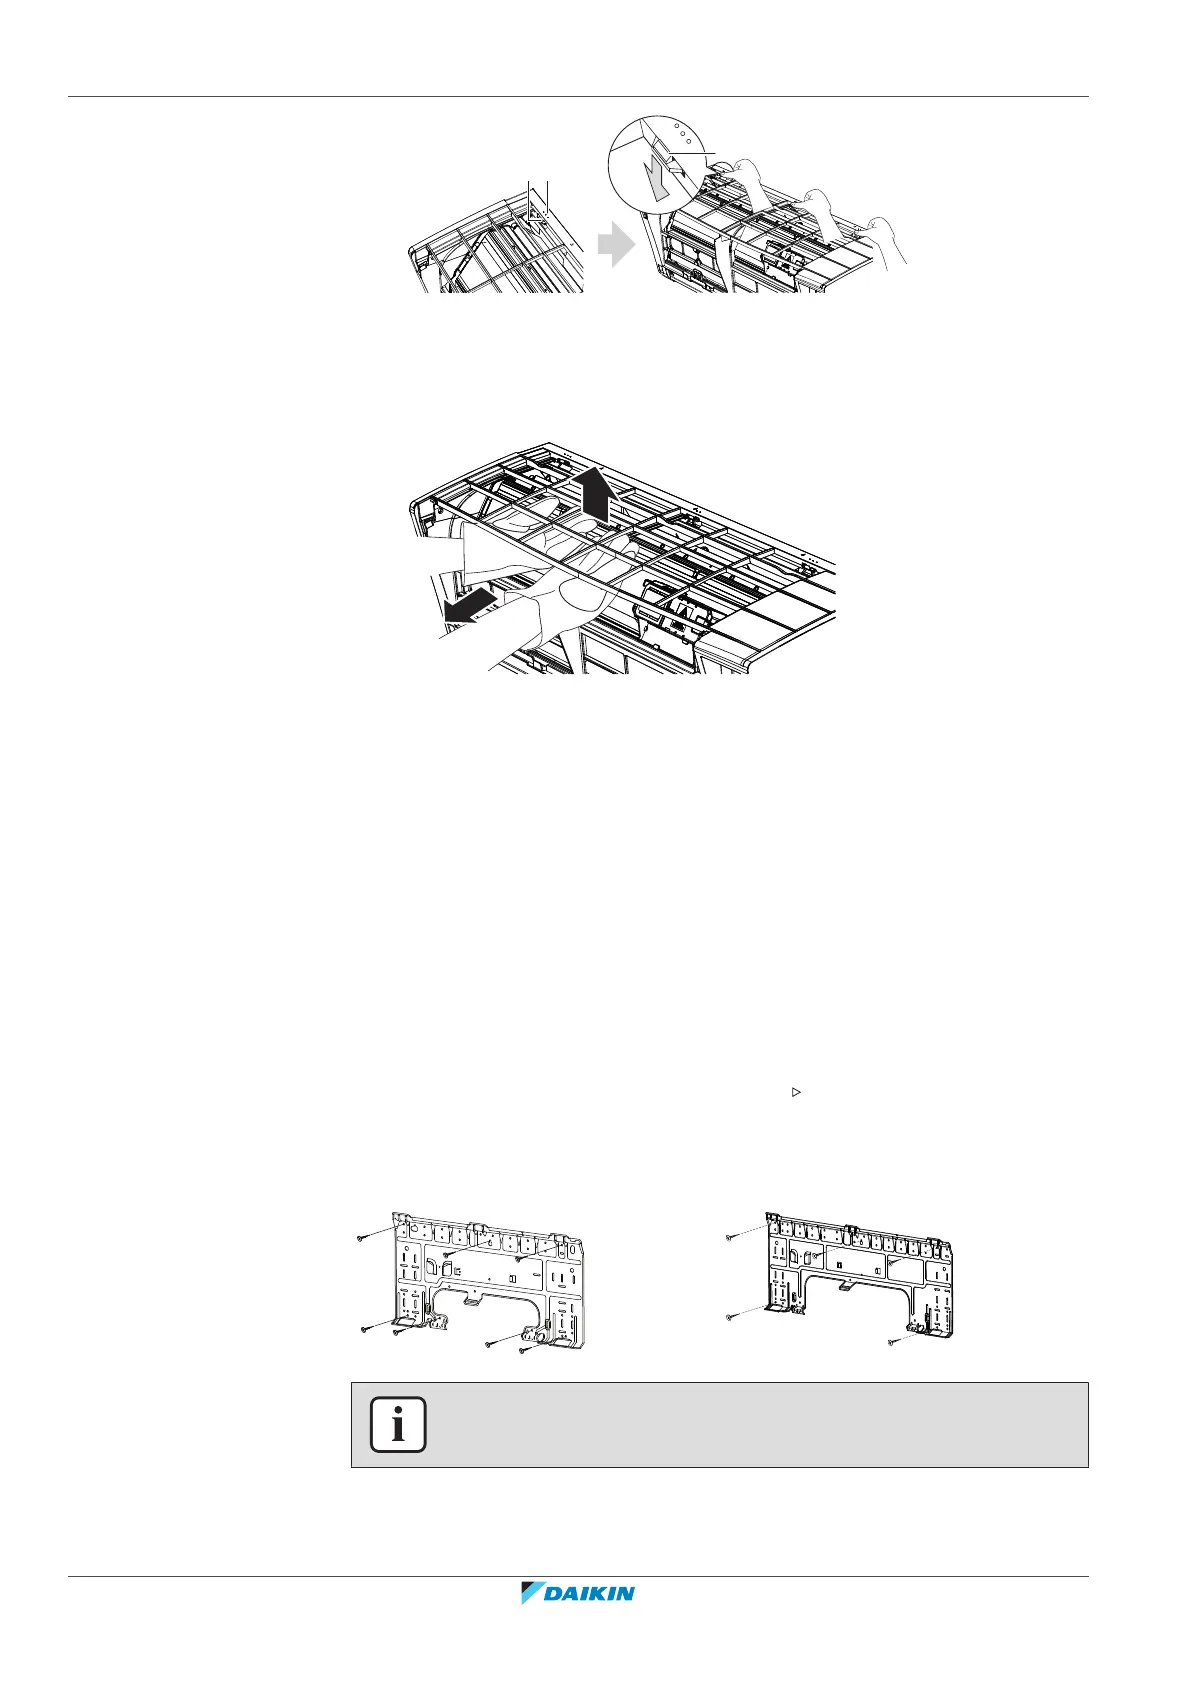
a Upper hook
b Symbol with 3 circles
5 We recommend opening the flap before removing the front grille.
6 Place both hands under the centre of the front grille, push it up and then
toward you.
6.3 Mounting the indoor unit
In this chapter
6.3.1 To install the mounting plate................................................................................................................................. 26
6.3.2 To drill a wall hole .................................................................................................................................................. 27
6.3.3 To remove the pipe port cover.............................................................................................................................. 28
6.3.1 To install the mounting plate
1 Install the mounting plate temporarily.
2 Level the mounting plate.
3 Mark the centres of the drilling points on the wall using a tape measure.
Position the end of tape measure at symbol " ".
4 Finish the installation by securing the mounting plate on the wall using
M4×25L screws (field supply).
Class 15~42 Class 50~71
INFORMATION
The removed pipe port cover can be kept in the mounting plate pocket.
 Loading...