18 Installing the Printer Driver
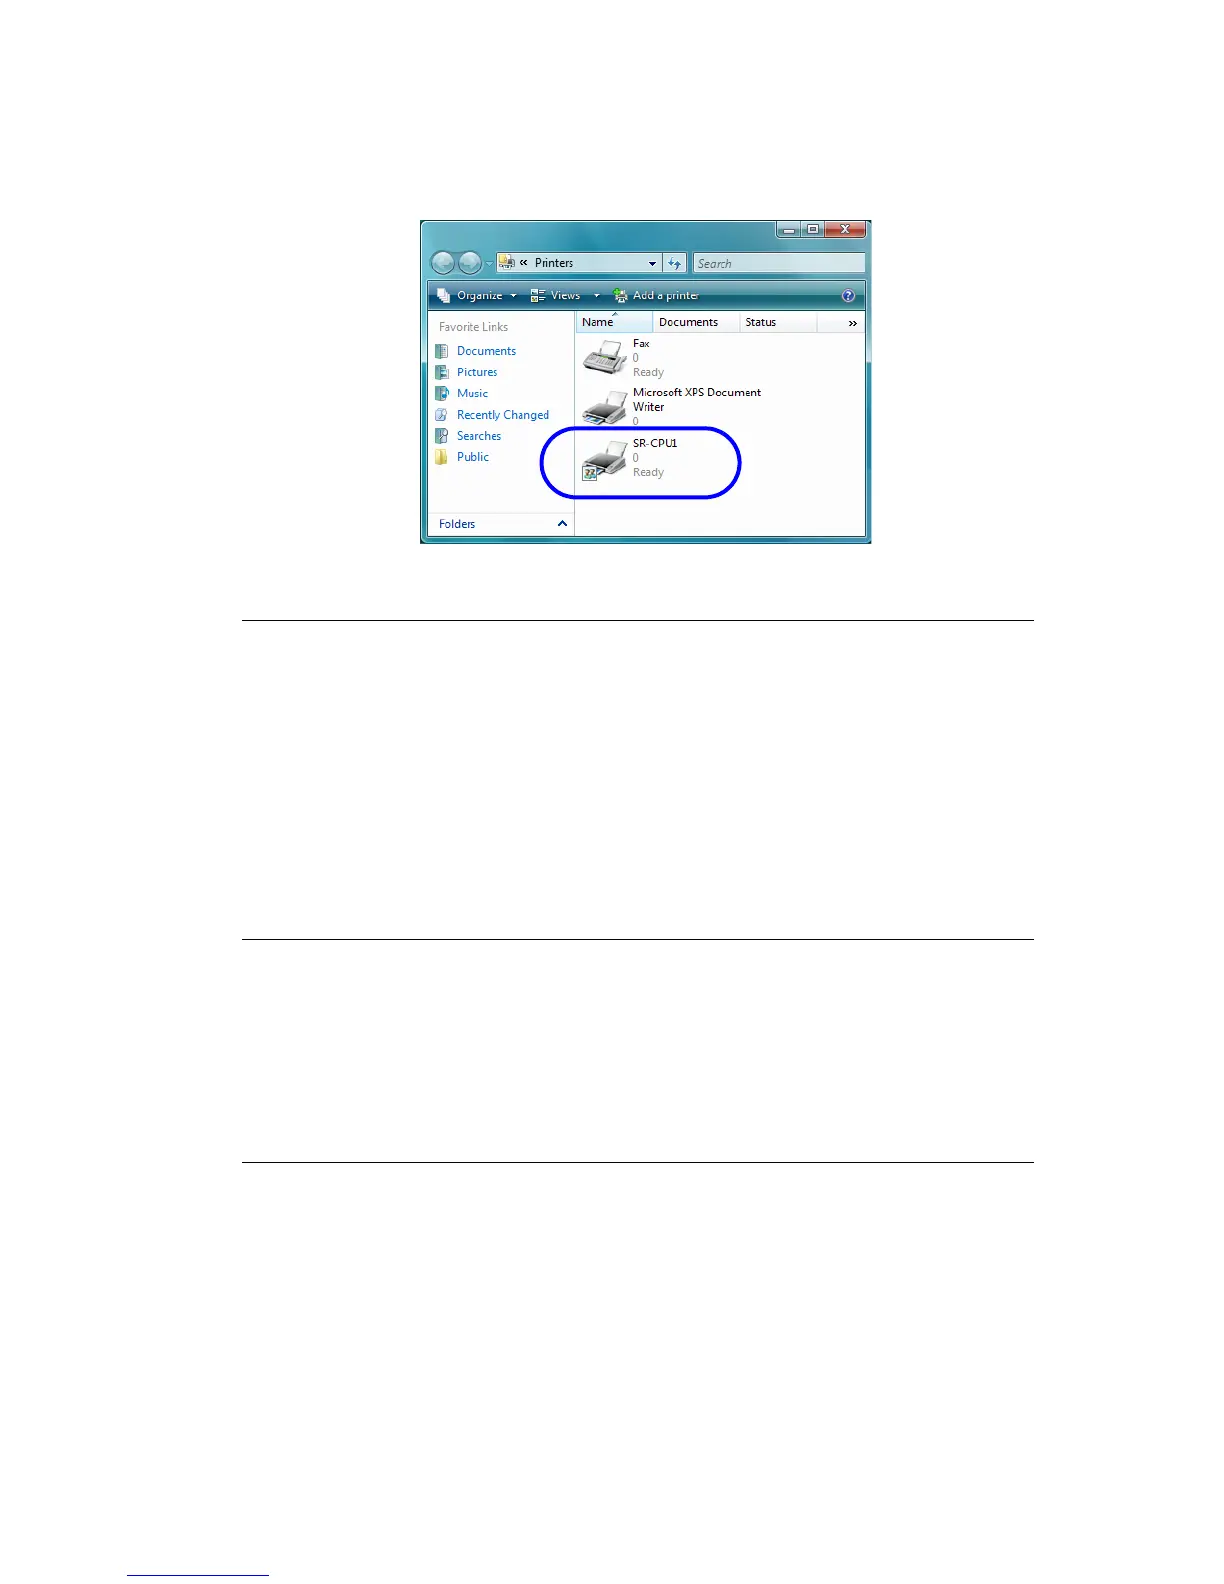
25. Check the Printers and Faxes window to make sure that the new printer appears.
26. Installation of the printer driver is now complete.
Next Steps
•
Continue with installing the Status Monitor. See “Installing the Status Monitor” on
page 33.
• After installing the driver and Status Monitor, you can install the optional Datacard
®
ID Software plug-in for the SR200/SR300 Printer.
• To set up printer sharing, see “Sharing a Printer on a Network Connection” on
page 36.
• If you want to delete the printer, restart Windows and then follow the steps in
“Removing the Printer Driver” on page 40.
Setting the Unit Number, Printer Name, and Connection
If you install more than one SR200 or SR300 printer on a PC, each printer must have a different
unit number and printer name. The unit number and printer name must correspond. If you will
install a printer over the network, the Default Interface must be set to Network. If you install the
printer using a USB cable, the Default Interface must be set to USB.
Tips for Success
•
For best results, plan printer deployment and numbering. Install the printer to
which you will assign the highest number first, then install the next lower, ending
with the printer named PRINTER01 with unit number 1.
• Set the unit number and printer name before installing the printer, if more than one
will be installed on the PC.
• When installing the printer using a USB connection, choose the port name to
correspond to the unit number and printer name. For example, if the printer name
is PRINTER03 and the unit number is 3, choose port SR U3.
 Loading...