Back to Contents Page
I/O Panel
Dell™OptiPlex™170LUser'sGuide
Small Desktop Computer
Mini-Tower Computer
Small Desktop Computer
Replacing the I/O Panel
1. Follow the procedures in "Before You Begin."
2. Disconnect the hard-drive data cable.
3. Disconnect all cables that are connected to the I/O panel.
Note the routing of the control panel cable as you remove it from the computer so that you can replace it correctly.
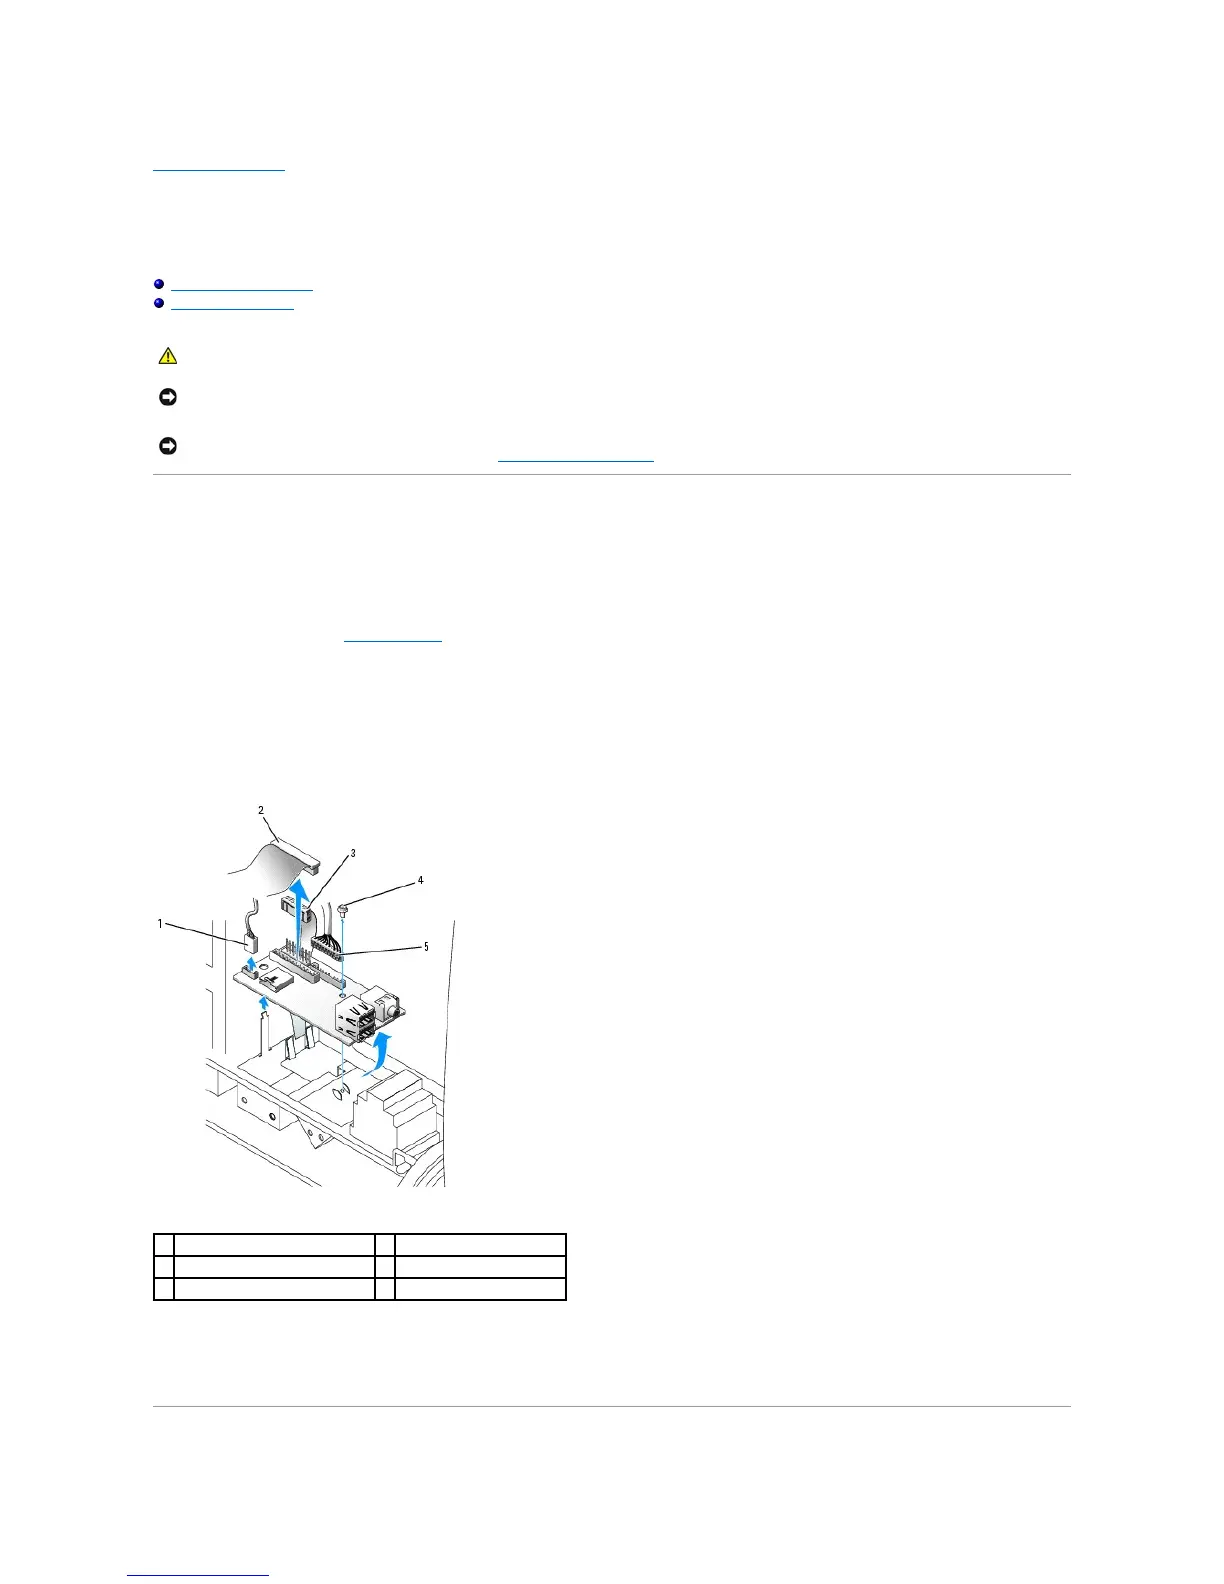
4. From inside the computer cover, remove the mounting screw that secures the I/O panel to the computer.
5. Remove the I/O panel from the computer.
6. To replace the I/O panel, follow the removal procedures in the reverse order.
CAUTION: Before you begin this procedure, follow the safety instructions in the Product Information Guide.
NOTICE: To avoid electrostatic discharge, ground yourself by using a wrist grounding strap or by periodically touching an unpainted metal surface (such
as the back panel) on the computer.
NOTICE: Before you disconnect a device from the computer or remove a component from the system board, verify that the standby power light on the
system board has turned off. To locate the light, see "System Board Components."
internal speaker cable connector
front-audio cable connector
control-panel cable connector