d. hard drive assembly
e. optical drive
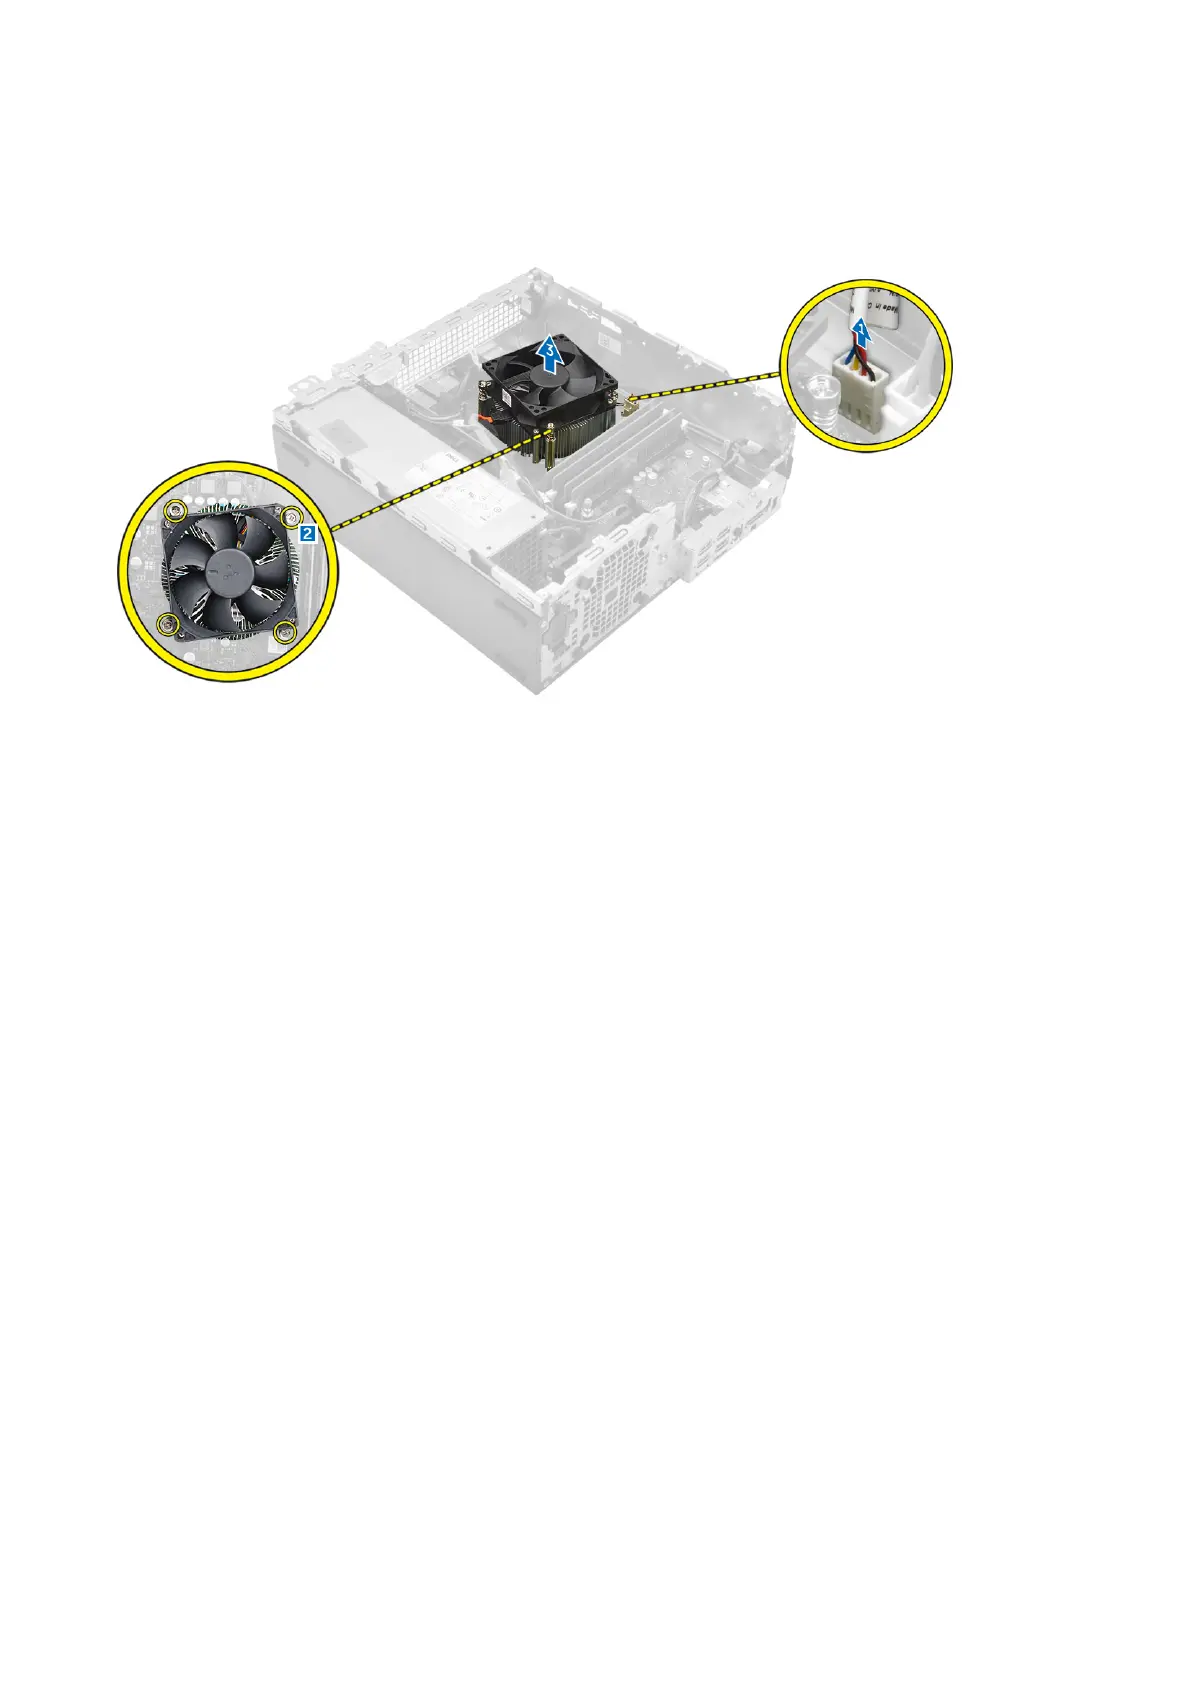
3. To remove the heat sink assembly:
a. Disconnect the heat sink cable from the system board. [1]
b. Loosen the captive screws that secure the heat sink assembly and lift it away from the computer [2] [3].
Installing the heat sink assembly
Steps
1. Place the heat sink assembly onto the processor.
2. Tighten the captive screws to secure the heat sink assembly to the system board.
3. Connect the heat sink cable to the system board.
4. Install the:
a. fan duct
b. optical drive
c. hard drive assembly
d. front bezel
e. cover
5. Follow the procedure in After Working Inside Your Computer.
Removing the processor
Steps
1. Follow the procedure in Before Working Inside Your Computer.
2. Remove the:
a. cover
b. front bezel
c. hard drive assembly
d. optical drive
e. fan duct
f. heat sink
3. To remove the processor:
a. Release the socket lever by pushing the lever down and out from under the tab on the processor shield [1].
b. Lift the lever upward and lift the processor shield [2].
16
Removing and installing components
 Loading...