9
Console Ports
You can access the S4820T directly through the console port at the input/output (I/O) side of the system.
Accessing the RJ-45 Console Port (RS-232)
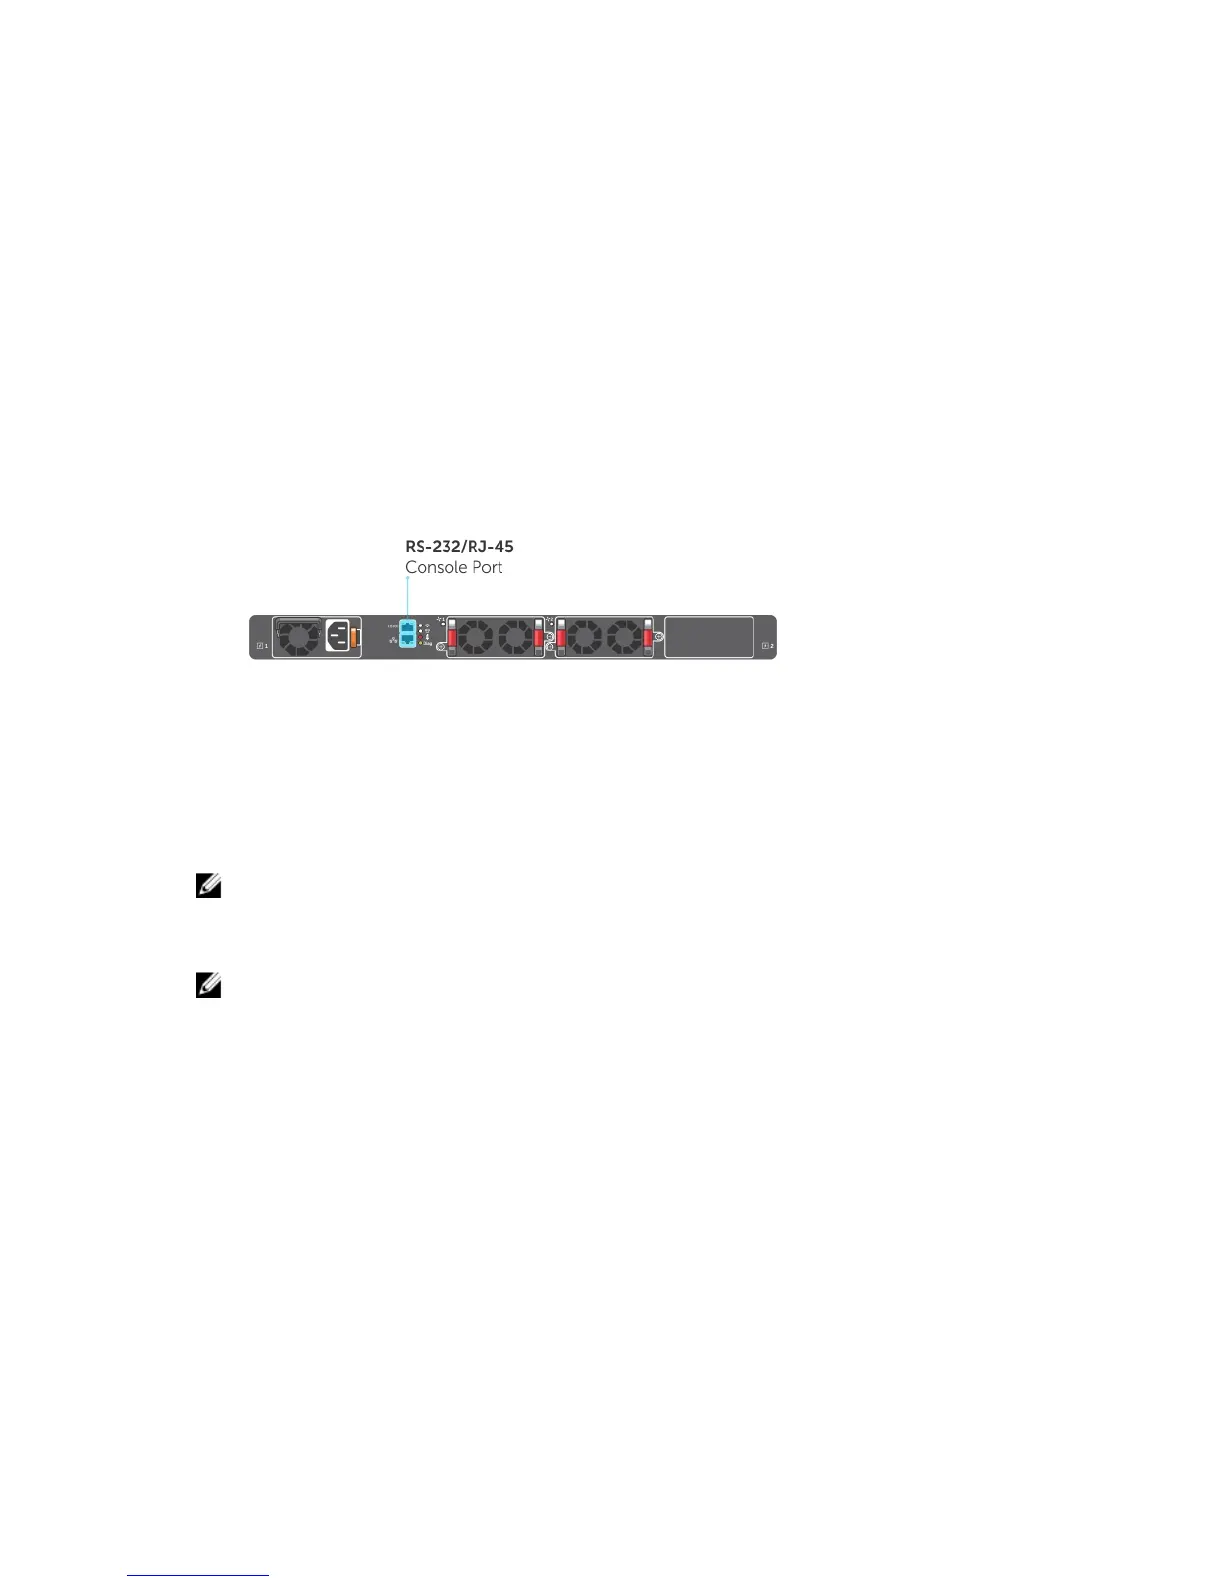
The RS-232/RJ-45 console port is labeled on the PSU-side of the S8420T chassis (the I/O side), as shown
in the following figure.
Figure 12. Console Port
1. RJ-45 Console Port (top) and External Ethernet
Management Port (bottom)
NOTE: Before starting this procedure, have a terminal emulation program already installed on your
PC.
The following table lists the console port pinout assignments.
NOTE: If your PC’s serial port cannot accept a female DB-9 connector, acquire a DB-9 male-to-
male adaptor.
To access the console port, follow these steps.
1. Install an RJ-45 copper cable into the console port. To connect the S4820T console port to a
terminal server, use a rollover cable.
2. Connect the other end of the cable to the dumb terminal emulator (DTE) server.
3. Keep the default terminal settings on the console as follows:
• 9600 baud rate
• No parity
• 8 data bits
• 1 stop bit
• No flow control
Console Ports
45
 Loading...