18
SPECIAL MODE
Special mode setting button (for 1912E3 model)
b
No.1 - 10 : Press the ON/STANDBY button to turn on the power while pressing both the button A and the button B at the same
time.
b
No.11 : Turn on the power, then press and hold down the A and B buttons for over 3 seconds.
No. Mode Button A Button B Contents
1
Version display
(μcom/DSP Error Display)
STATUS iPod
1
Firmware versions such as Main or DSP are displayed in the FL
Display. Errors are displayed when they occur. (Refer to 20 page)
2 Displaying the protection history mode STATUS NET/USB
The protection history is displayed.
(Refer to 23 page)
3
User Initialization mode
(Installer Setup settings are not initialized.)
PRESET
CHANNEL 2
PRESET
CHANNEL 3
Backup data initialization is carried out.
(Installer Setup settings are not initialized.)
4
Factory Initialization mode
(Installer Setup settings are also
initialized.)
PRESET
CHANNEL 1
PRESET
CHANNEL 2
Backup data initialization is carried out.
(Installer Setup settings are also initialized.)
5
Mode for switching tuner frequency step
(E2 model Only)
- - Change tuner frequency step to FM:200kHz/AM:10kHzSTEP
6
Mode for preventing remote control
acceptance
PRESET
CHANNEL 1
INTERNET
RADIO
Operations using the remote control are rejected.
(Mode cancellation: Turn off the power and execute the same
button operations as when performing setup.)
7 Panel lock mode
PRESET
CHANNEL 2
TUNER
PRESET CH +
Operations using the main unit panel buttons or the master volume
knob are rejected.
8
Panel lock mode
(Master volume is not locked.)
PRESET
CHANNEL 2
NET/USB Operations using the main unit panel buttons are rejected.
9 Cancellation of panel lock mode
PRESET
CHANNEL 2
SAT/CBL Panel lock mode is cancelled.
10 Diagnostic mode
PRESET
CHANNEL 1
STATUS
This mode is used for conrming the Video and Audio (signal)
paths. (Troubleshooting)
The signal paths of the set can be easily conrmed after repair.
11 Remote ID Setup mode
PRESET
CHANNEL 1
STATUS
When using multiple DENON AV receivers in the same room, make
this setting so that only the desired AV receiver operates.(Refer to 25
page)
NOTE:
If " REC " is displayed on the uorescent display, the set is in the special developer's mode and the RS-232C
communications are not possible.
Turn on the power, then press and hold down the "PRESET CHANNEL 2" and " STATUS " buttons for over 3 seconds to
turn off "REC" on the display. RS-232C communications are now enabled.
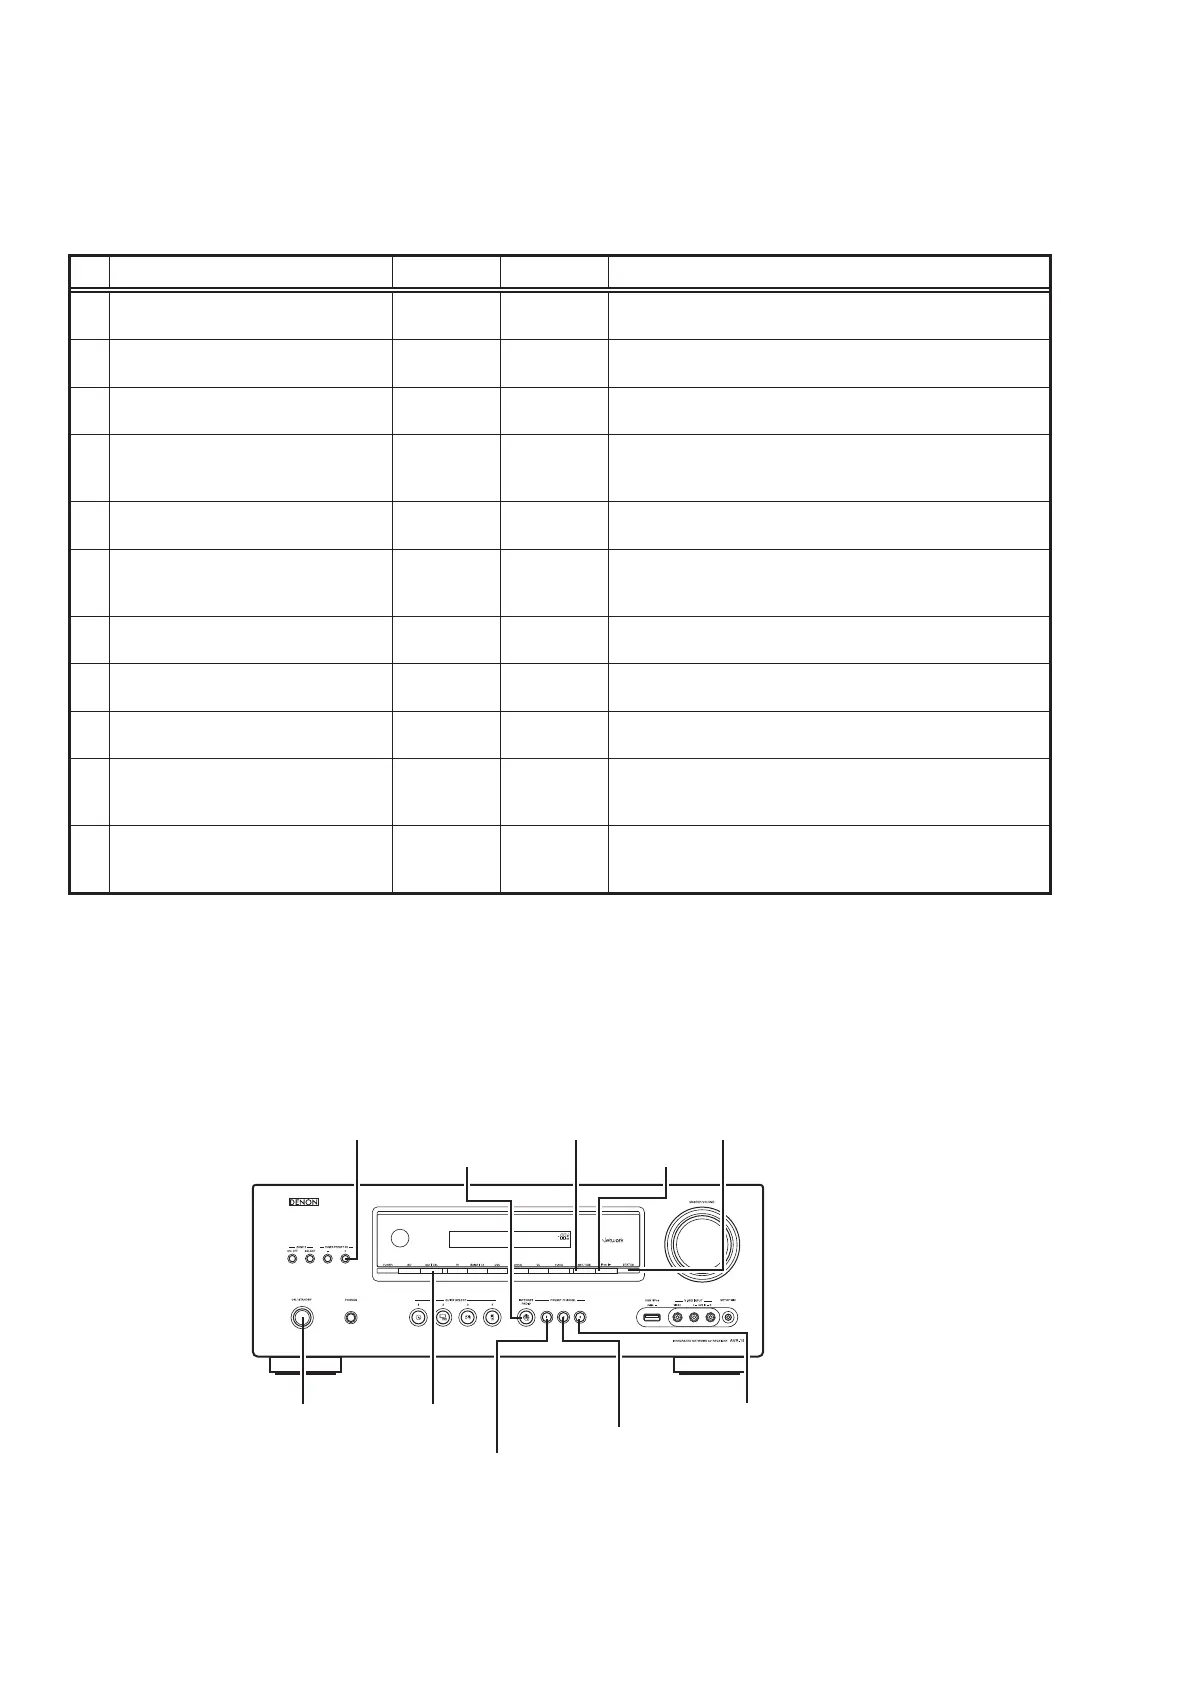
STATUS
iPod 1
NET/USBTUNER PRESET CH +
INTERNET RADIO
ON/STANDBY SAT/CBL
PRESET CHANNEL 1
PRESET CHANNEL 3
PRESET CHANNEL 2
 Loading...