15
DHT-390XP
AVR-390
CAUTION IN SERVICING
1. Initializing
Initialization should be performed when the µcom, peripheral parts of µcom, MAIN P.W.B. unit and Mecha are replaced.
1. Plug the power cord into a power outlet.
2. "ON/STANDBY LED" is red lighting.
3. Press the “ON/STANDBY” button while pressing the “MEMORY/ENTER” button.
4. "CLEAR" is displayed on the FL tube.
* The microprocessor will be initialized.
2. Version display
1. Plug the power cord into a power outlet.
2. "ON/STANDBY LED" is red lighting.
3. Press the “ON/STANDBY” button while pressing the “SETUP” button.
4. The version of Main μcom is displayed on FL tube.
Version of Main μcom : “M:XXXX-X”
5. Press the "STATUS" or “SETUP” button, version of DSP is displayed on the FL tube.
Version of DSP : “DSP:XXXX”
6. Press the "STATUS" or “SETUP” button, the FL tube lights all.
Note:・If step 4 does not work, start over from step 1.
・ All user settings will be lost and this factory setting will be recovered when this initialization mode.
So make sure to m+emorize your setting for restoring after the initialization.
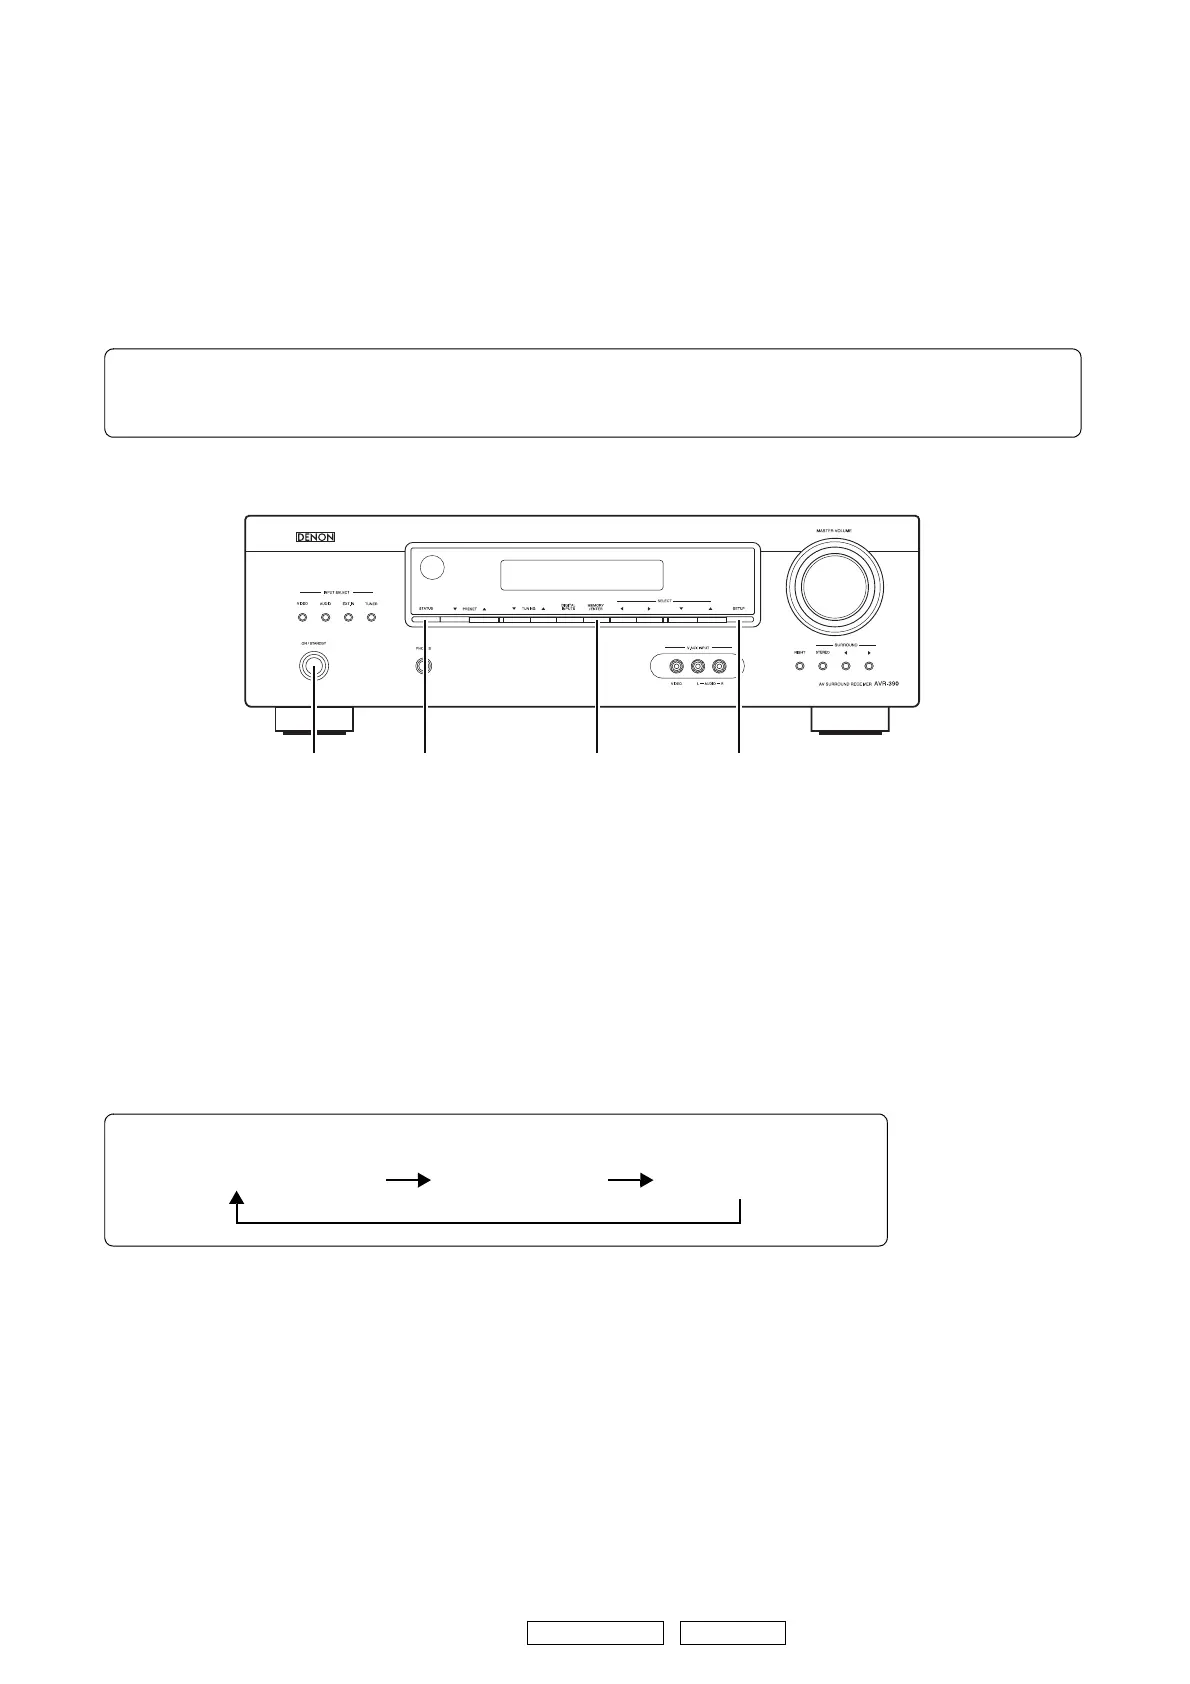
ON/STANDBY STATUS MEMORY/ENTER SETUP
The display switches each time the "STATUS" or “SETUP” button is pressed.
Version of Main μcom Version of DSP FL tube lights all
 Loading...