Installation procedure
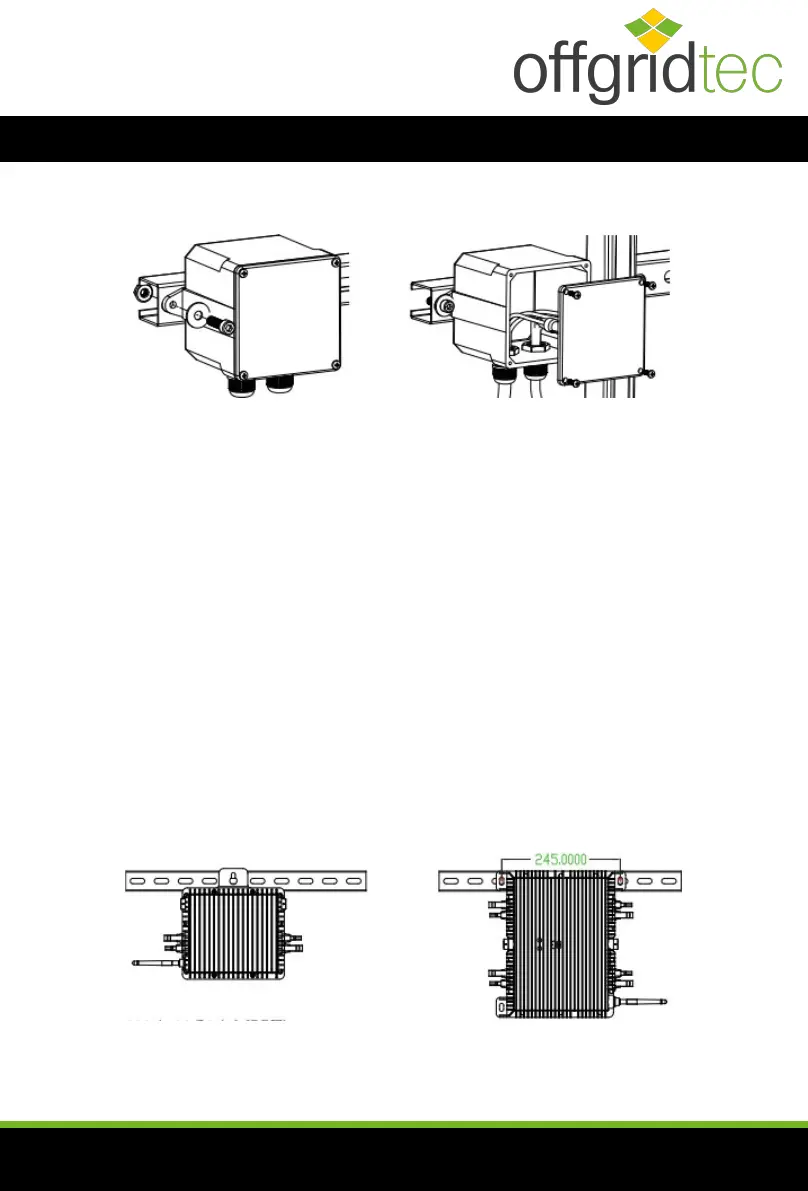
Step 1 - Installing the AC junction box
a.
Install a suitable junction box at a suitable location on the PV racking system (usually at
the end of a module branch).
b.
Connect the open wire end of the AC cable to the junction box with a suitable gland or
strain relief.
c.
Wire the cores of the AC cable (230/400Vac): L - red; N - black; PE - yellow-green.
d.
Connect the AC junction box to the connection point of the supply network.
CAUTION
: The wiring colour code may vary depending on local regulations; check all wires in the
installation before connecting to the AC cable to ensure they match. Incorrect wiring may cause
irreparable damage to the microinverters, which is not covered by the warranty.
Step 2 - Fixing the micro inverter to the frame or to the PV module frame
a.
Mark the location of the microinverter on the rack with respect to the PV module junction
box or other elements.
b.
Mount a microinverter at each of these locations using the parts recommended by the
module rack manufacturer.
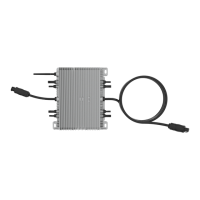
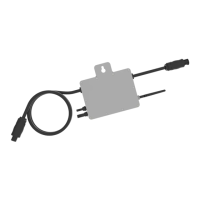
300 / 500G3 (1MPPT)
600 / 800 / 1000G3
(2MPPT)
mounting
1300 / 1600 / 2000G3
(4MPPT)
mounting
DEYE SUN microinverter
User manual
- 08
 Loading...