Replace
Proceed as follows to replace a failed micro inverter
A. Disconnect the microinverter from the PV module in the order shown below:
1. Disconnect the alternating current (AC) by switching off the circuit breaker.
2. Disconnect the AC plug of the micro inverter.
3. Cover the module with an opaque cover.
4. Disconnect the DC cable connections of the PV module from the micro inverter.
5. Remove the microinverter from the rack of the PV generator.
B. Attach a new microinverter to the bracket and remove the opaque cover. Look for the
flashing LED light once the new microinverter is connected to the DC cables.
C. Connect the AC cable of the replacement micro inverter.
Technical data
CAUTION: Make sure that the voltage and current specifications of your PV-Module
match those of the microinverter. Refer to the data sheet or the user
manual.
CAUTION: You must match the DC operating voltage range of the PV module with the
permissible input voltage range of the micro inverter.
CAUTION: The maximum open-circuit voltage of the PV module must not exceed the specified
maximum input voltage of the inverter.
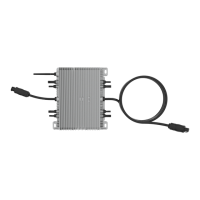
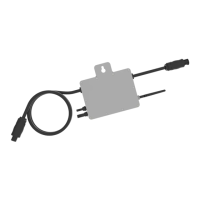
DEYE SUN microinverter
User manual
- 14
 Loading...