Installation of the micro inverter system
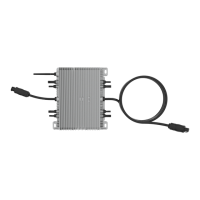
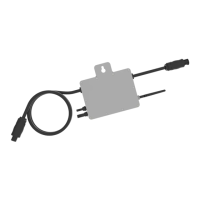
A PV system with microinverters is easy to install. Each microinverter can be easily mounted on the PV
frame directly under the PV module(s). The low voltage DC cables are connected directly from the PV
module to the microinverter, avoiding the risk of high DC voltage. Installation MUST be carried out in
accordance with local regulations and technical rules.
Special note! An AC RCD should not be used to protect the microinverter's circuit, even if it is an
external circuit. None of the small RCDs (5-30mA) are designed for backfeeding and will be
damaged if backfeeding occurs. Similarly, AC circuit breakers are not designed for regenerative
power and can be damaged if regenerated with the output of a PV inverter.
CAUTION: Carry out all electrical installations in accordance with local electrical regulations
CAUTION: Note that the installation and/or replacement of microinverters
must only be carried out
by qualified personnel.
CAUTION: Before installing or using a microinverter, please read all instructions and warnings
in the technical documentation and on the microinverter system itself and on the PV
generator
CAUTION: Note that there is a risk of electric shock when installing this unit.
CAUTION: Do not touch any live parts of the system, including the PV generator, when the system is
connected to the mains.
NOTE: It is strongly recommended to install surge protectors in the designated meter box.
Additional components for the installation
- AC plugs and sockets (sold separately
- Sealing end caps (sold separately)
Parts and tools required from you
In addition to your PV generator and the associated hardware, you will need the following parts:
- an AC junction box
- mounting material suitable for the installation of the modules
- sockets and spanners for the mounting parts
- a continuous earthing conductor and earthing washers
- Phillips screwdriver
- a torque spanner
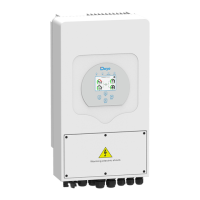
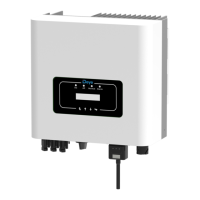
DEYE SUN microinverter
User manual
- 06
 Loading...