VuLink Operation & Installation Guide 860-00198-00 REV A
Digital Ally, Inc. | Installation Instructions
Step 2: Power Ignition, and Ground Connections
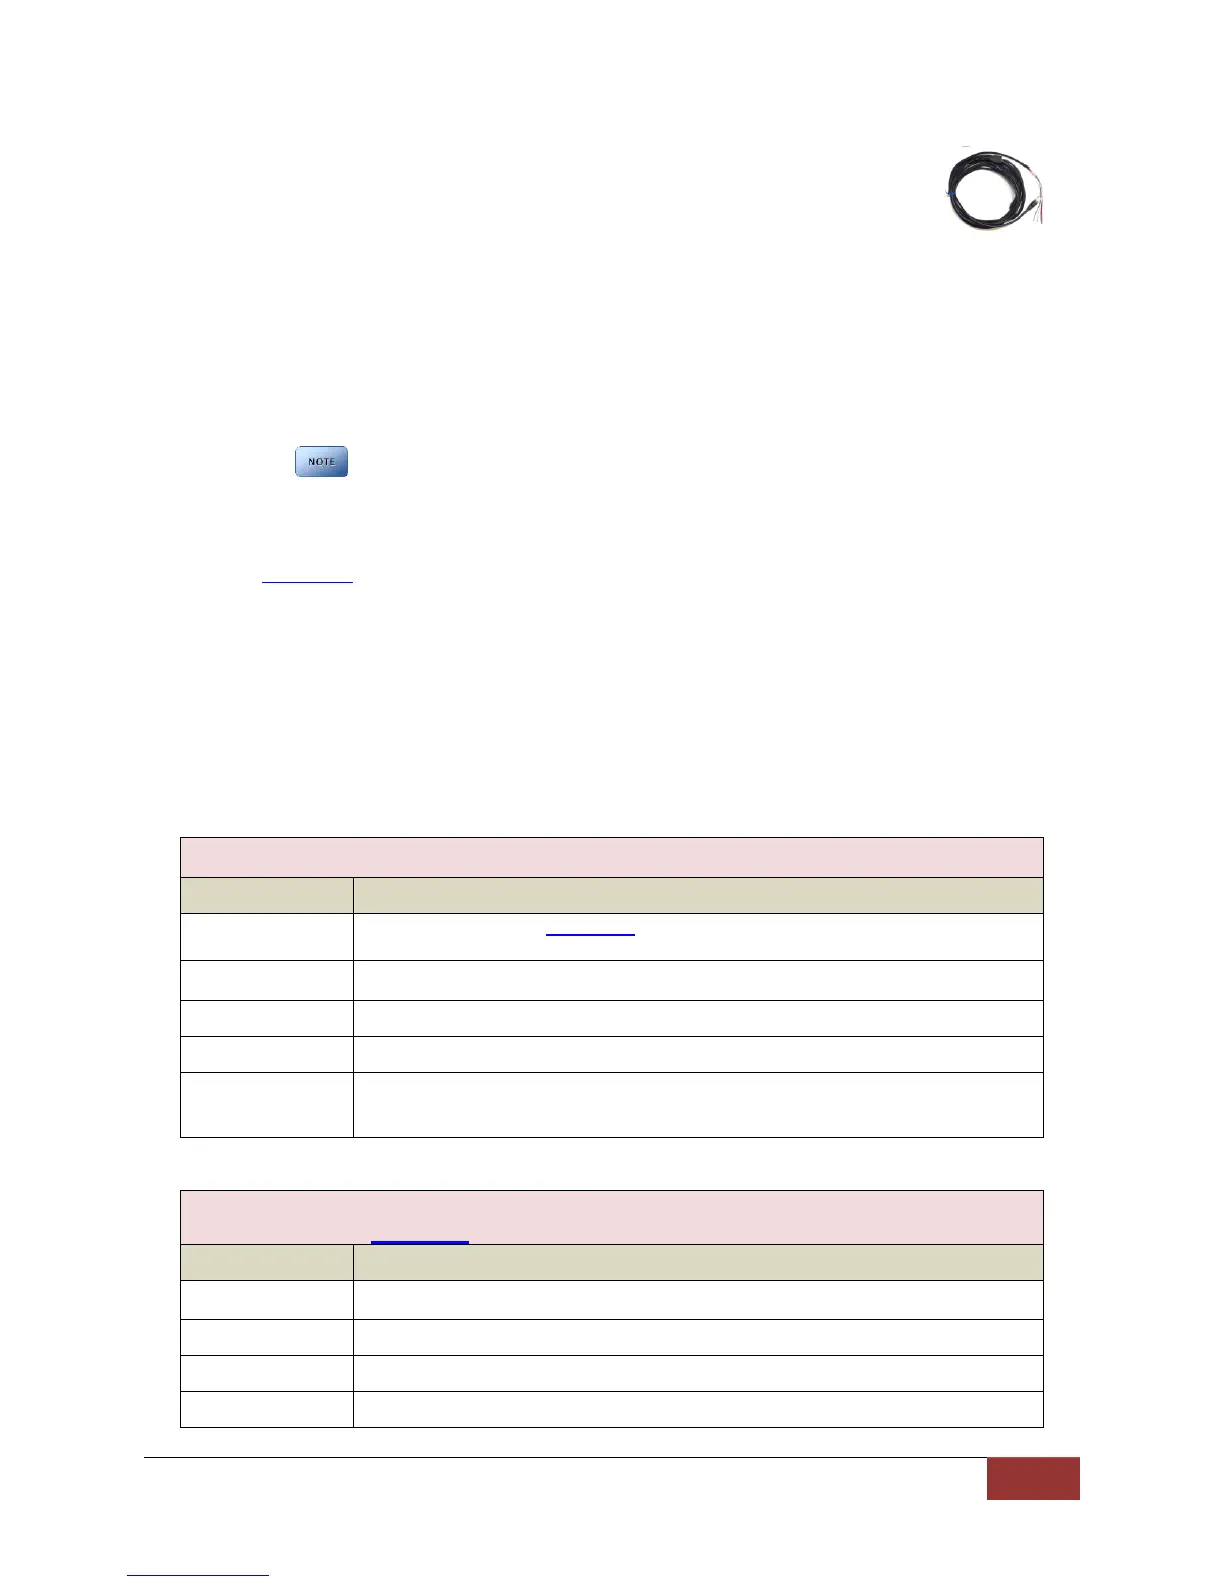
Remove 6 to 7 inches of the outer jacket at the bare end of the power cable.
The Red wire of the DVM power cable should be connected to the vehicle constant +12Vdc.
Connect the Blue wire to the ignition switch where +12vdc is only present when the vehicle
ignition key is in the ON position. The Black wire of this power cable connects directly to the
vehicle’s chassis. Secure all cables and in-line fuse housing using Velcro or standard tie wraps
as required.
It is required that this power wire be tied directly to vehicle power with no obstructions to
the vehicle battery such as a cutoff switch or charge guard system.
It is recommended that these connections are made directly to the engine
compartment battery wiring harness for best results.
Step 3: VuLink Trigger Connections
Consult the Section 4 diagrams for your specific video system or generic input trigger
connection. In some installations, you will use the supplied relay to connect to your desired
input trigger. When the trigger is active, the relay will be energized and VuLink will be triggered.
If the input trigger is not active, the relay will not be energized.
If a relay is required for your installation, located the light trigger input wire from the DVM and
connect it directly to the WHITE wire on the VuLink Base Cable using a butt splice connector.
Connect the light trigger from the light bar controller to the relay.
Make the connections as shown in the tables below:
VuLink Base Cable Connections
Consult diagrams in Section 4. Do not connect directly to light bar controller
output.
For DVM-800/DVM-LIVE/DVM-250, connect to BROWN wire of I/O box
harness. For all other installations connect to RED wire from included relay.
Relay Connections
Check Section 4 to verify if your installation requires a relay
Connect to +12DVC when emergency lights are active.
Connect to BROWN wire on VuLink Base Cable
 Loading...