VuLink Operation & Installation Guide 860-00198-00 REV A
Digital Ally, Inc. | VuLink Configuration
Activating VuLink & FirstVu HD within VuVault
After you have saved your desired configuration, proceed
to Admin>Media Card Admin to activate each device.
FirstVu HD Activation
1. Turn on your FirstVu HD & plug it into your
computer using the supplied USB cable.
2. Select FirstVu HD as the device type. Click
Refresh and the FirstVu HD will be displayed as a
removable drive.
3. Highlight the drive with your mouse.
4. Select Activate and unplug your FirstVu HD.
VuLink Activation
5. Plug in your VuLink into your computer using the supplied USB cable.
6. Select VuLink as the device type. Click Refresh and VuLink will be displayed as a
removable drive.
7. Highlight the drive with your mouse.
8. Select Activate.
9. All done! Proceed to Section 3 to install your VuLink.
Using the Configuration Manager to Configure your VuLink and FirstVuHD
VuLink must be configured prior to use. Configuration for VuLink is determined by the
configuration files that are downloaded to the device from the Mini Configuration Manager
supplied on the internal memory, or by using Digital Ally’s optional VuVault™ back-office
software.
If you have NOT purchased VuVault™, follow the instructions in this section to configure
and activate your device using the stand-alone Mini Configuration Manager software.
Installing the Software
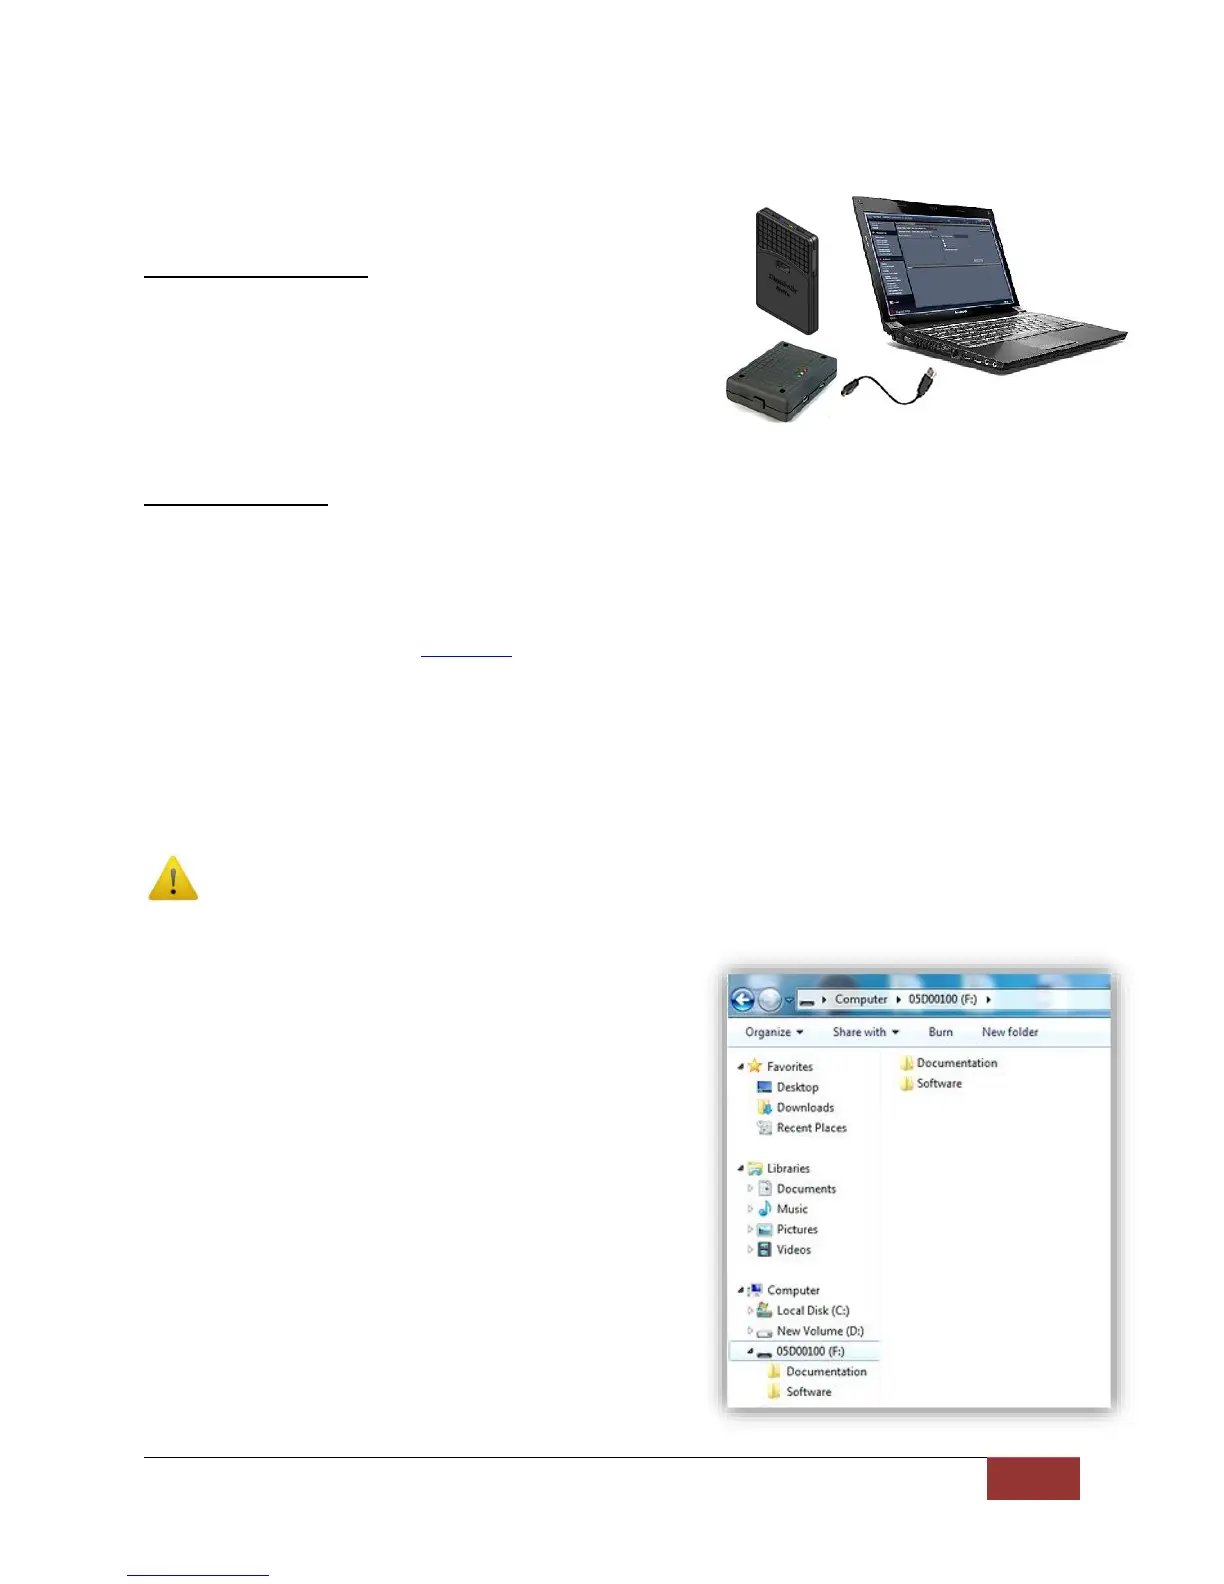
1. Your VuLink is preloaded with software and
documentation files located on its internal
memory. Plug VuLink into a computer using
the included USB cable to access these files.
2. The Documentation folder contains the
Operation Guide and Quick Start Guide. The
Software folder contains the Digital Ally Mini
Configuration Manager and Basic Viewer
software. If you purchased the optional
VuVault™ back office software, it will be
located separately on a DVD.
3. Open the Software folder and run the Digital
Ally Viewer installer. This will install all
necessary files to your computer.
 Loading...